Controlling Visibility of Geometry
Whether you just need to get something out of your way for a moment, or you are precisely controlling what entities you see in drawings, SketchUp allows you to control the visibility of geometry.
Hide
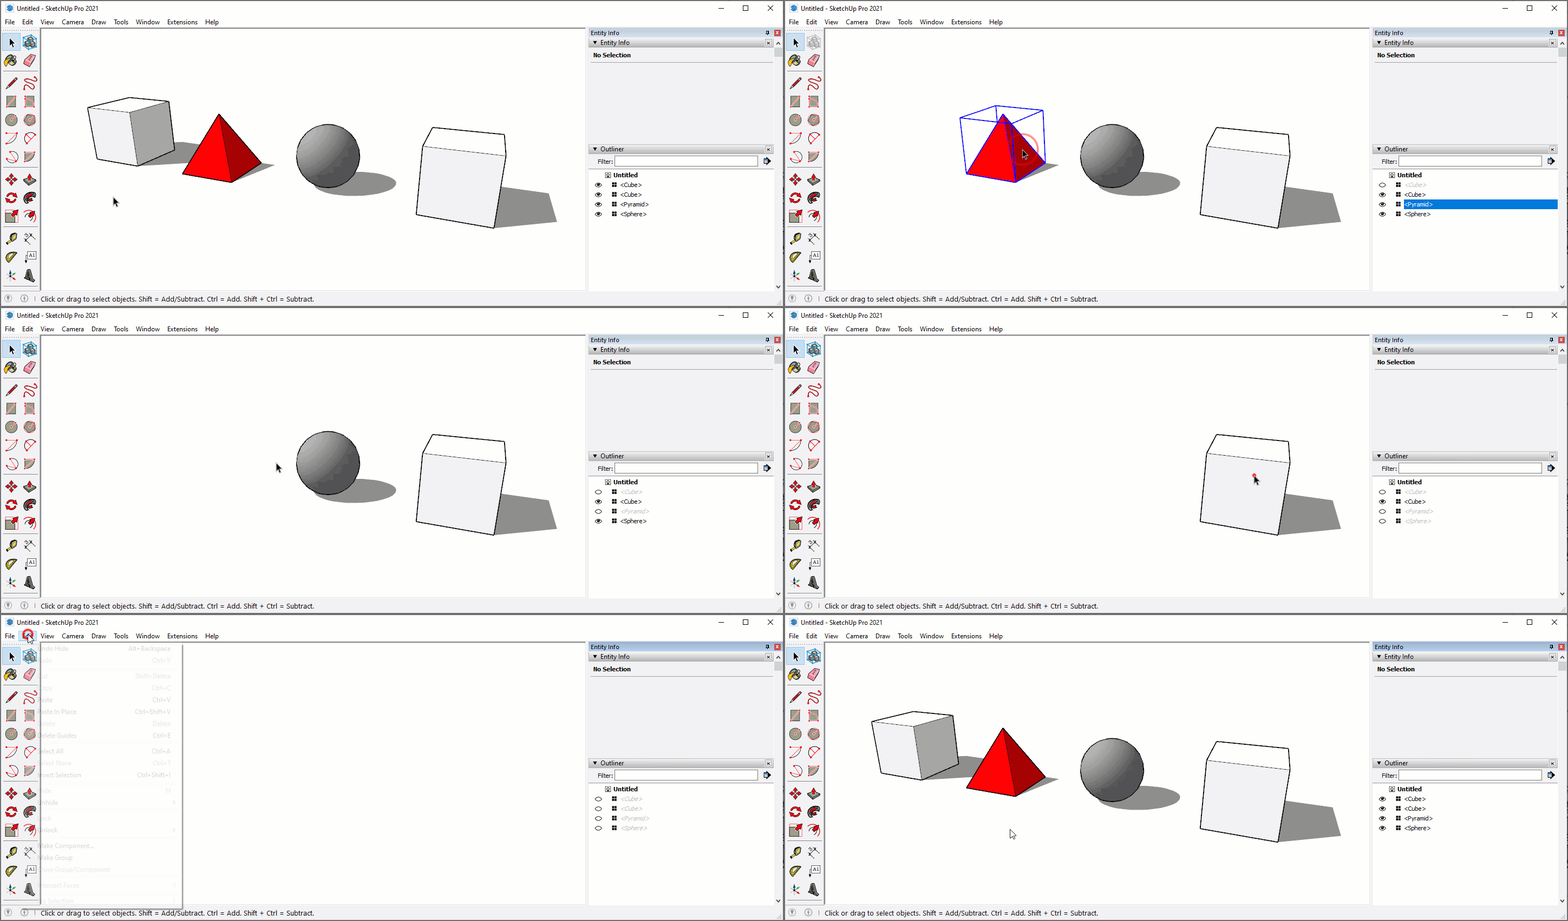
Use the Hide command to clear entities out of your way while working. Hiding is a utility, a temporary solution to the visibility of geometry. This command allows you to get something out of the way for a moment, then quickly bring it back. You can hide an entity several ways...
- Right-click on a selected entity and choose "Hide"
- Select an entity, then click on the Edit dropdown > Hide
- Select an entity, then click on the eye icon in the Entity Info dialog
- Select an entity in the Outliner, then click on the eye icon
- Preferred method is to assign a keyboard shortcut, I use "H"
Now, to bring the hidden entities back...
- Unhide all entities at the current level of your model by clicking on the Edit dropdown > Unhide > All.
- Assign a keyboard shortcut for Unhide All, I use "Shift + H"
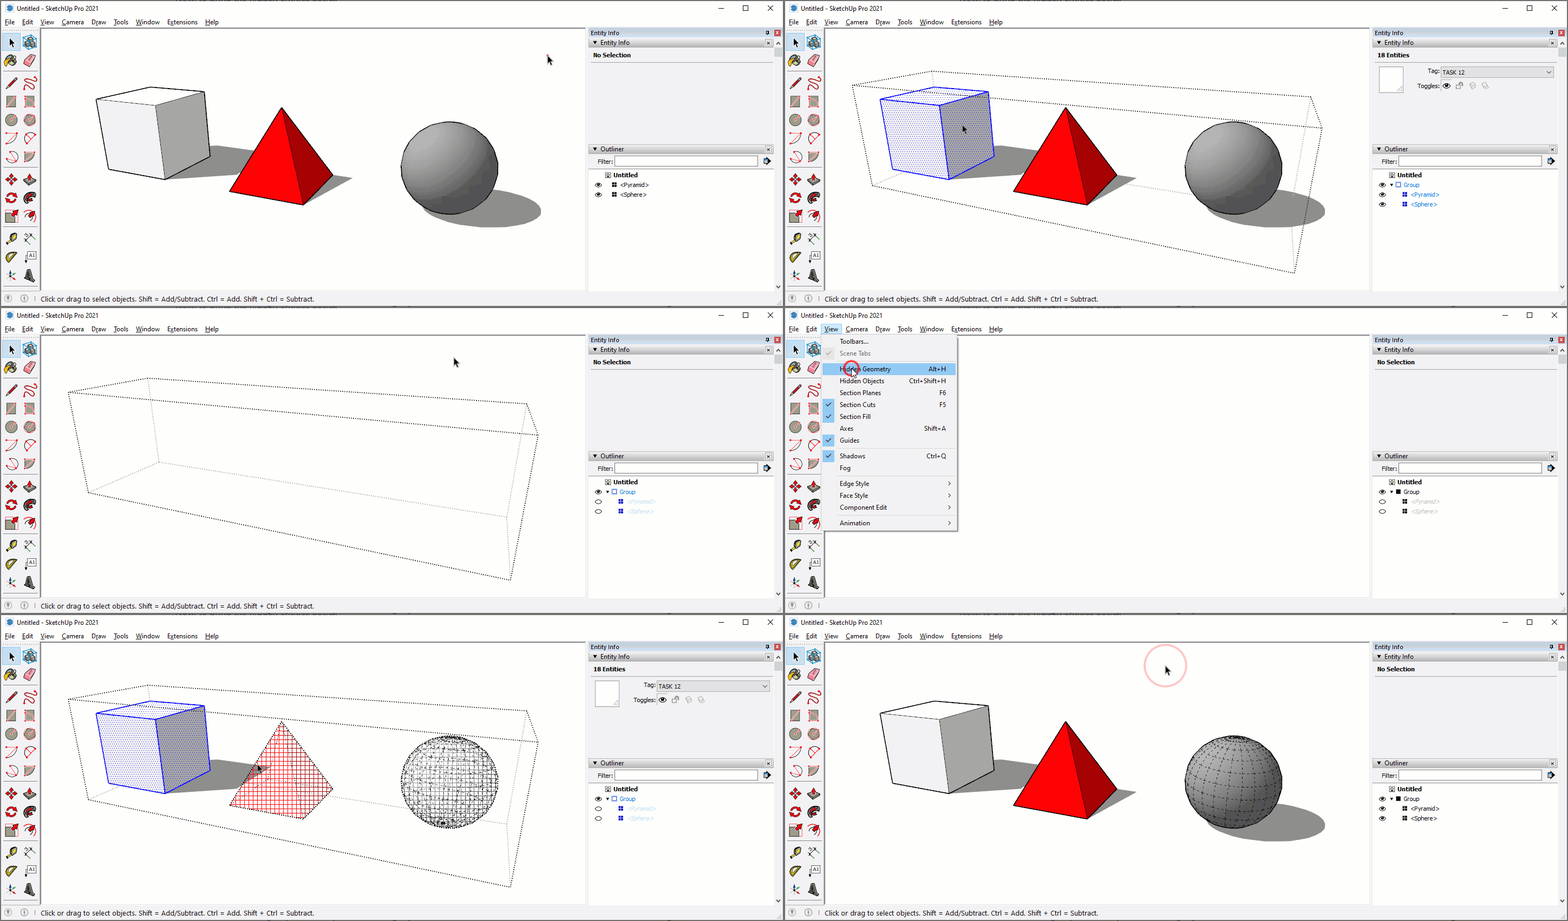
Hidden entities within groups and components are slightly more difficult. The Unhide All command does not reach through groups. In other words, if you have hidden entities contained in groups, you must be in the group, then run the Unhide All command to bring them back. Turn on Hidden Geometry and Hidden Objects to find the missing pieces.
- Click the Edit dropdown > View Hidden Geometry to see hidden edges and surfaces in a ghosted style. Now you can right-click on the hidden entity and choose "Unhide".
- Click the Edit dropdown > View Hidden Objects to see hidden groups and components in a ghosted style. Now you can right-click on the hidden entity and choose "Unhide".
Tags
Tags (formerly layers) are a permanent solution to the visibility of geometry. Tags are easier to control, more predictable, and unlike hiding they reach through nested groups. This makes them a more powerful and reliable function than simply hiding geometry. While SketchUp is a flexible 3d modeling program that just about anyone in any industry can use to visualize designs, here's how a few guidelines on how to use tags as architects and interior designers...
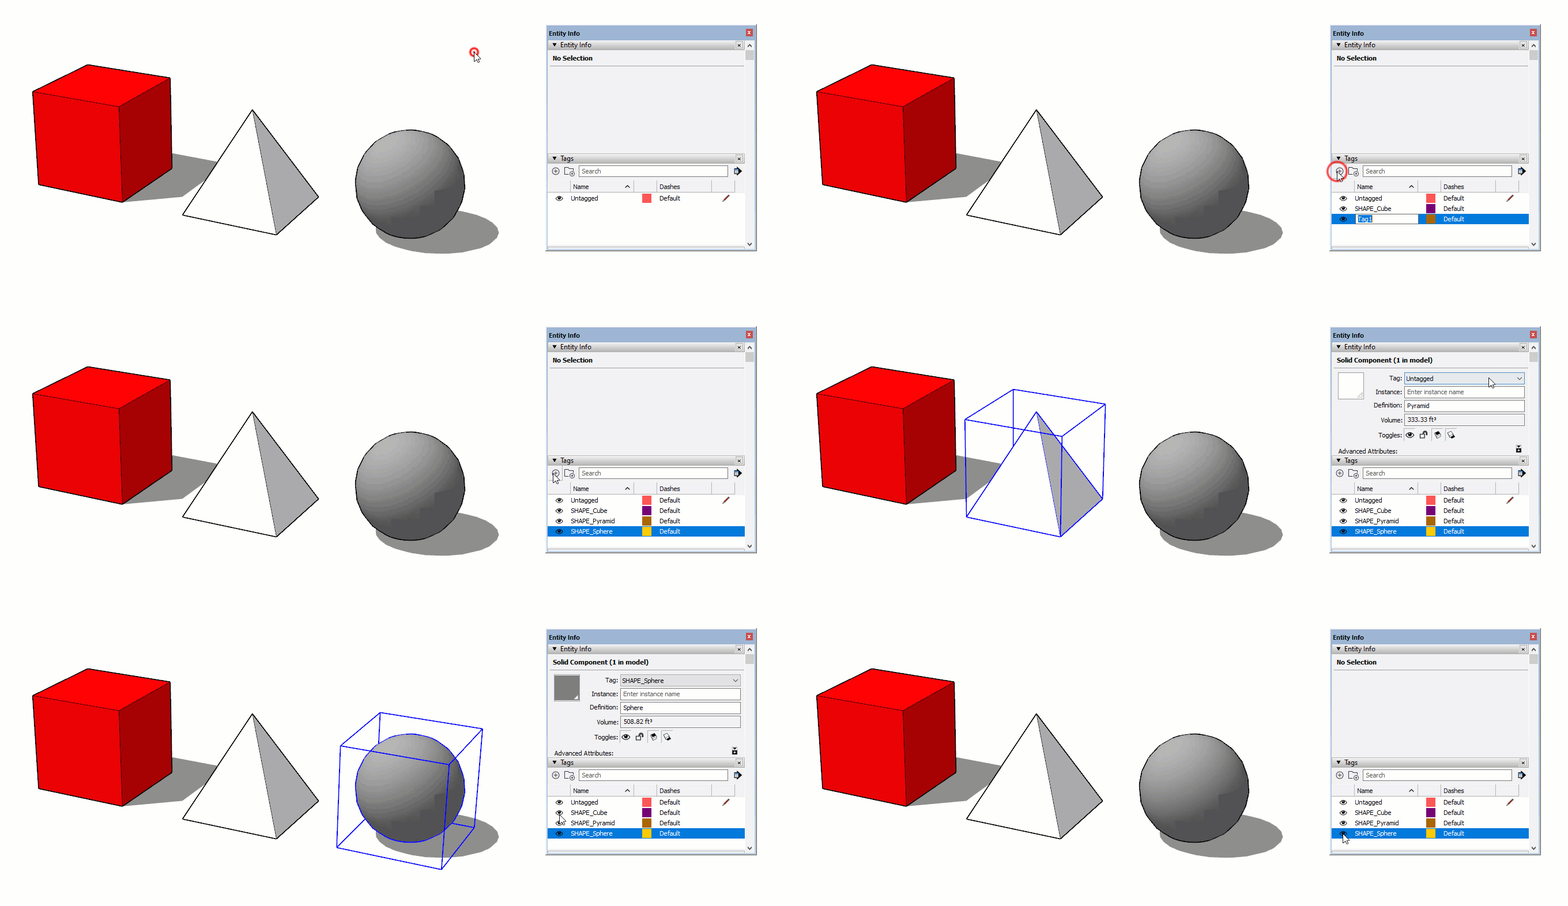
- Assign a tag to a selected entity by choosing a tag from the tag dropdown in the Entity Info dialog, or from the Tags toolbar.
- Add, delete, and organize tags in the Tags dialog.
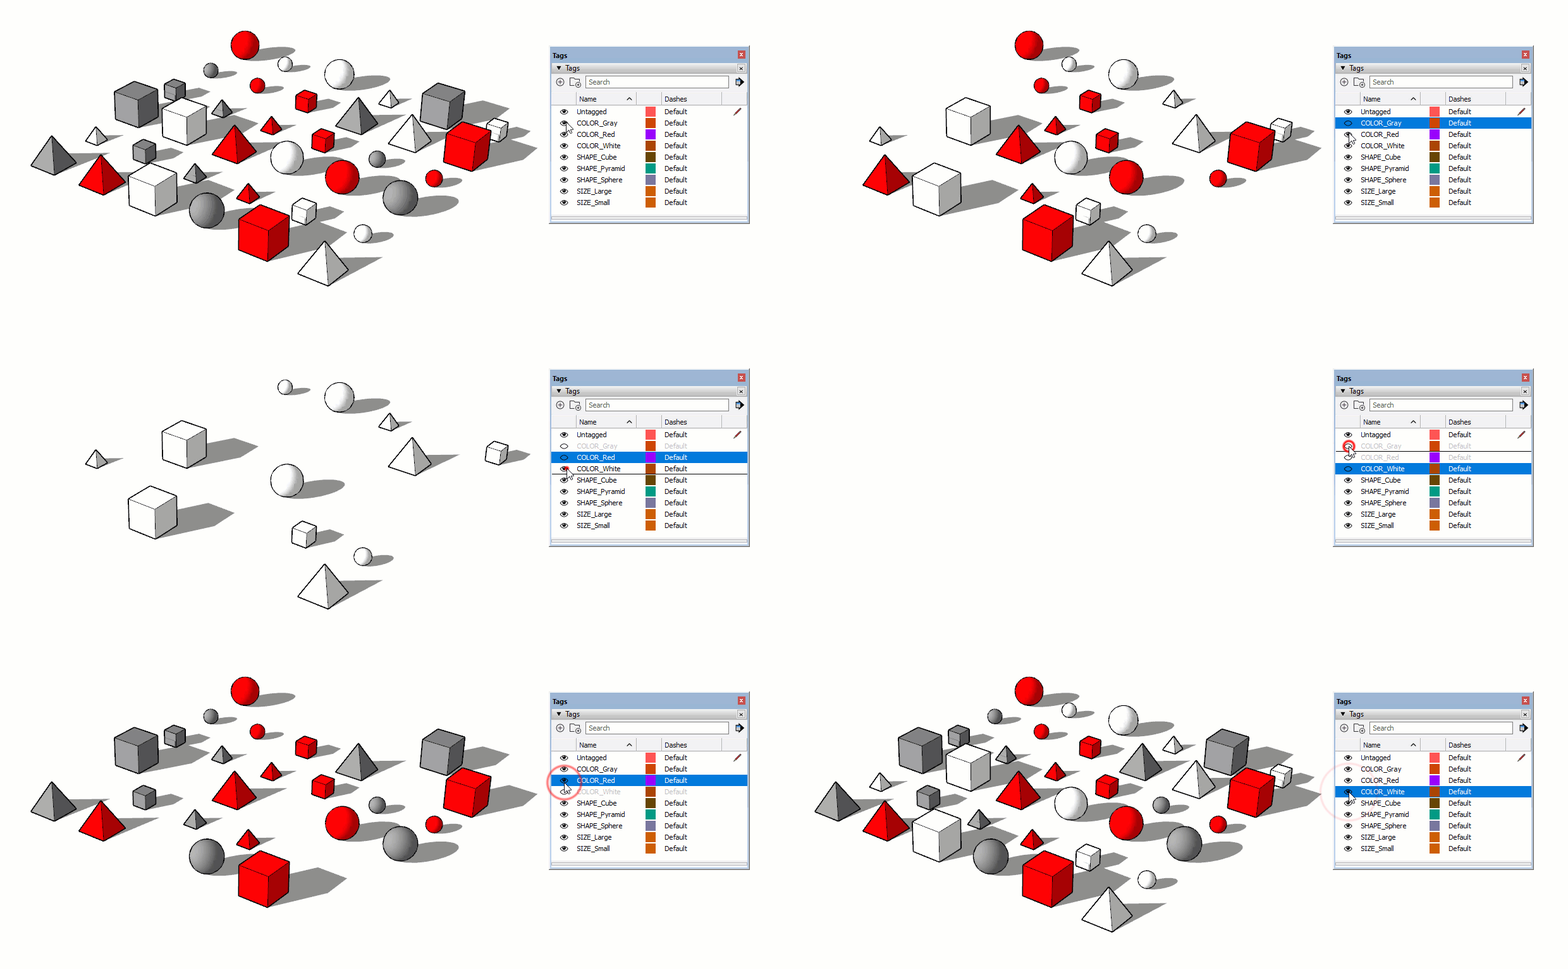
- Toggle tag visibility by clicking on the eye icon in the Tags dialog
- Untagged, which unfortunately cannot be renamed, should always be the active tag. This is indicated with the pencil icon to the right of the tag name. There is no reason to ever change the active tag to anything but Untagged.
- All edges and surfaces belong on Untagged. This will be easy to achieve since you are never going to change the active tag from Untagged. All entities you create will be added to Untagged.
- Only assign tags to groups
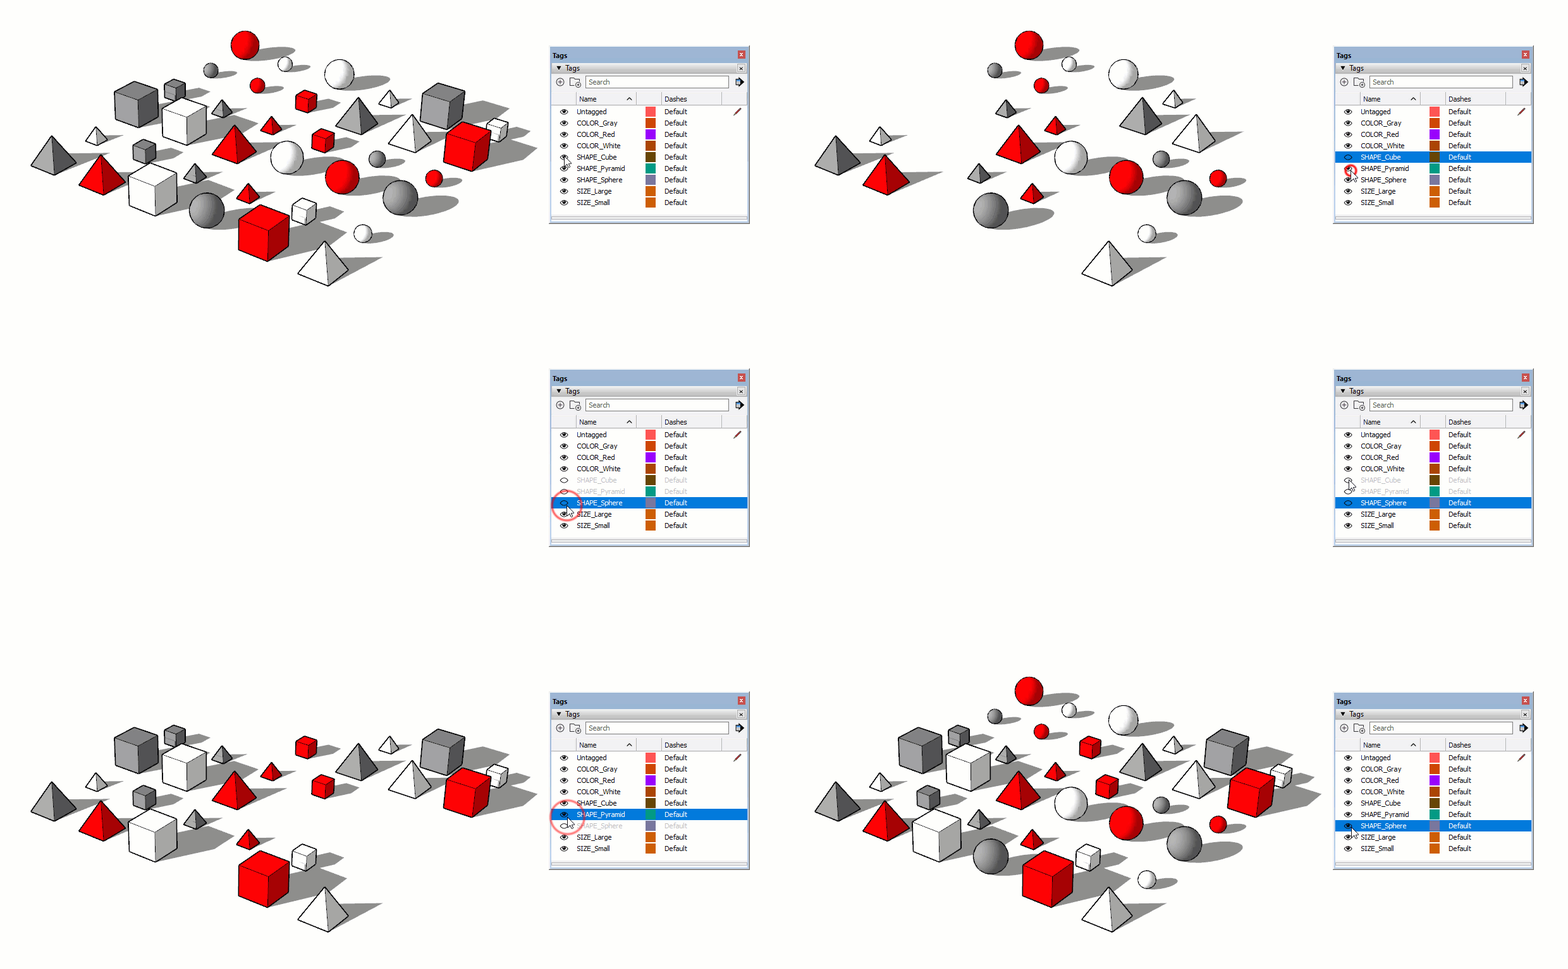
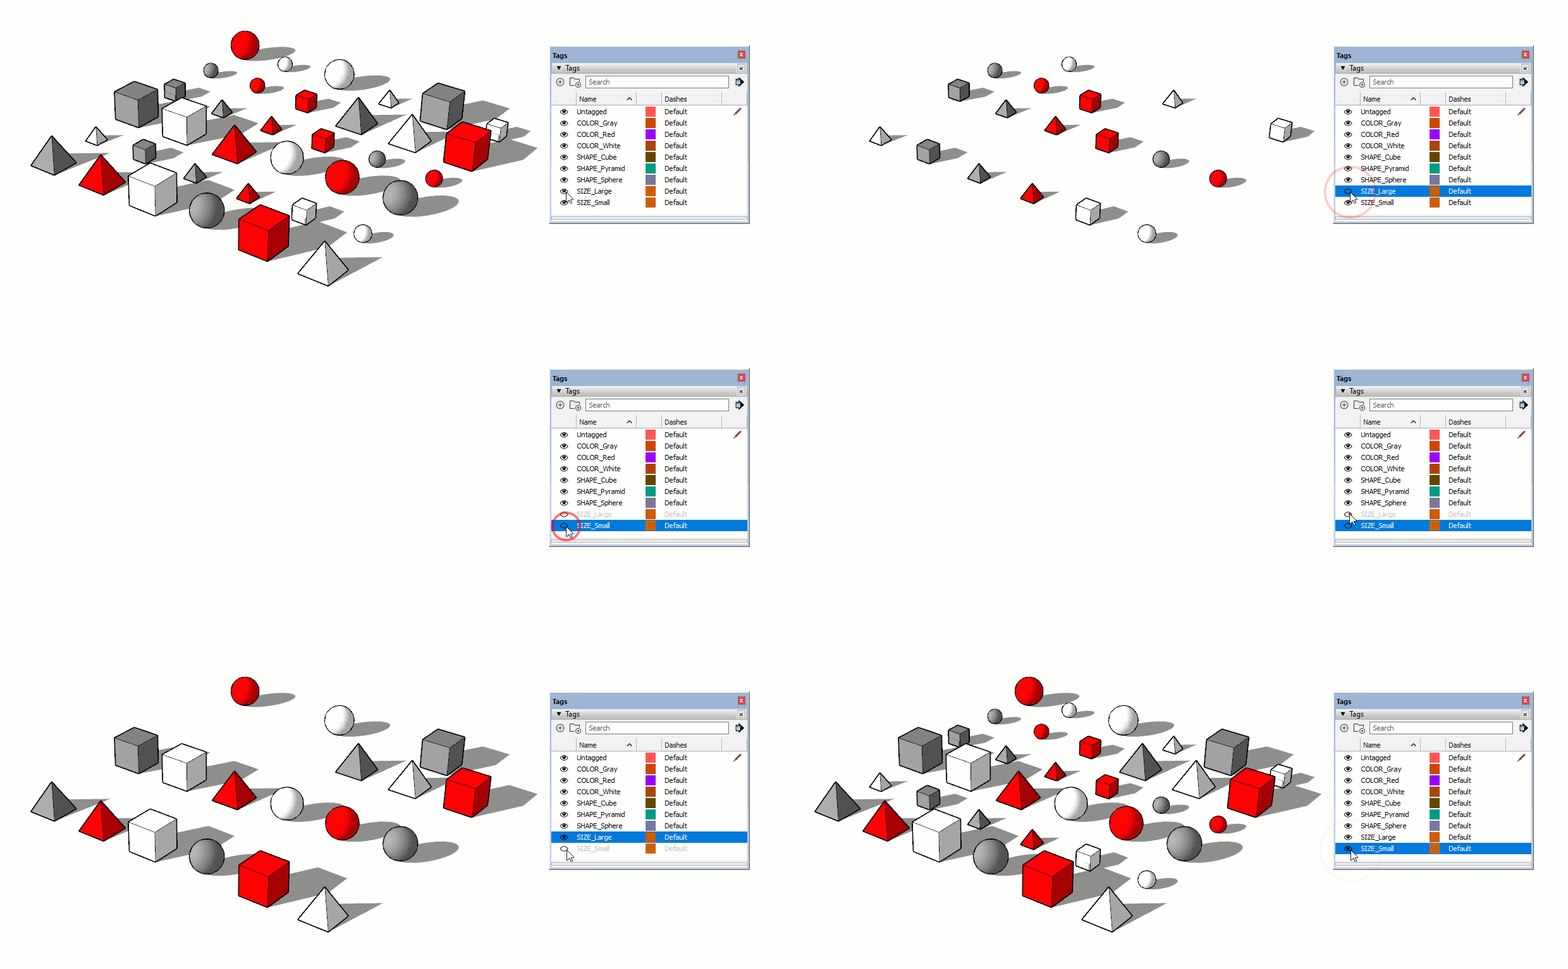
To demonstrate tags, I have added three tags: SHAPE_Cube, SHAPE_Sphere, and SHAPE_Pyramid. I assigned the tag to the corresponding component in the Entity Info dialog. You can see their visibility toggle on and off.
Nested Tags
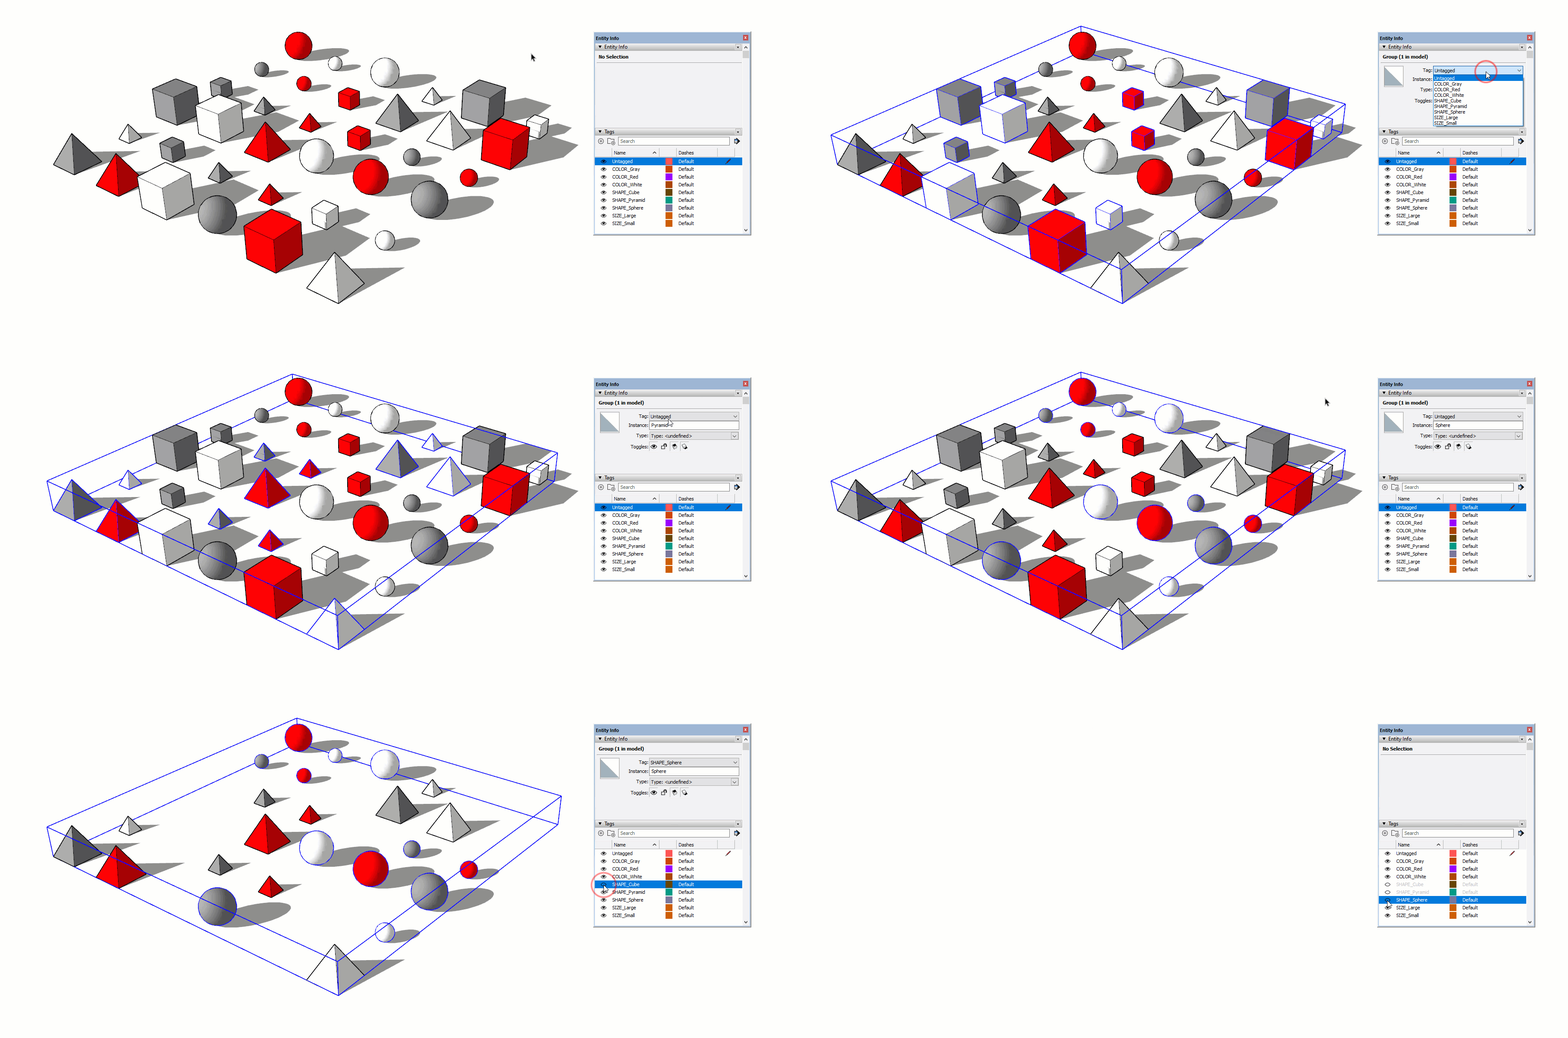
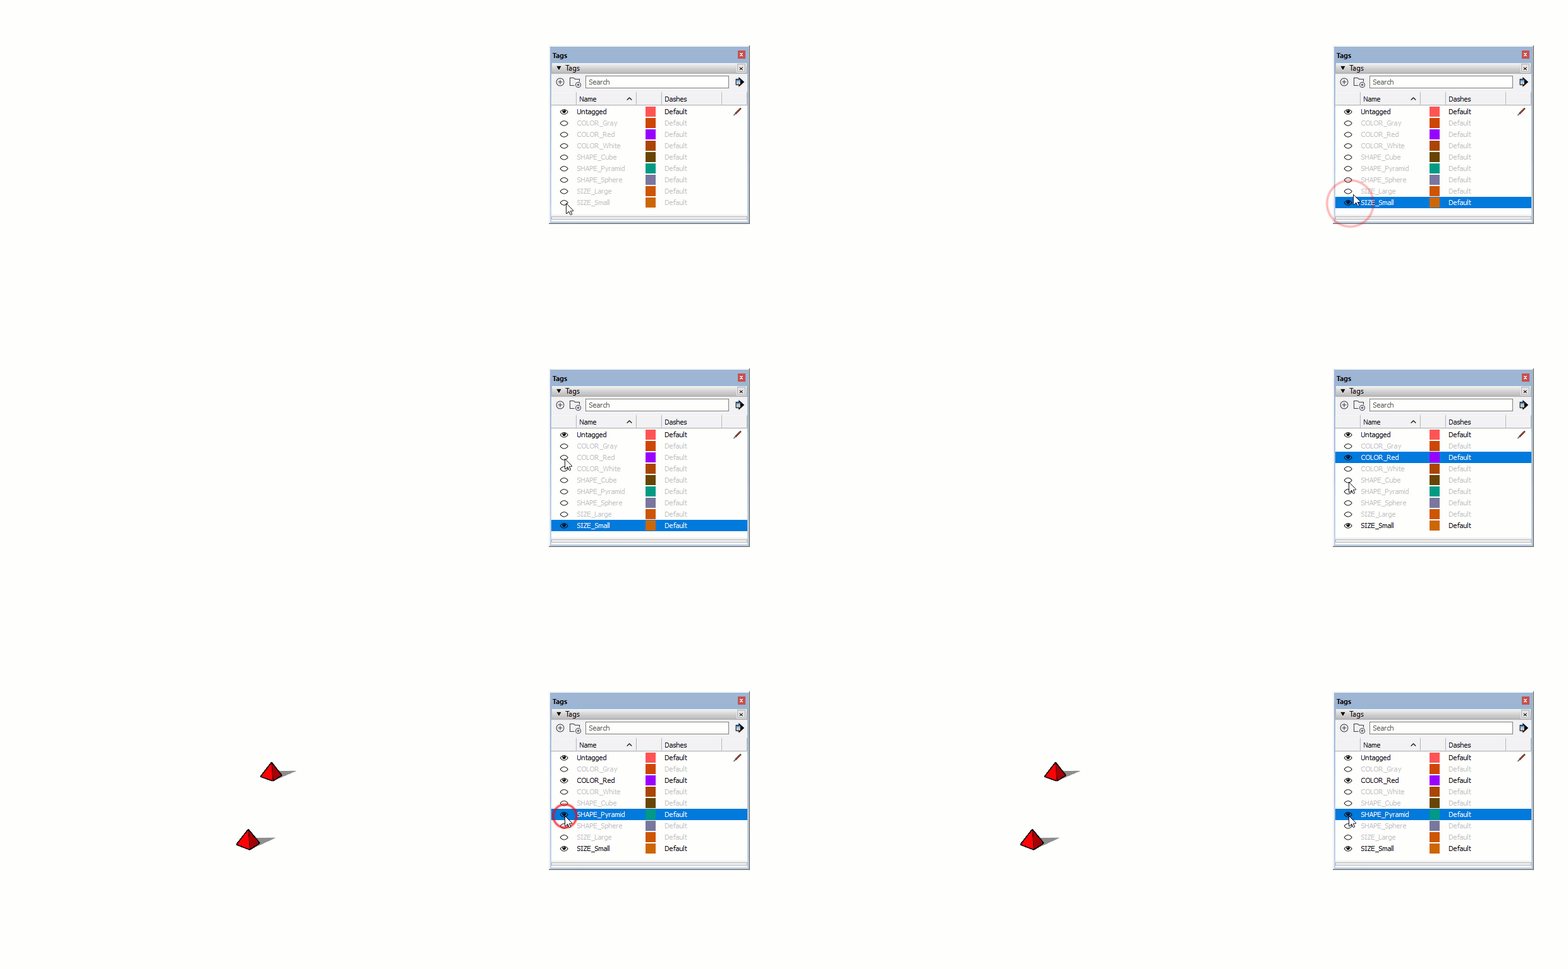
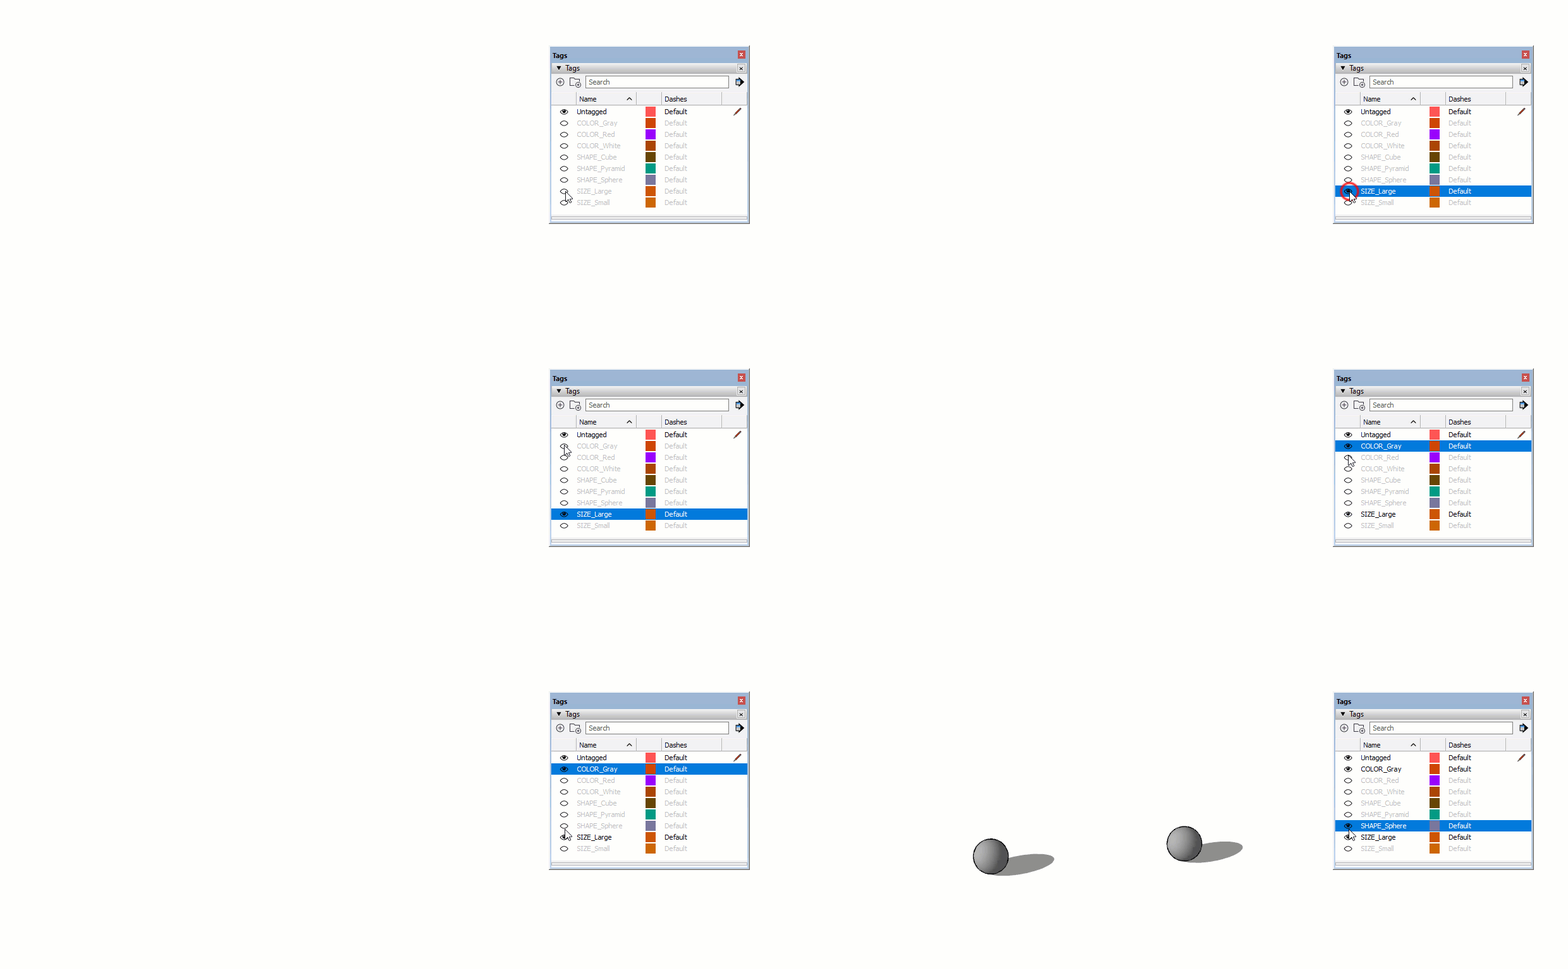
Unfortunately, you can only assign one tag to an entity in SketchUp. No problem! You can get around this by adding a tag to each nested group. We have already broken the model into a hierarchy of shape, color, and size. Now we just need to assign shape, color, and size tags to each of the nested groups.
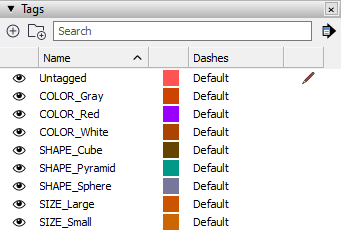
Starting at the base level of SketchUp, in other words not "clicked into" any groups...
- Select the Cube group and assign the SHAPE_Cube layer in the Entity Info dialog
- Select the Pyramid group and assign the SHAPE_Pyramid layer in the Entity Info dialog
- Select the Sphere group and assign the SHAPE_Sphere layer in the Entity Info dialog
Double-click into each Shape group...
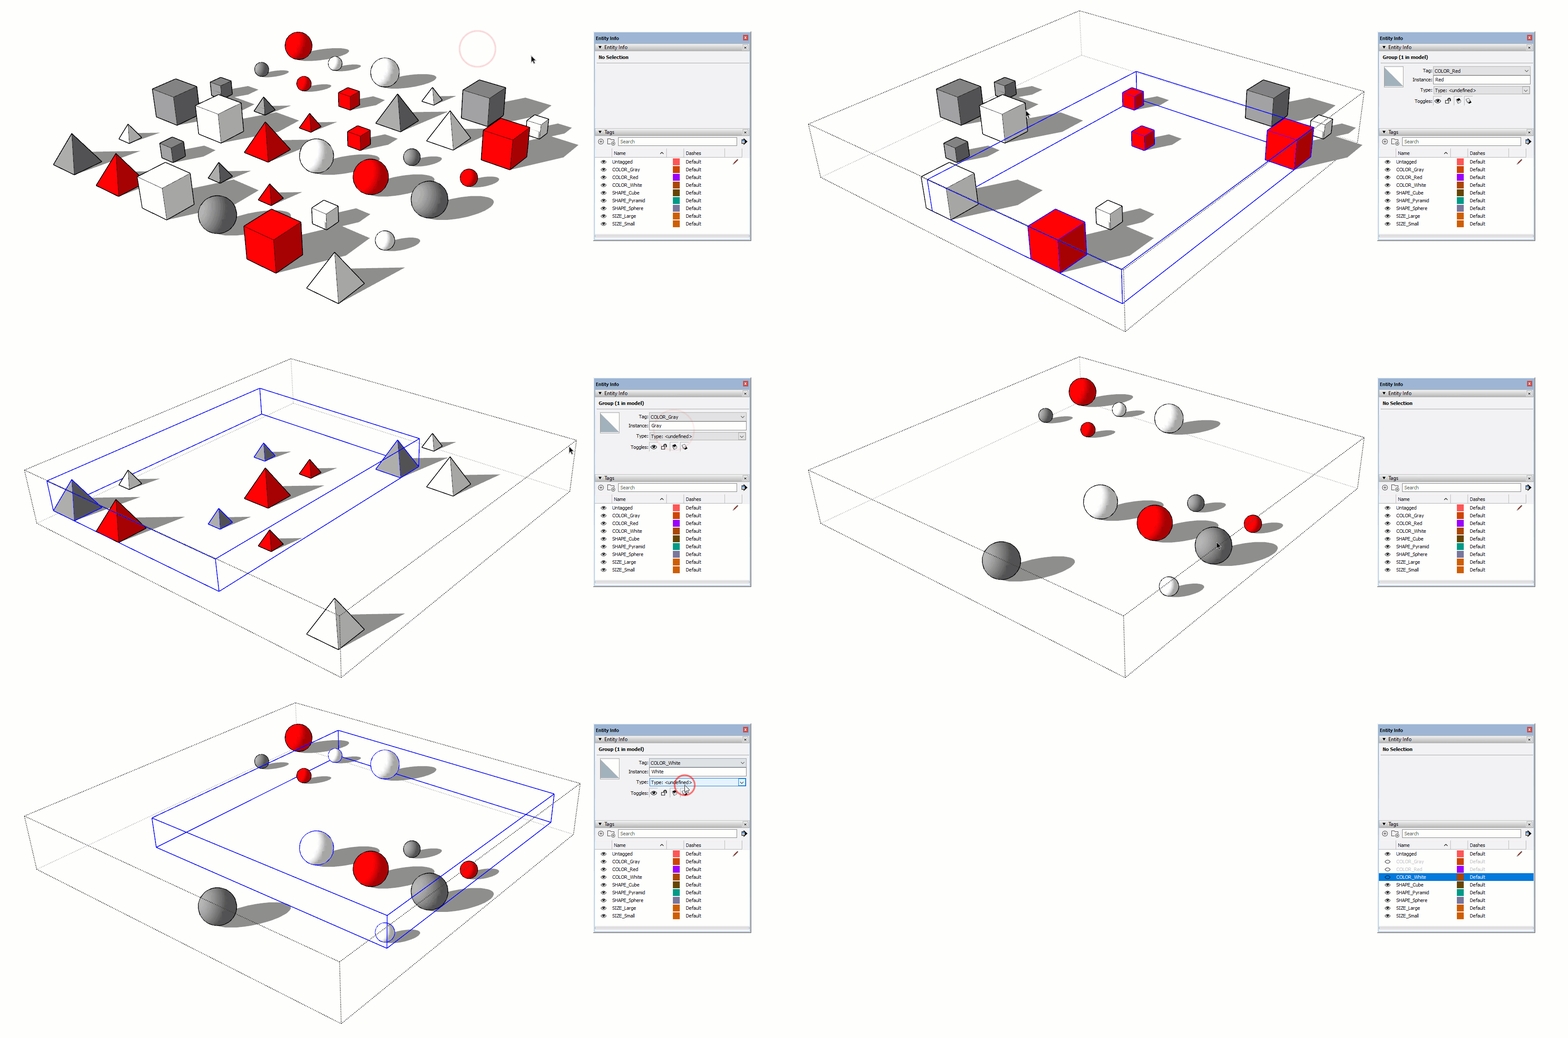
- Select the Red group and assign the COLOR_Red tag
- Select the Gray group and assign the COLOR_Gray tag
- Select the White group and assign the COLOR_White tag
Double-click into each Shape group, then double-click into each color group...
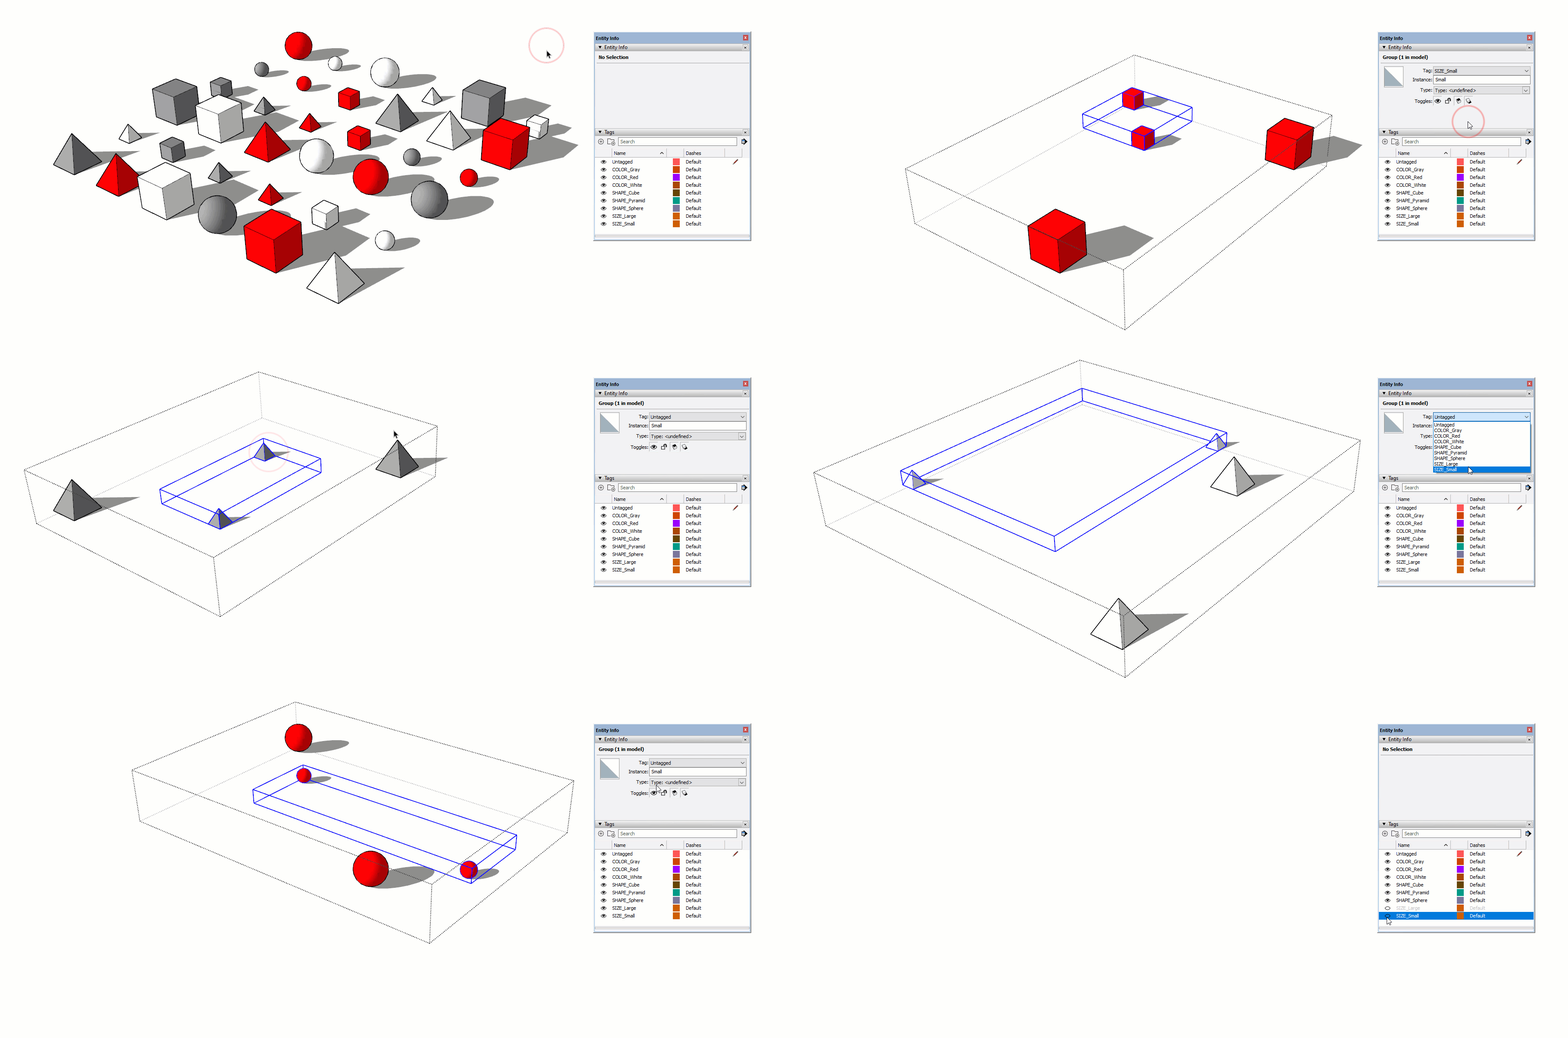
- Select the Large group and assign the SIZE_Large tag
- Select the Gray group and assign the SIZE_Small tag
