Drawing Tools
The Drawing Tools allow you to create simple geometric shapes composed of edges and surfaces. You can access the drawing tools from the Large toolset, or from the Drawing toolbar. You can do this in two ways.
- Right-click on any toolbar, then choose "Drawing" (PC only).
- Click on the Window dropdown > Toolbars (Tool Palettes on Mac) and check on the Drawing toolbar.
HEADS UP! Heads Up! Just about every tool in SketchUp has a "hotspot". Typically a red arrow within the icon or the tip of the pencil.
DIG DEEPER... Read more about the Drawing Tools on page 74 of "The SketchUp Workflow for Architecture".
Measurements Box
In order to effectively use the Drawing tools, you need to leverage the Measurements Box, an everchanging input field that is always ready for you to start typing. In other words, the Measurements Box changes depending on which tool is active, and you never need to click on it. It's simply waiting for your input at all times.
The Measurements Box is located at the bottom right of your screen by default. You can change the position by opening the Measurements toolbar. You can do this in two ways.
- Right-click on any toolbar, then choose "Measurements" (PC only).
- Click on the Window dropdown > Toolbars (Tool Palettes on Mac) and check on the Measurements toolbar.
If you wish to return the Measurements Box to the default position, simply close the toolbar.

HEADS UP!
The template we selected has default model units in inches, so there is no need to add the " for inches.
Line Tool

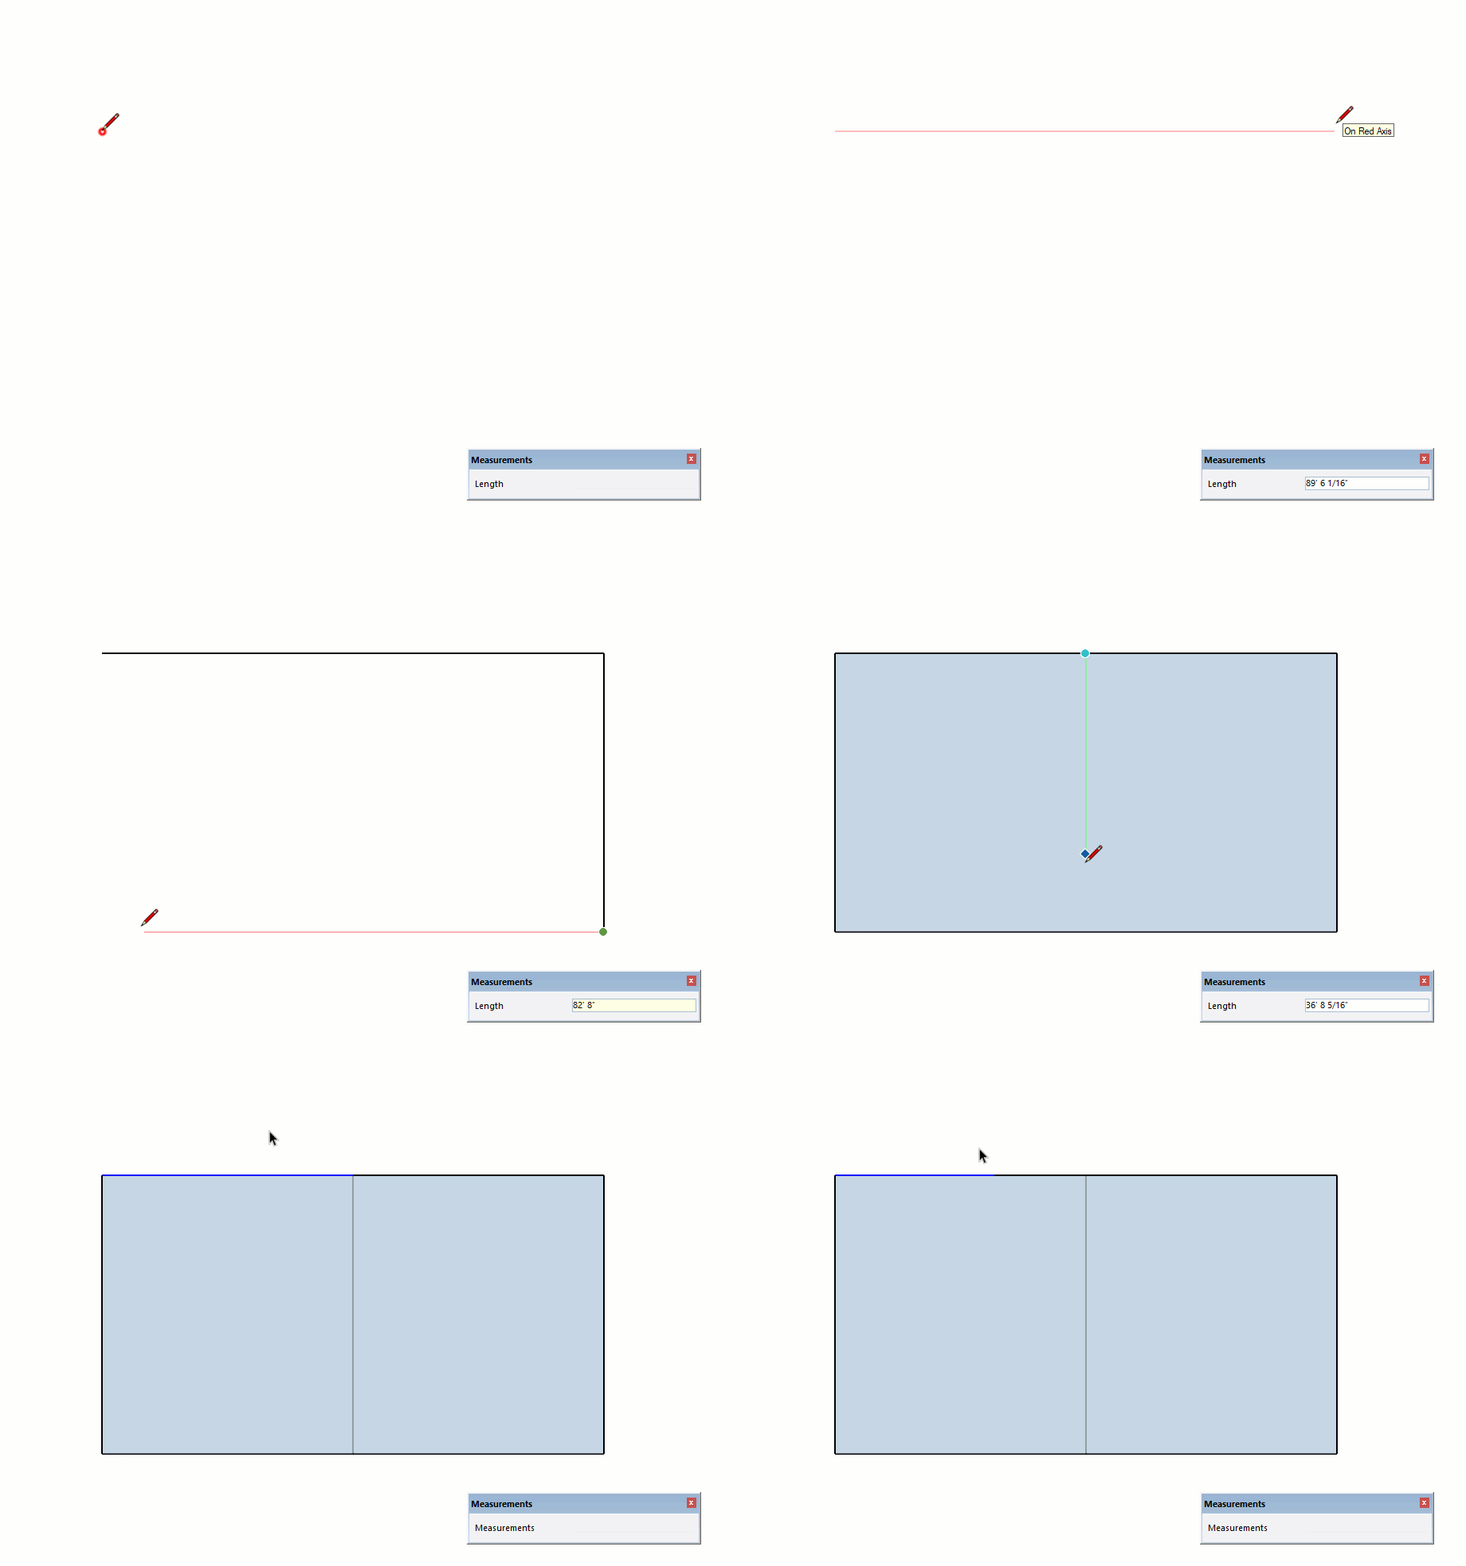
The Line tool allows you to draw sequential straight line segments. This tool is a seemingly obvious first choice, but it is actually best leveraged by dividing and refining existing geometry rather than creating new complex geometry line by line. Here's a few tips to keep in mind...
- Click once to start, move your cursor, then click again to finish. Don't click and drag!
- The Measurements box is always waiting for precise "Length" input.
- When the active edge is parallel with an axis, it will turn red, green, or blue. Hold Shift to lock.
- Tap the up arrow key to lock the blue axis, right for red, and left for green.
- The inference engine is always working to keep your geometry lined up with prompts like From Point, Midpoint, Endpoint, etc.
- Once you create a closed loop of coplanar edges, you will see a surface appear.
- The Line tool can be used to "heal" missing surfaces and divide existing line segments.
Rectangle Tool
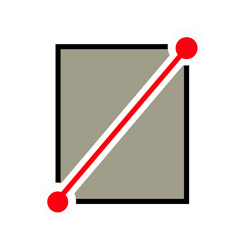
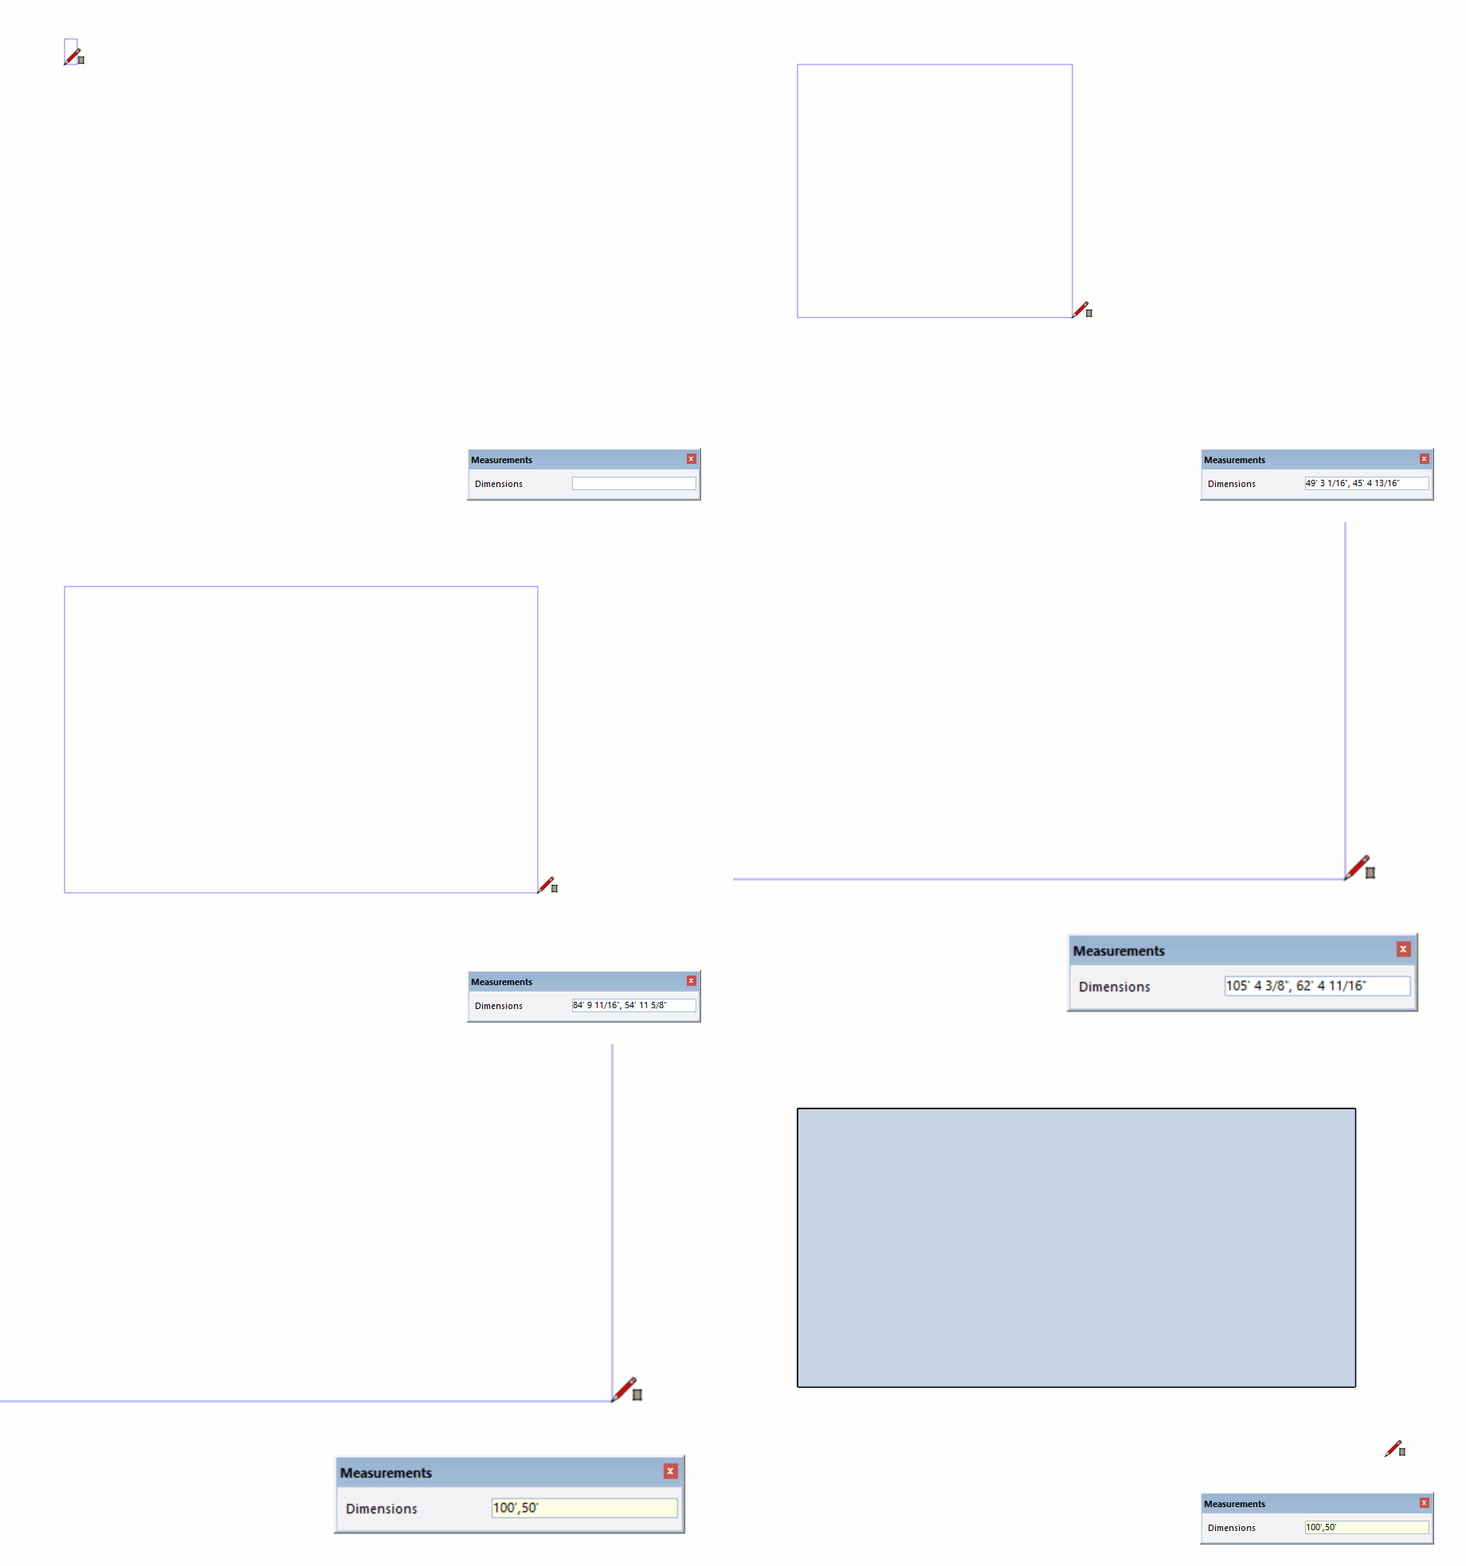
The Rectangle tool allows you to draw four edges and a surface with just two clicks. The resulting geometry is no different than geometry created by the Line tool, or any other Drawing tool for that matter. Here's a few tips to keep in mind...
Circle Tool
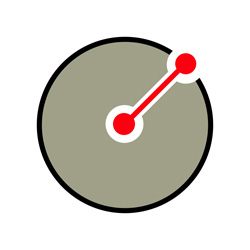
The Circle tool allows you to create a circle entity with a surface. Here's a few tips to keep in mind...
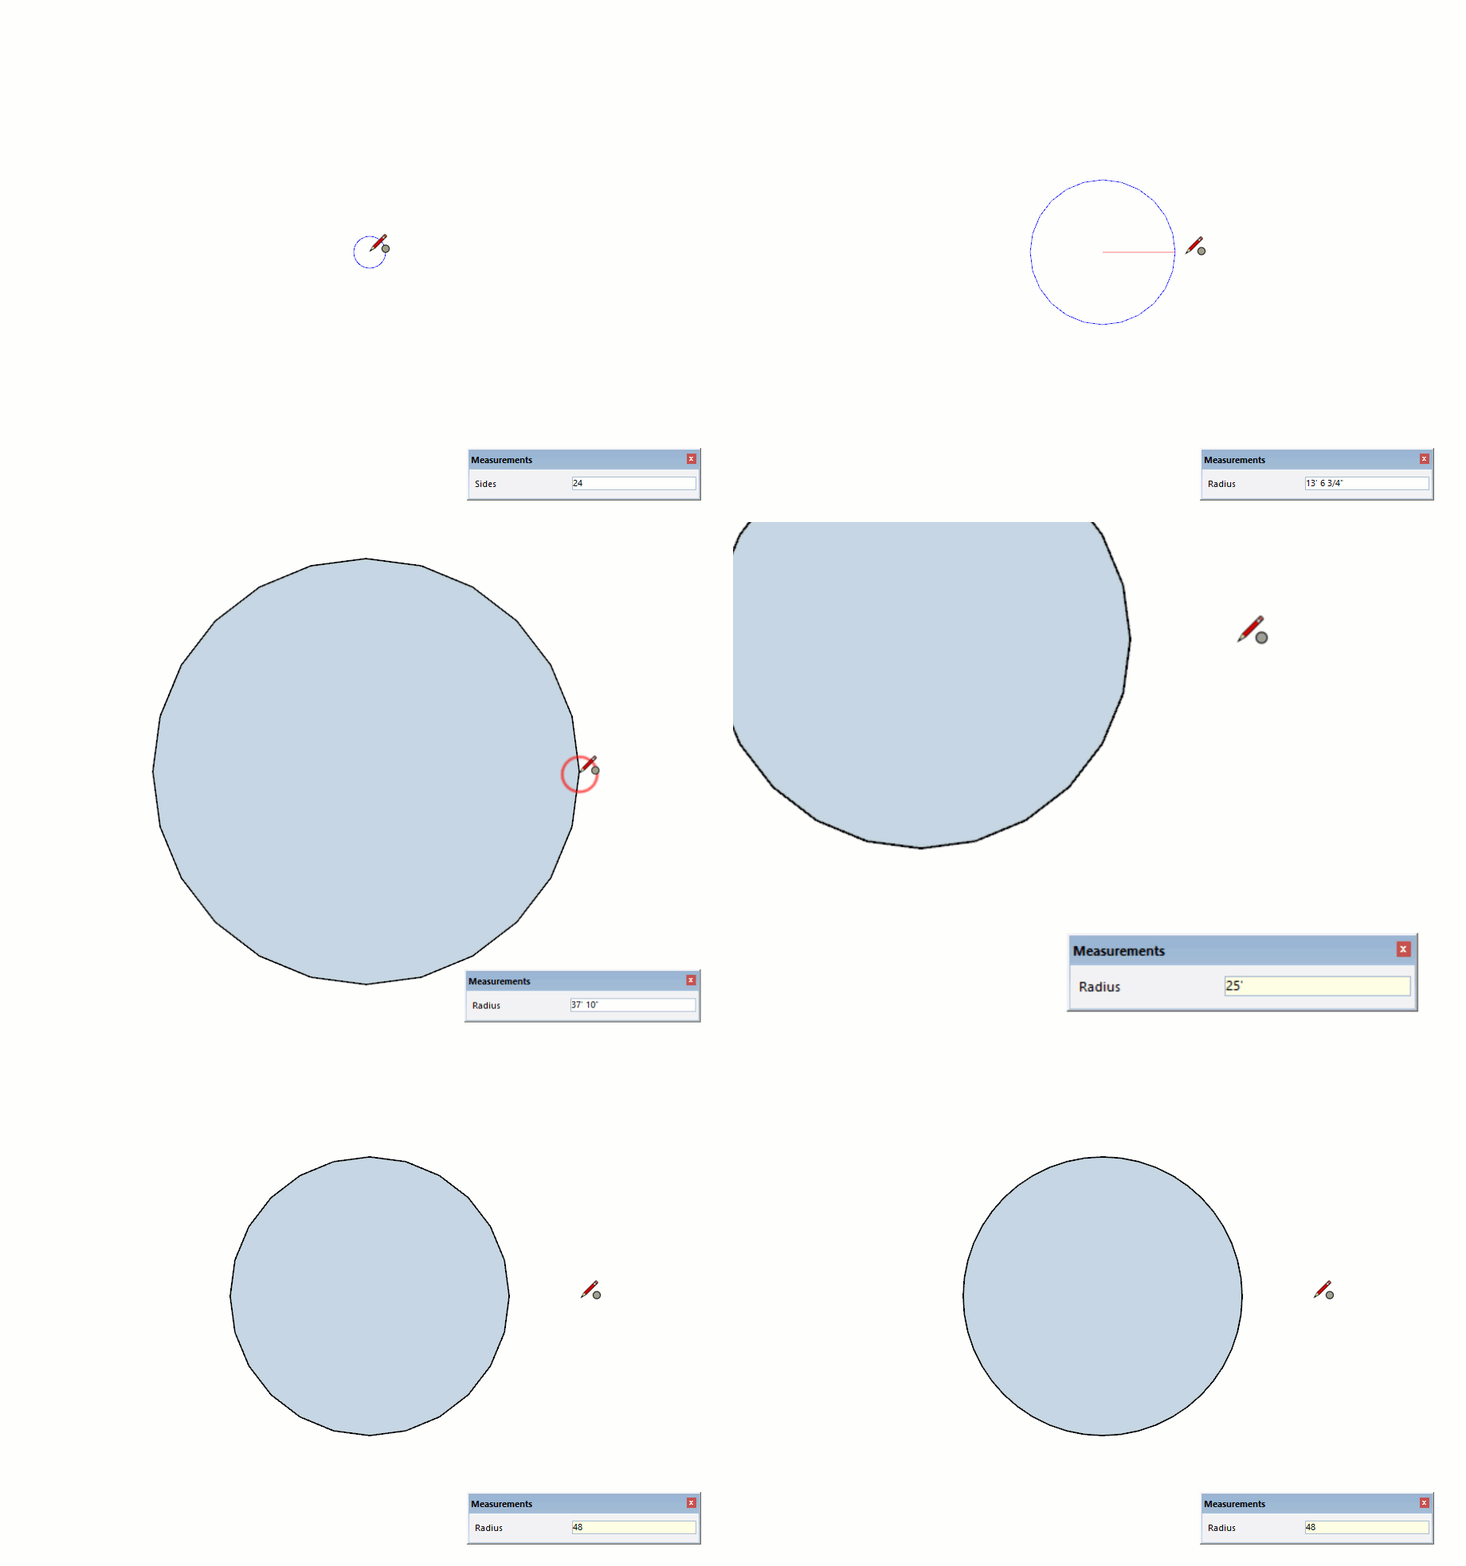
- When you activate the Circle tool, the Measurement dialog is ready for "Sides" input. The default is 24, which is smooth enough to look good, and light-weight enough to keep your moving fast. Keep in mind that if you change the number of sides this is your new default every time you activate the Circle tool.
- Click to start, move your cursor to set the radius, then click again to finish
- The Measurements box is now waiting for precise "Radius" input. Type the desired radius, then press Enter.
- You can change the number of segments by typing your input followed by "s", for example "48s, Enter".
- It's best to draw circles "on axis" by setting your radius distance inline with the red, green, or blue axis.
2 Point Arc Tool
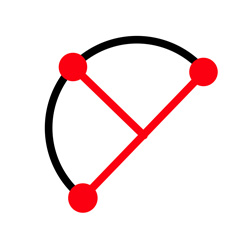
While there are several "arc" tools, the 2 Point Arc Tool is by far the most useful. Here's a few tips to keep in mind...
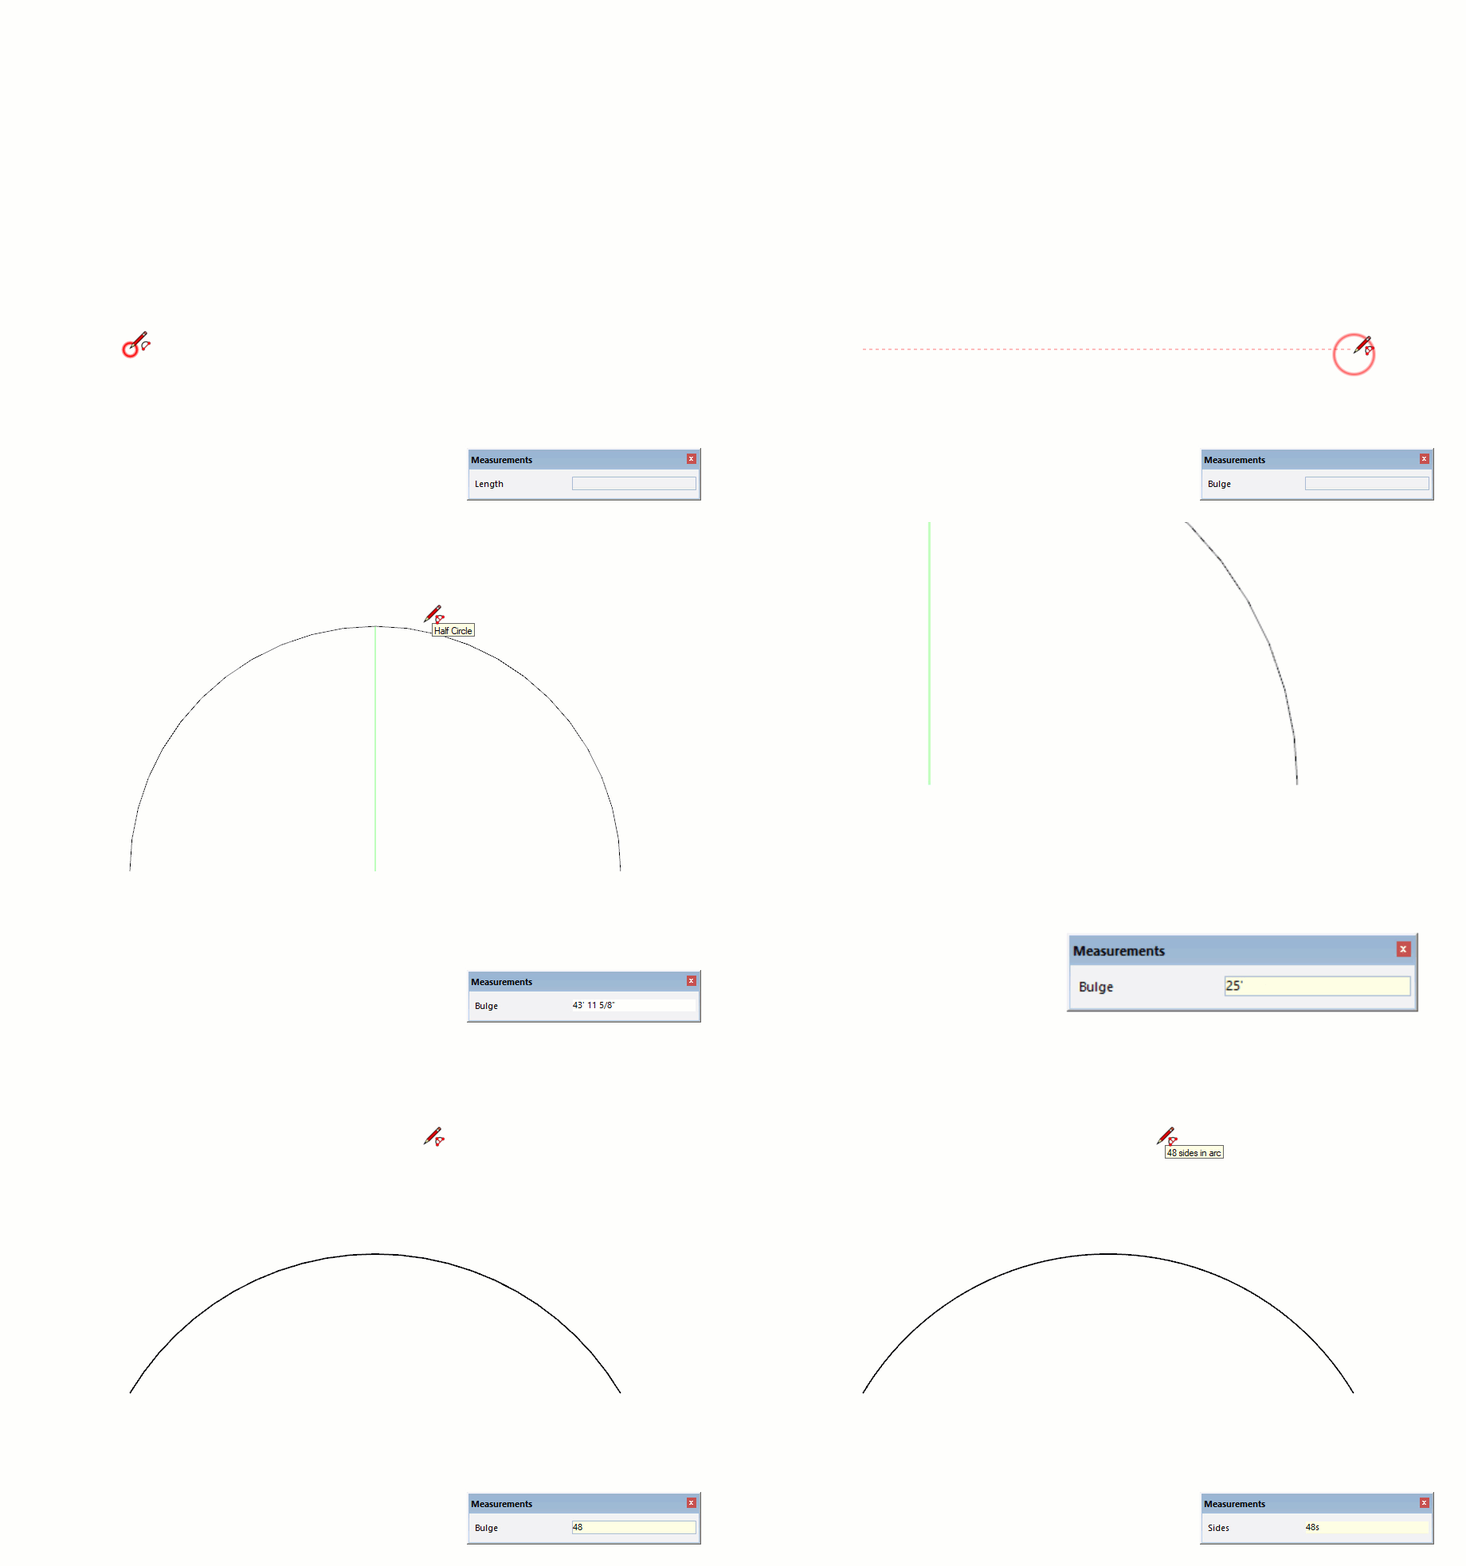
- Once active, the Measurements box is awaiting "Sides" input.
- Click once to set the start point, move your cursor and click again to set the endpoint, move your cursor and click again to set the bulge.
- After the first click, the Measurements dialog is ready for "Length" input.
- After the second click, the Measurements dialog is ready for "Bulge" input.
- You can change the number of segments by typing your input followed by "s", for example "48s, Enter".
HEADS UP! A command isn't over until you start another command. In other words, you can continue to change your input for any of the Drawing tools up until you activate any other tool.
Eraser Tool

The Eraser tool allows you to delete entities from your model. Here's a few tips to keep in mind...
