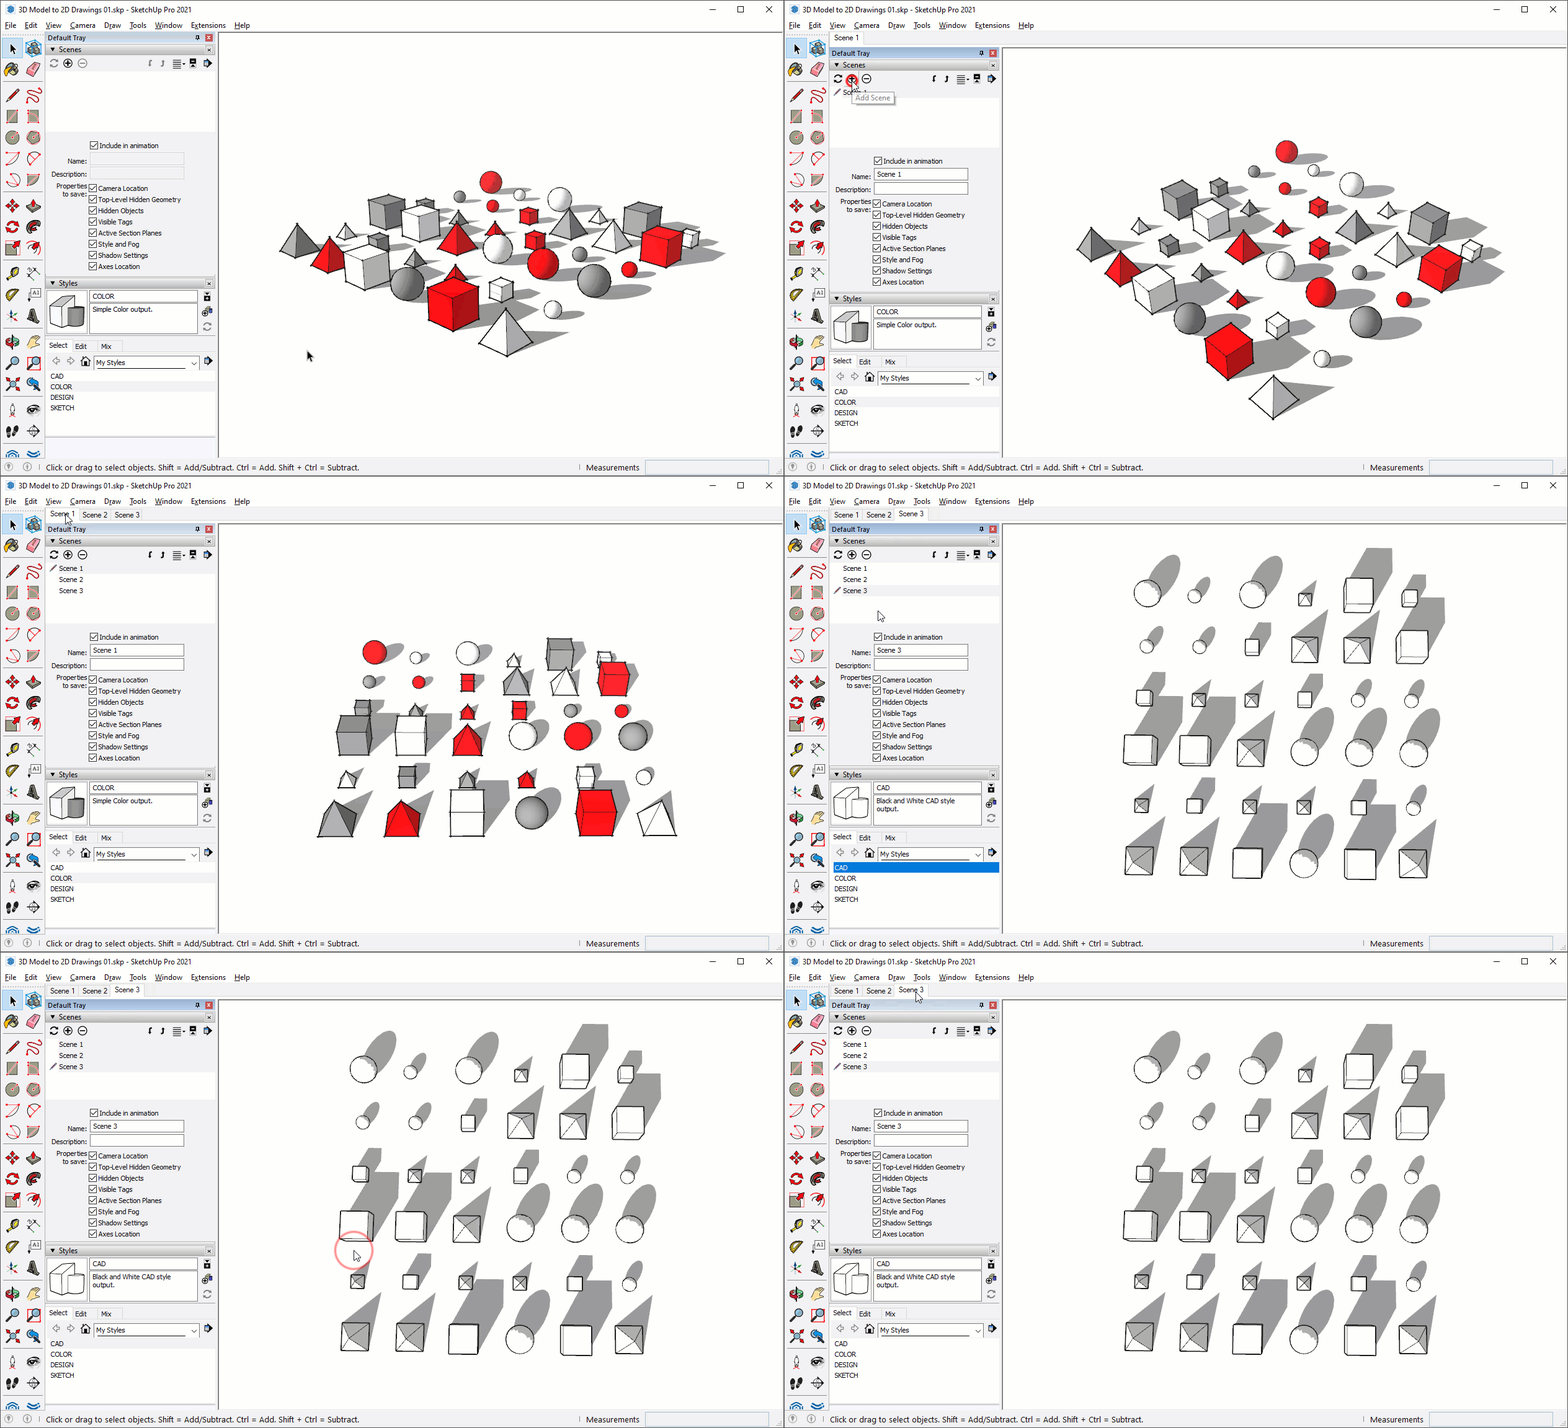
Scenes Overview
Scenes are managed in the Scenes dialog. Keep these tips in mind when working with scenes...
- Click the plus sign (+) to add a scene to your model.
- Click the minus sign (-) to delete a selected scene
- Click the context arrow at the far right, or right-click on a scene name within the scenes dialog for an extended context menu
- Click the "View Options" button to display your scenes in different formats. I like see my scenes as a list, I don't find any value in seeing a small picture of the scene. I only need the name.
- turn off scene thumbnails, these take time to render. annoying.
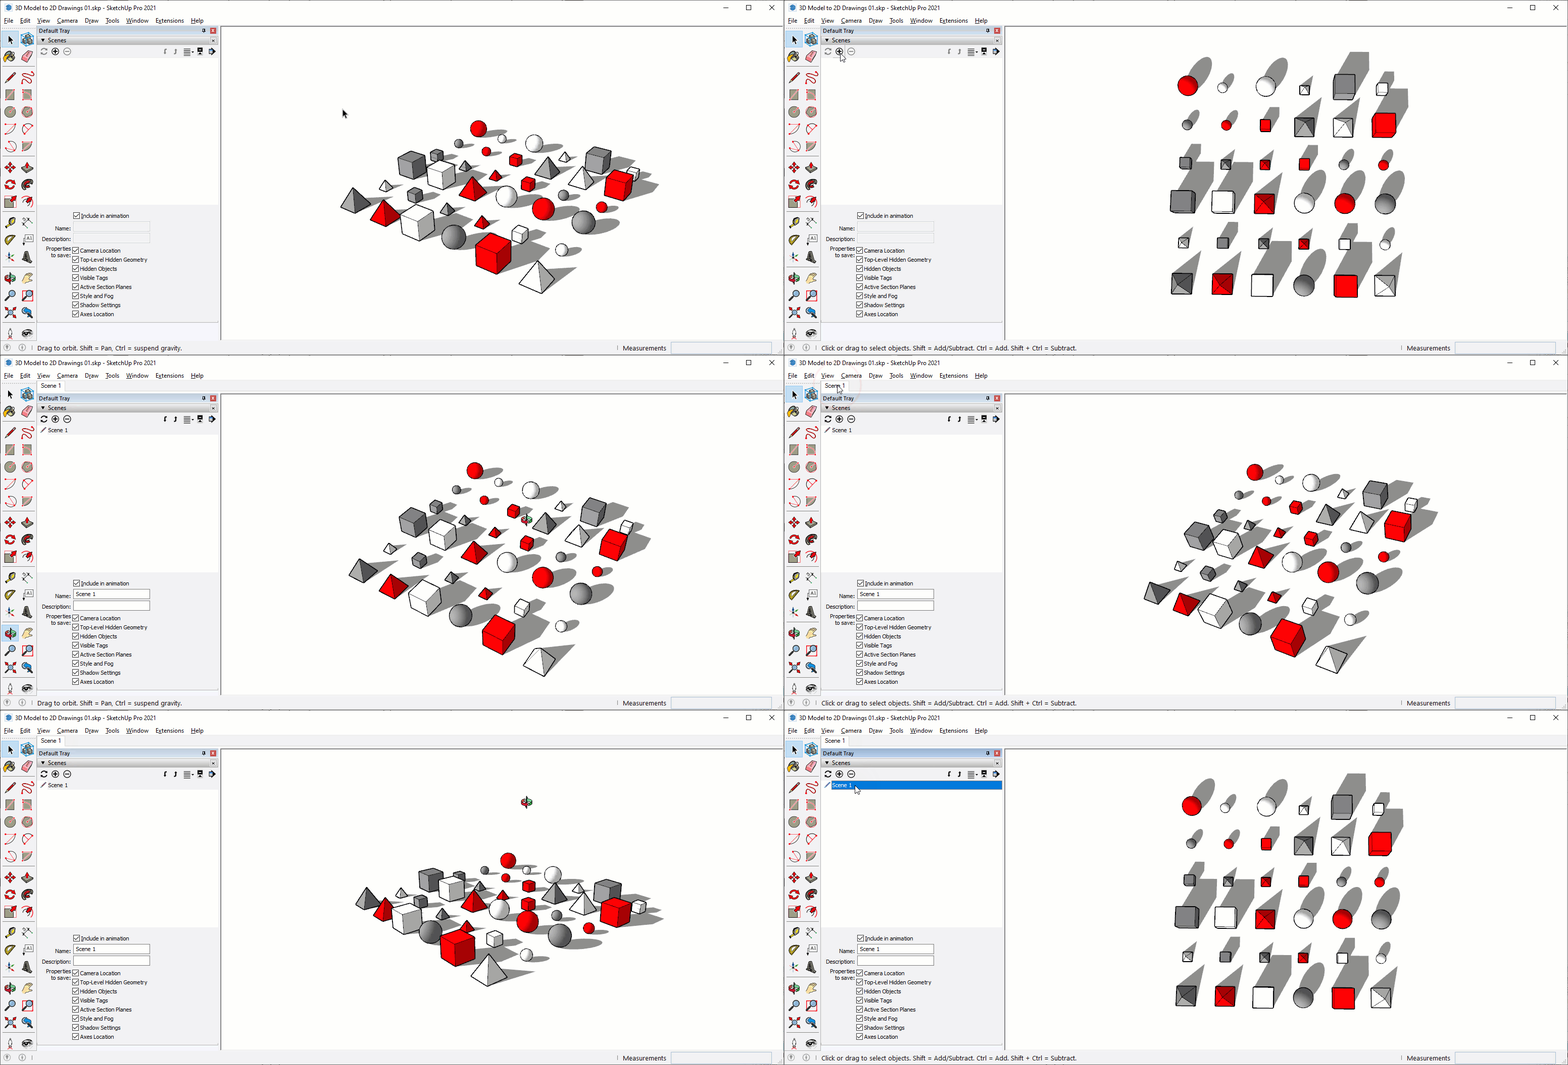
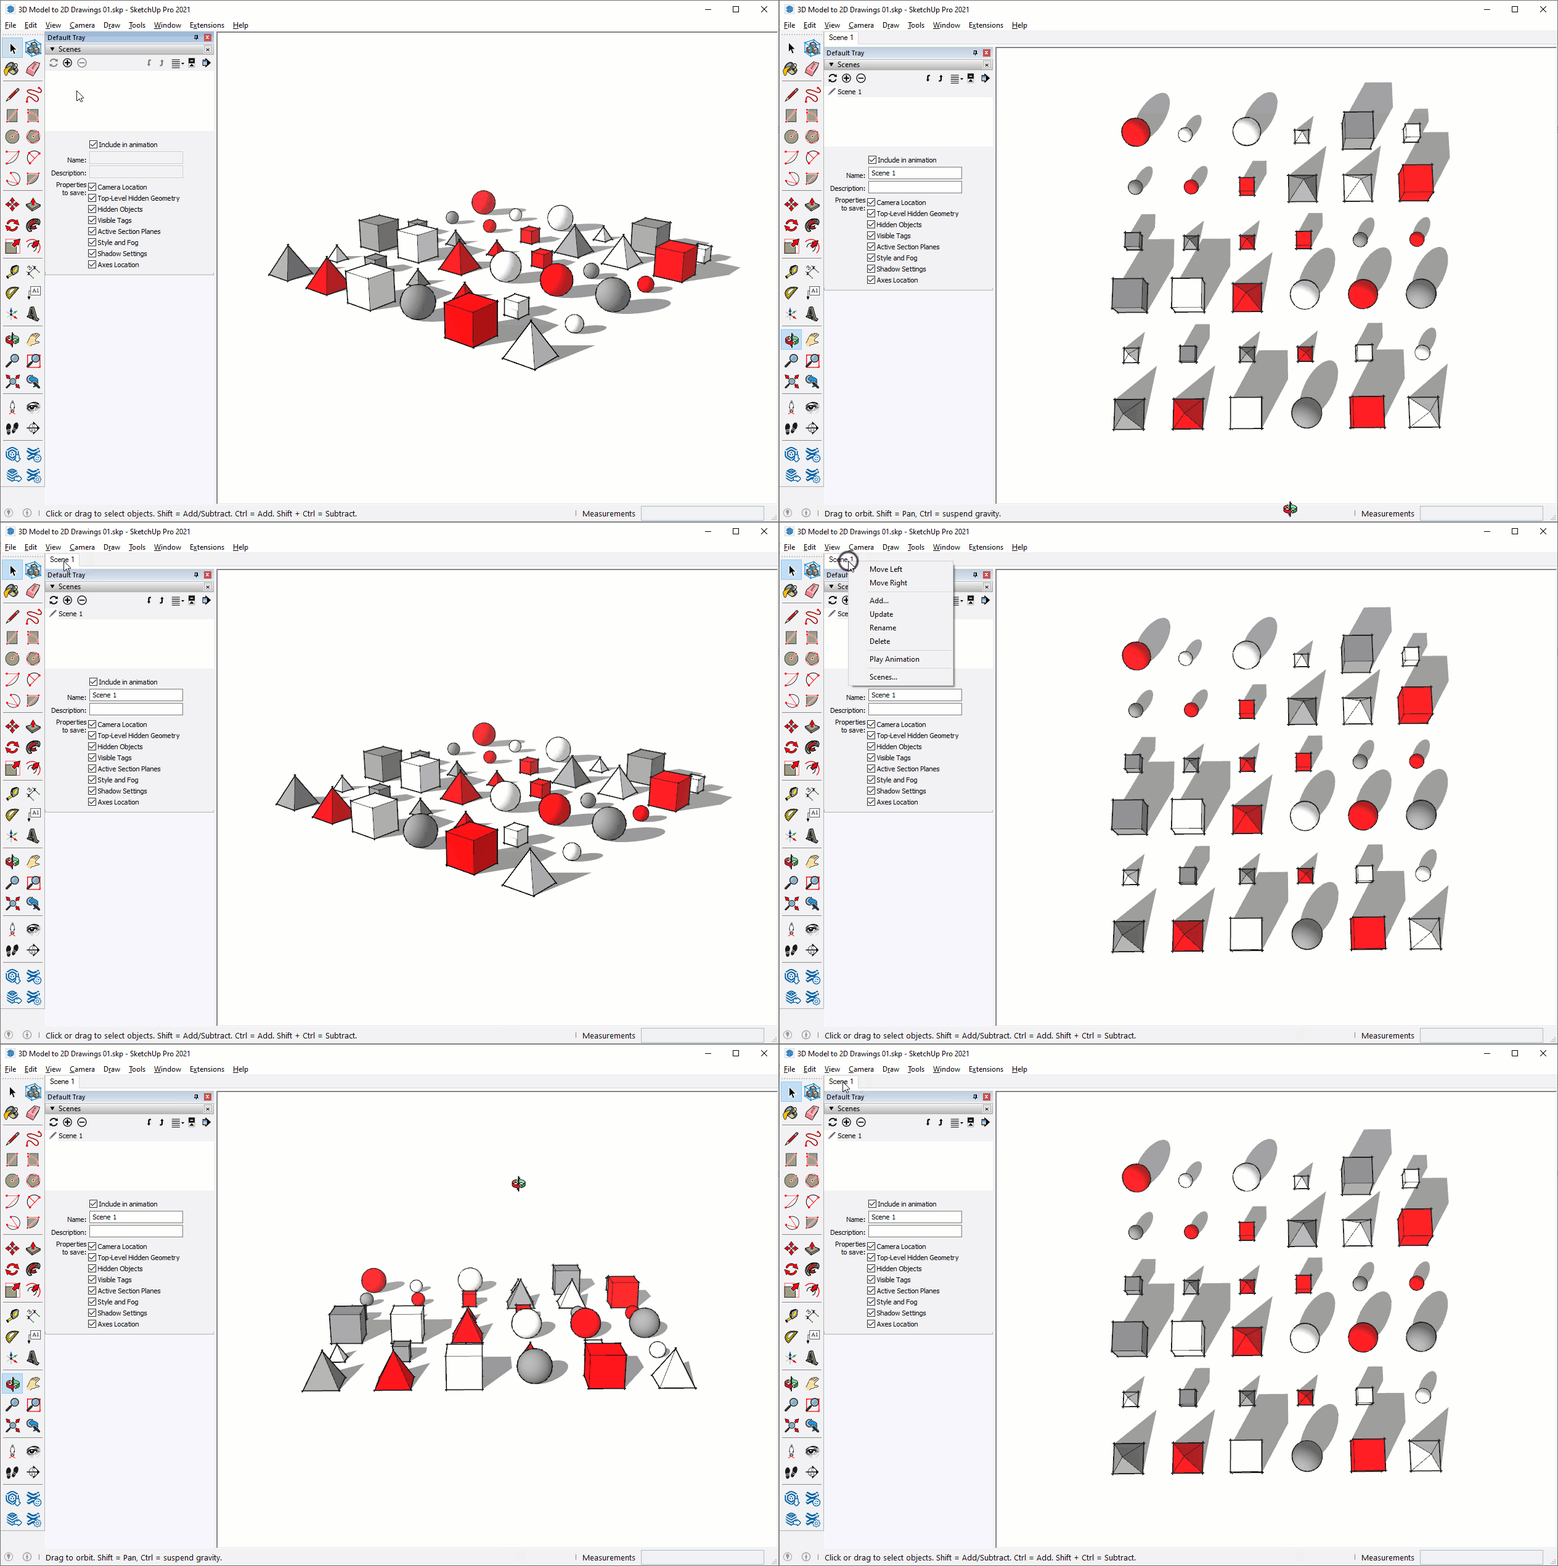
When you create a scene, you will see a new scene appear in the scenes dialog as well as a scene tab appears at the top of your screen. Recall a scene by clicking on the scene tab at the top of your screen, or by double-clicking the scene name within the Scenes dialog.
HEADS UP! Scene transitions look cool the first few times you see them, but the effect quickly wears out. Save yourself time by turning them off. Click the Window drop-down > Model Info > Animations. Uncheck "Enable Scene Transitions".
Properties to Save
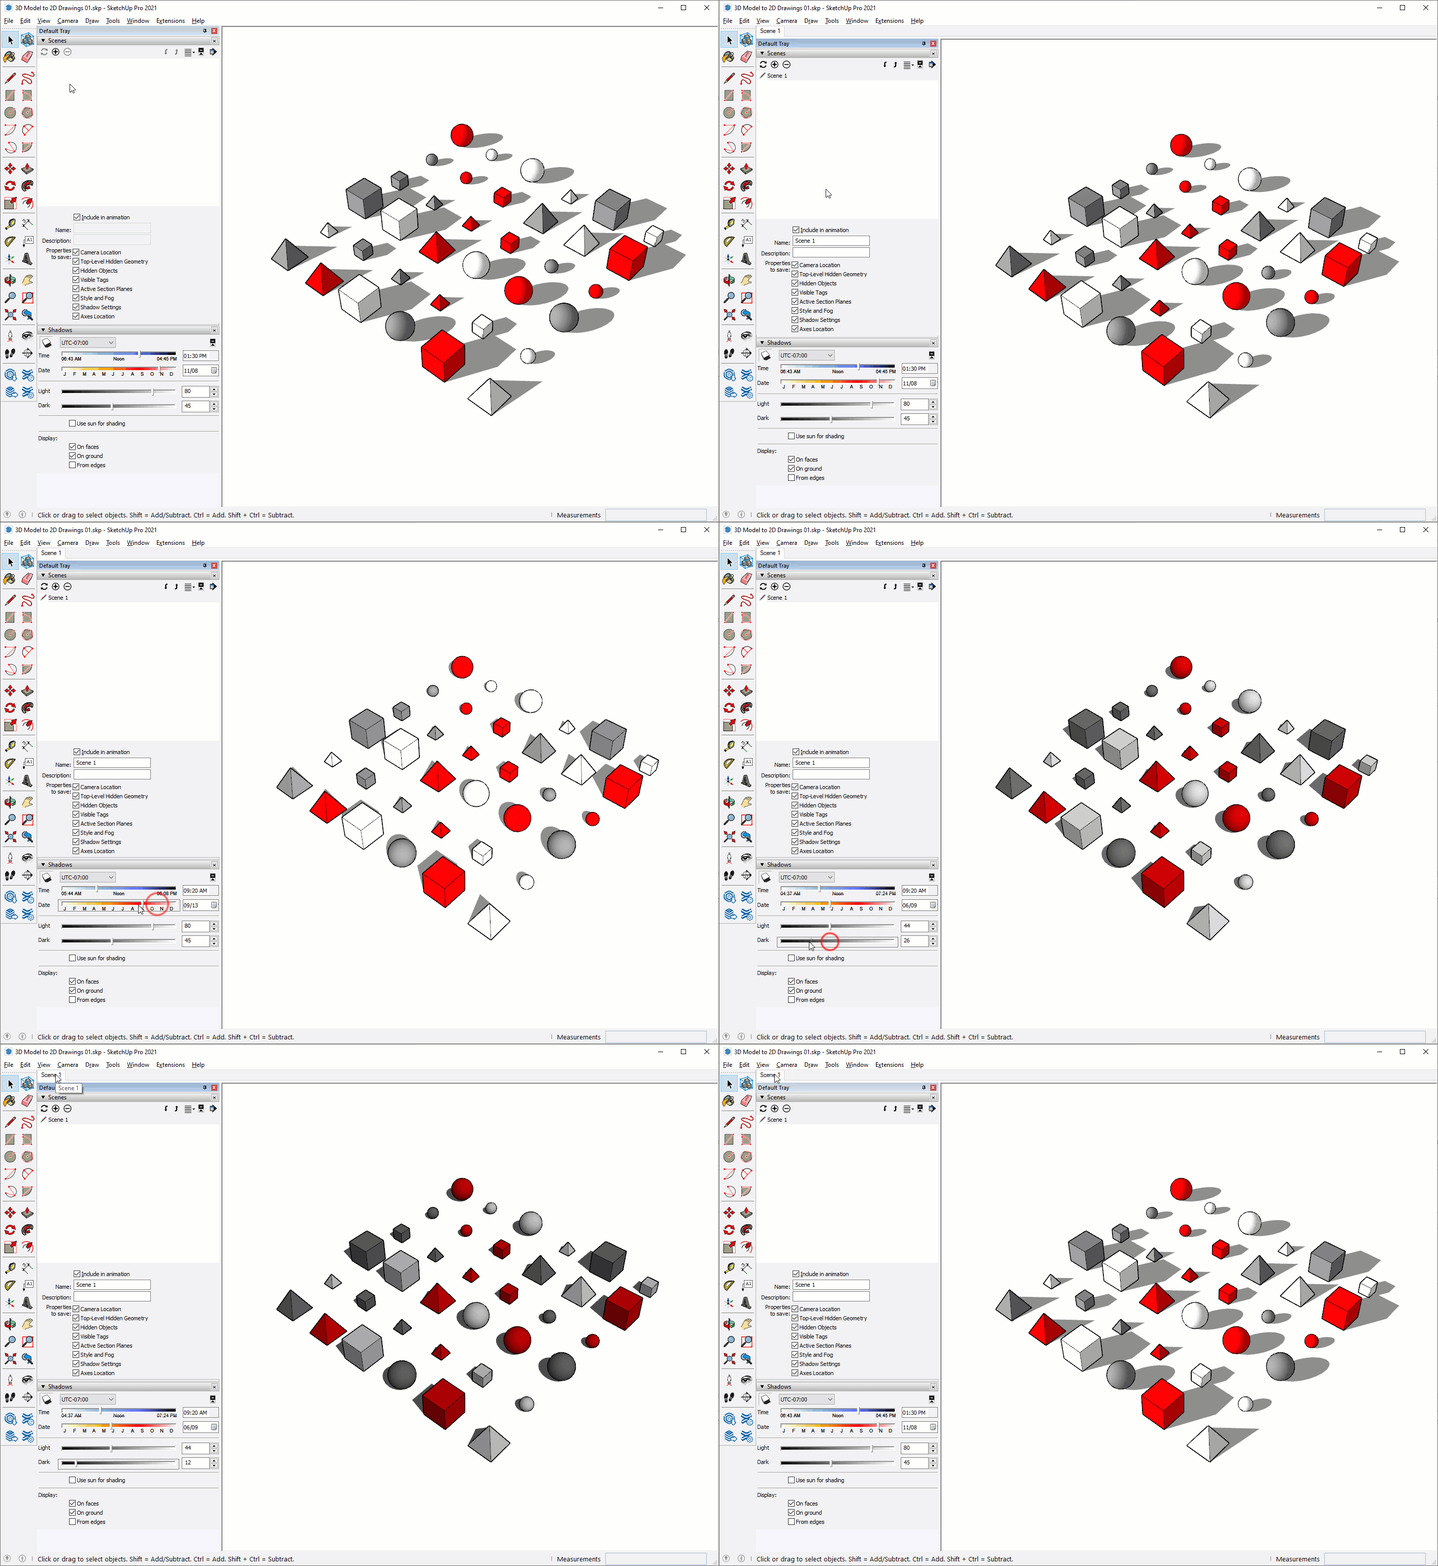
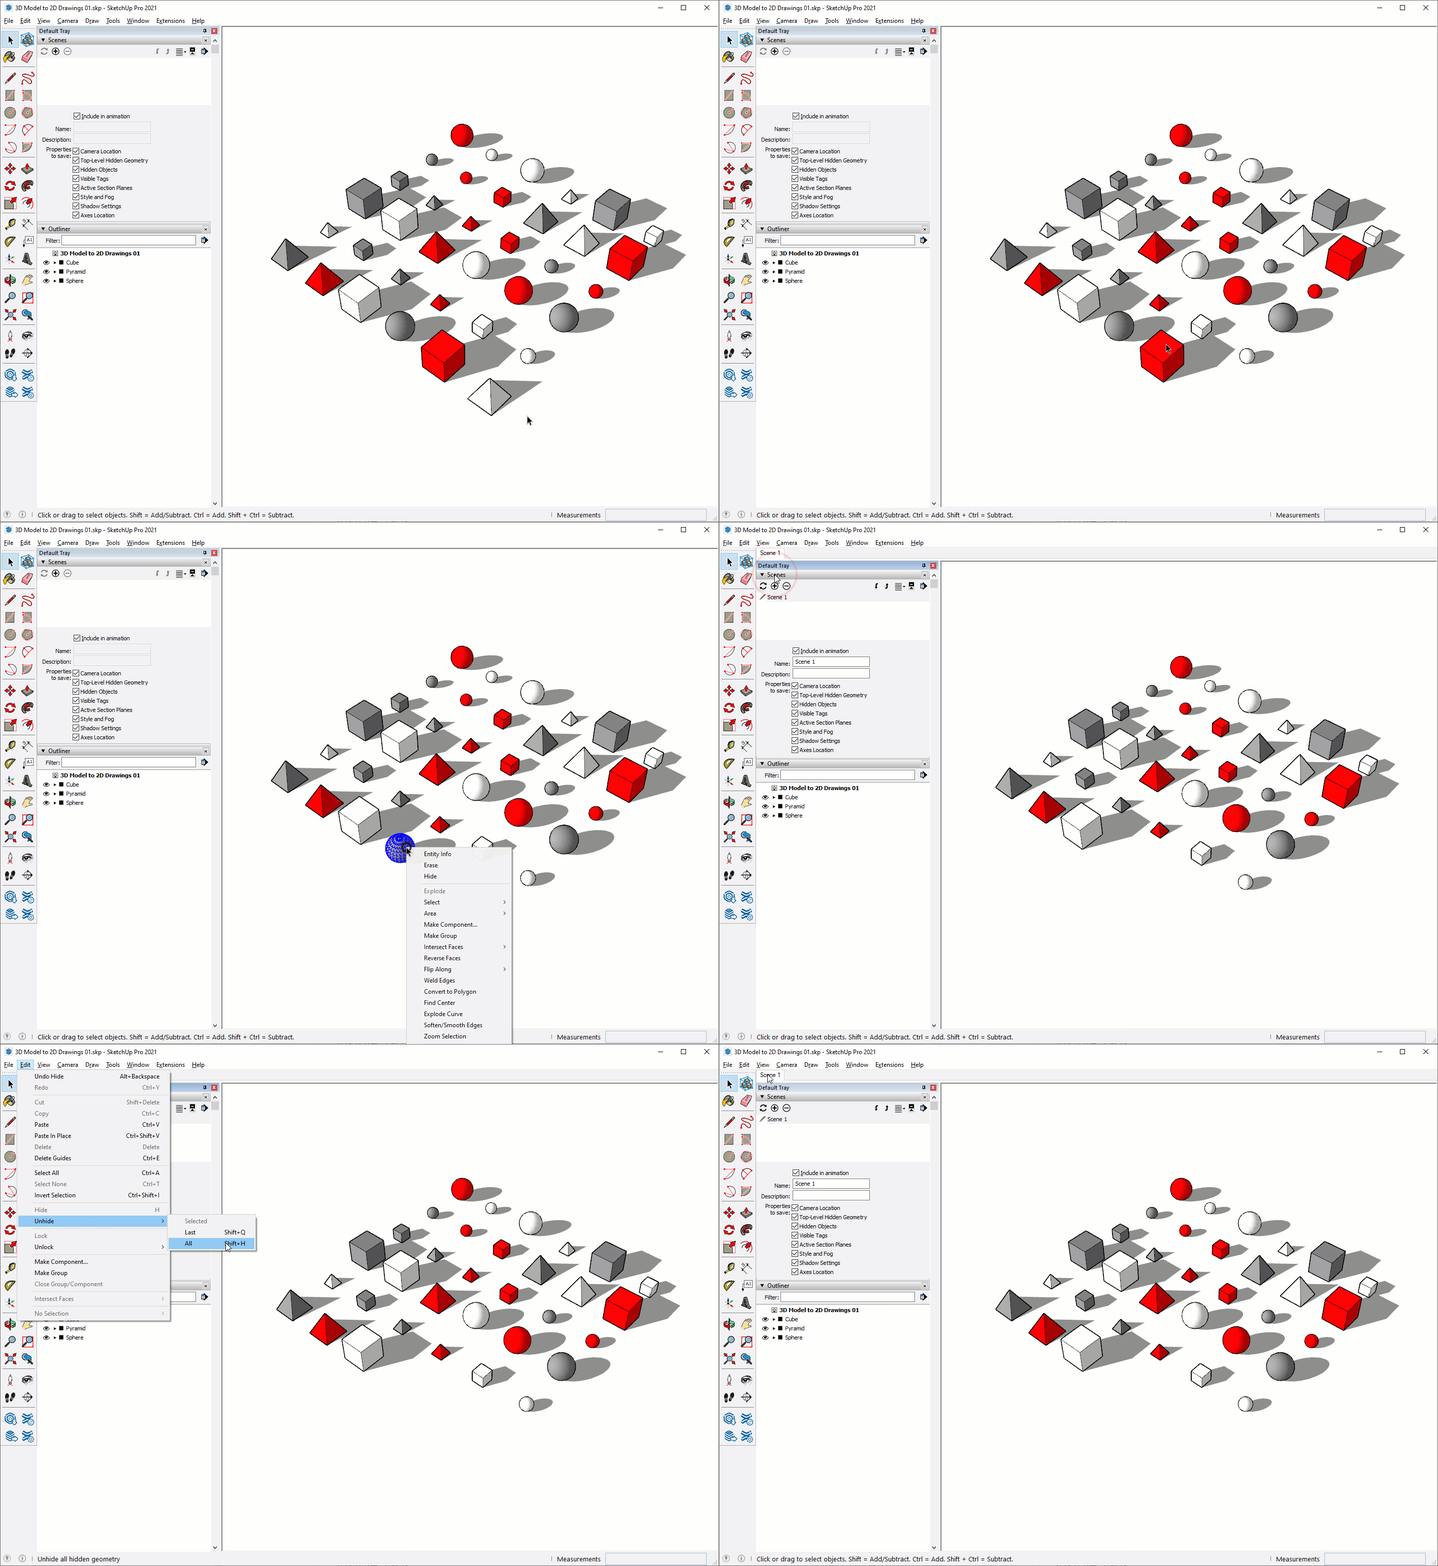
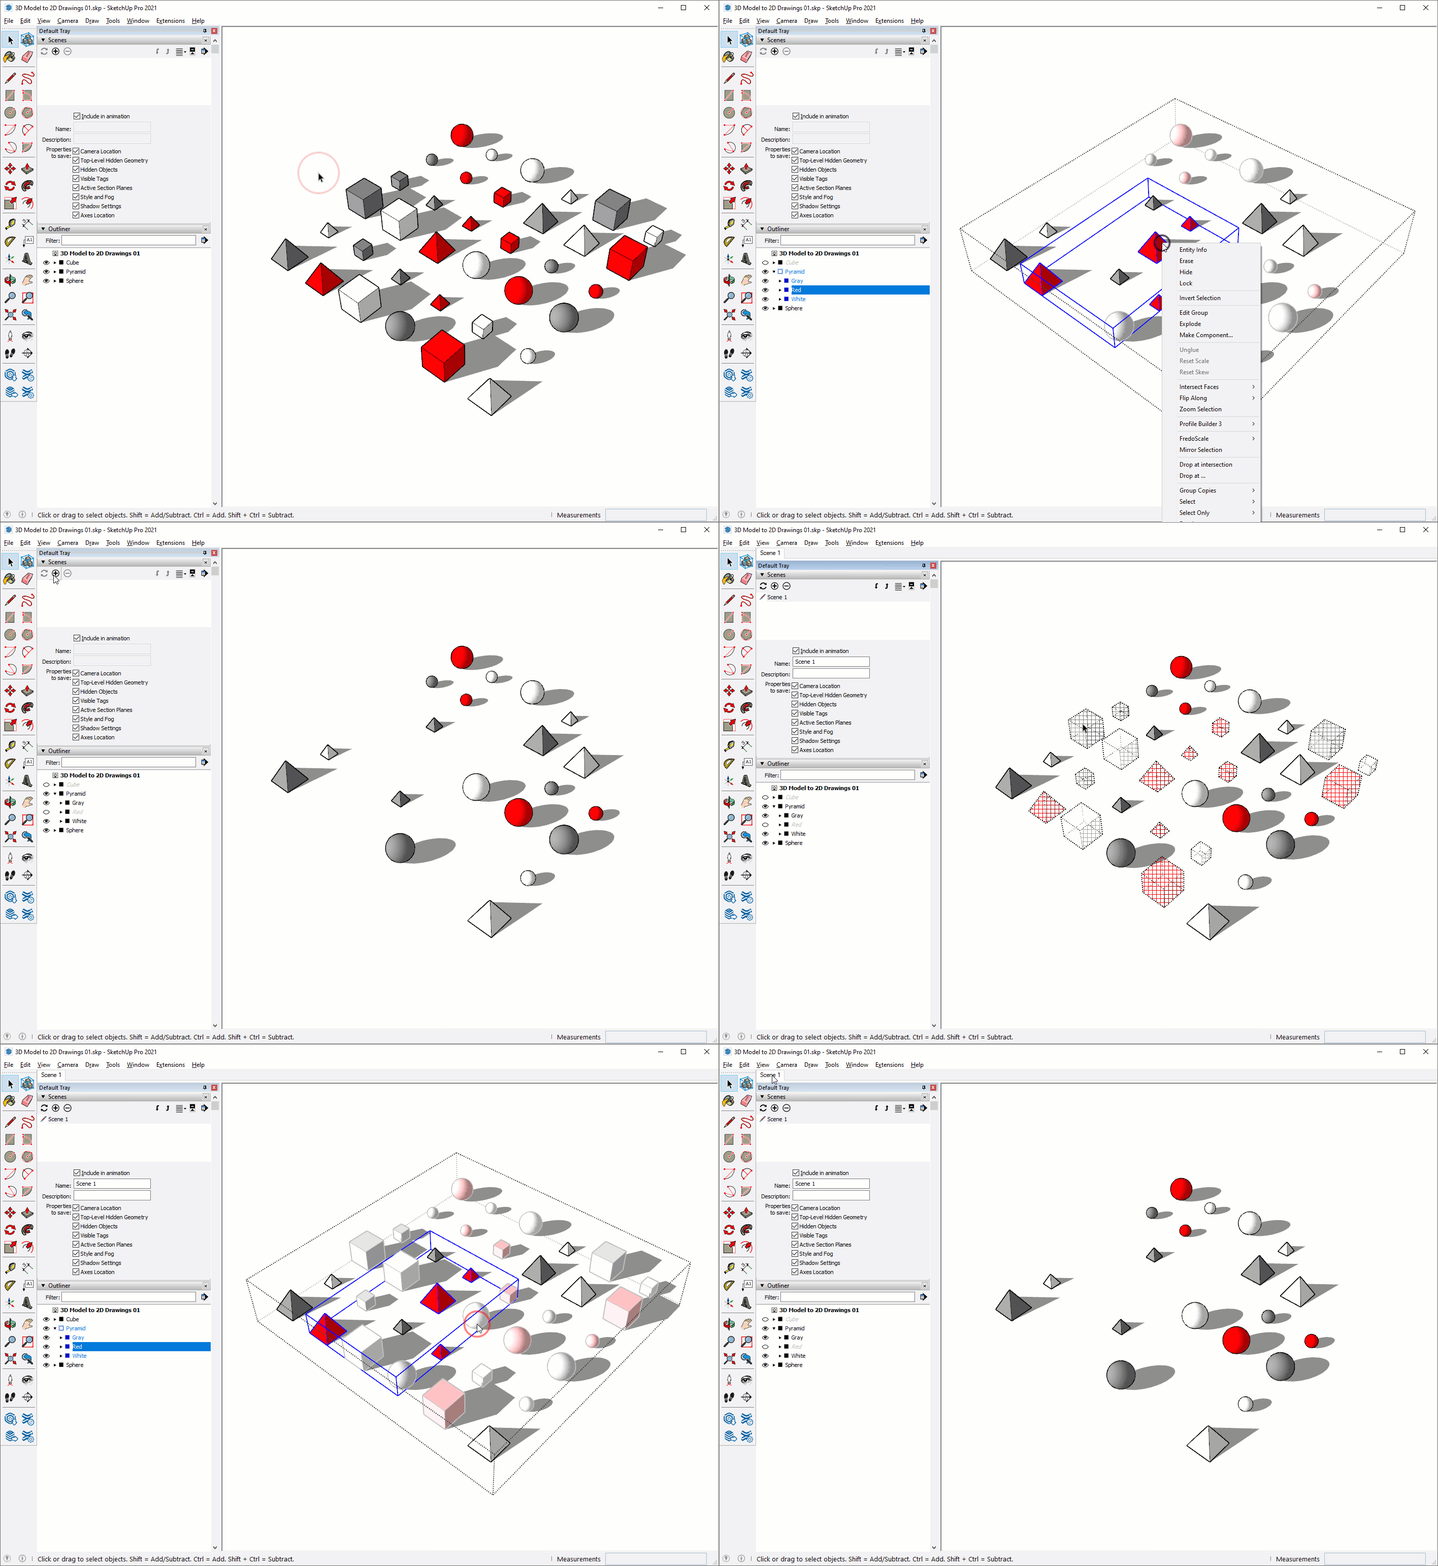
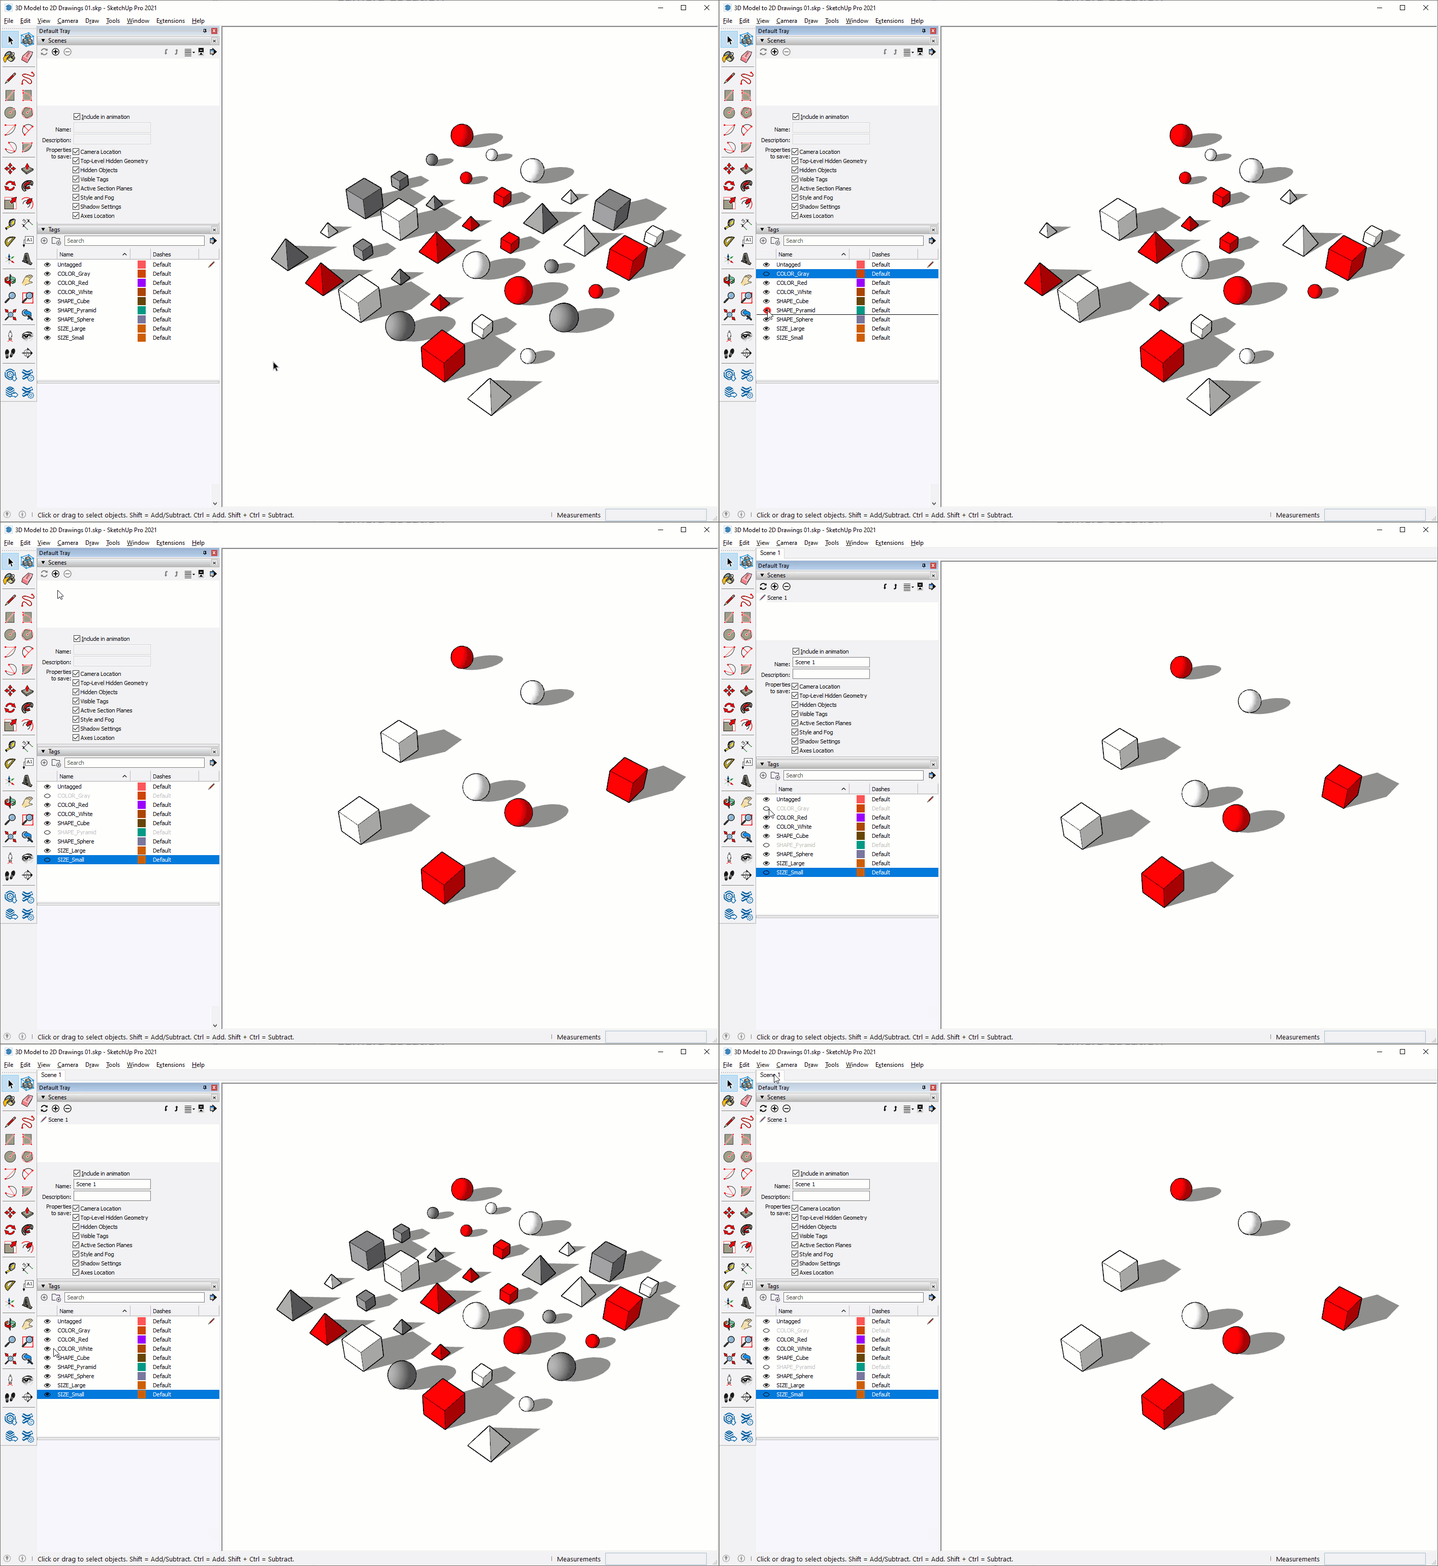
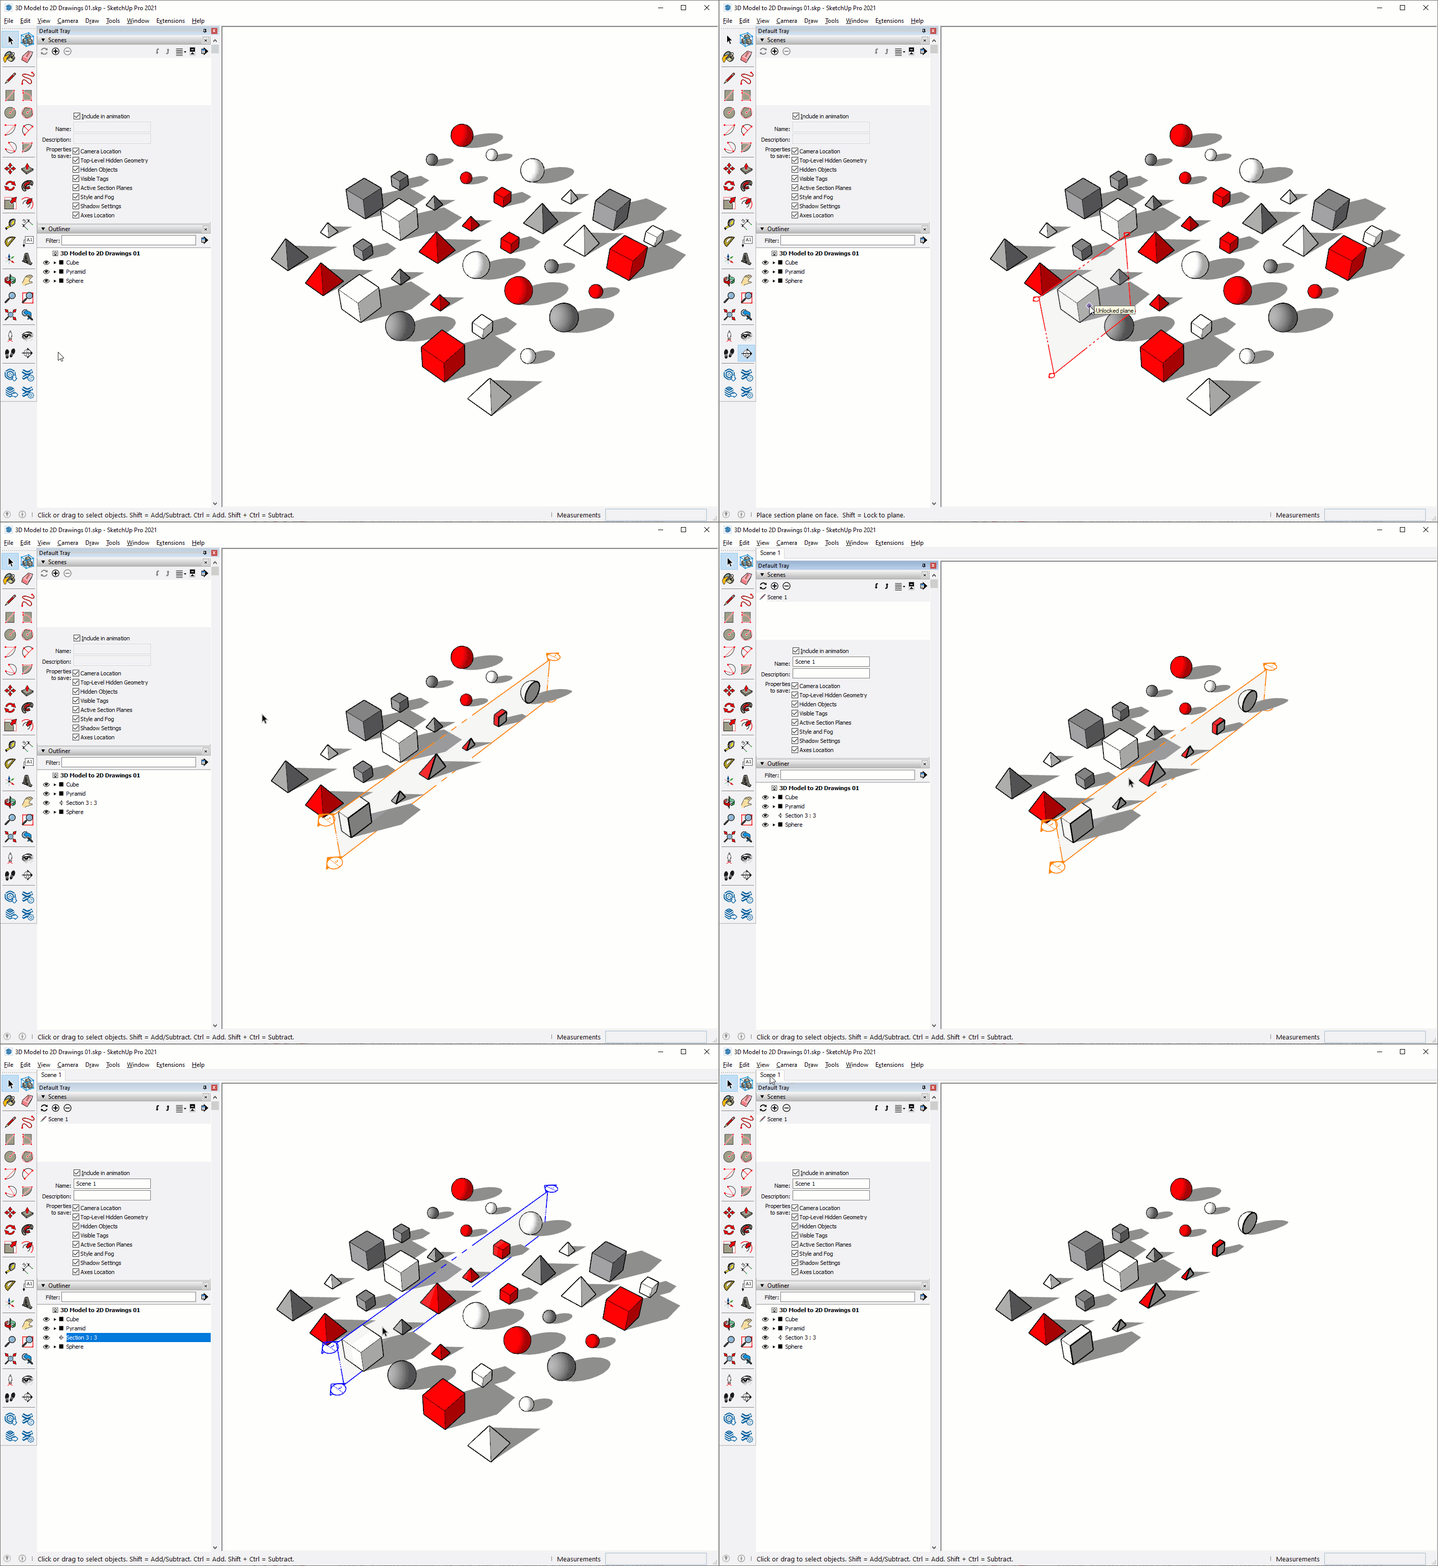
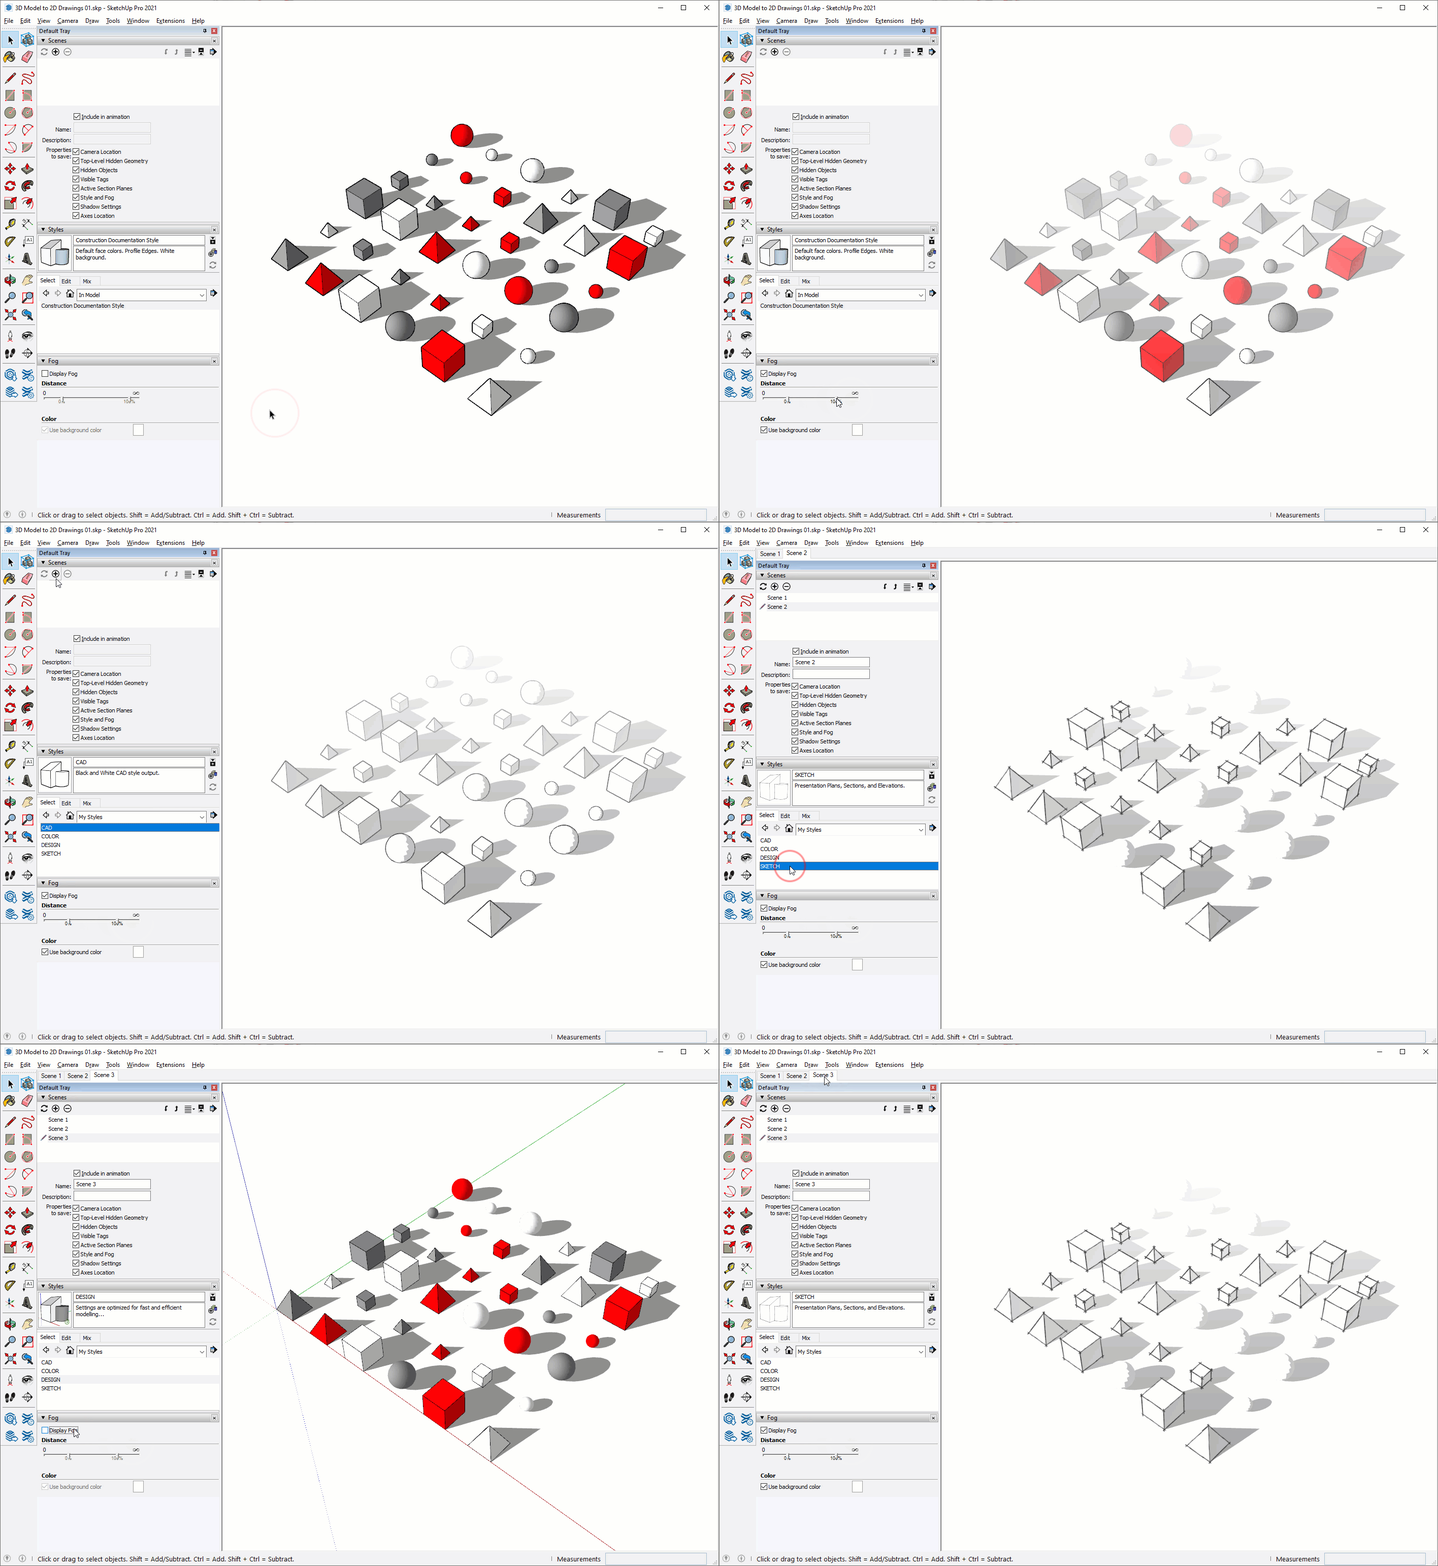
In addition to the camera location, each scene can save several properties. When you add a scene, you snapshot the properties to save as you see them on your screen. In other words, when you add a scene you capture the current camera view, hidden objects and geometry, visible tags, active section planes, style and fog settings, shadow settings, and axes location. The ability to save these properties makes scenes much more powerful than just a camera location. Below are descriptions and demonstrations of each property to save.
Top-Level Hidden Geometry
Top-Level Hidden Geometry remembers only the edges and surfaces (not groups or components) that are hidden at the base level of SketchUp. In other words, not clicked into any groups or components. This is pretty worthless because SketchUp Workflow standards require all geometry to be held in a group or component.
Active Section Planes
Active Section Planes remembers which section planes are turned on and off, or active and inactive. An active section plane slices through all entities in your model. You can only have one active section plane at the top-level of your model, but you can bury additional active section planes within groups and components to make some awesome effects.
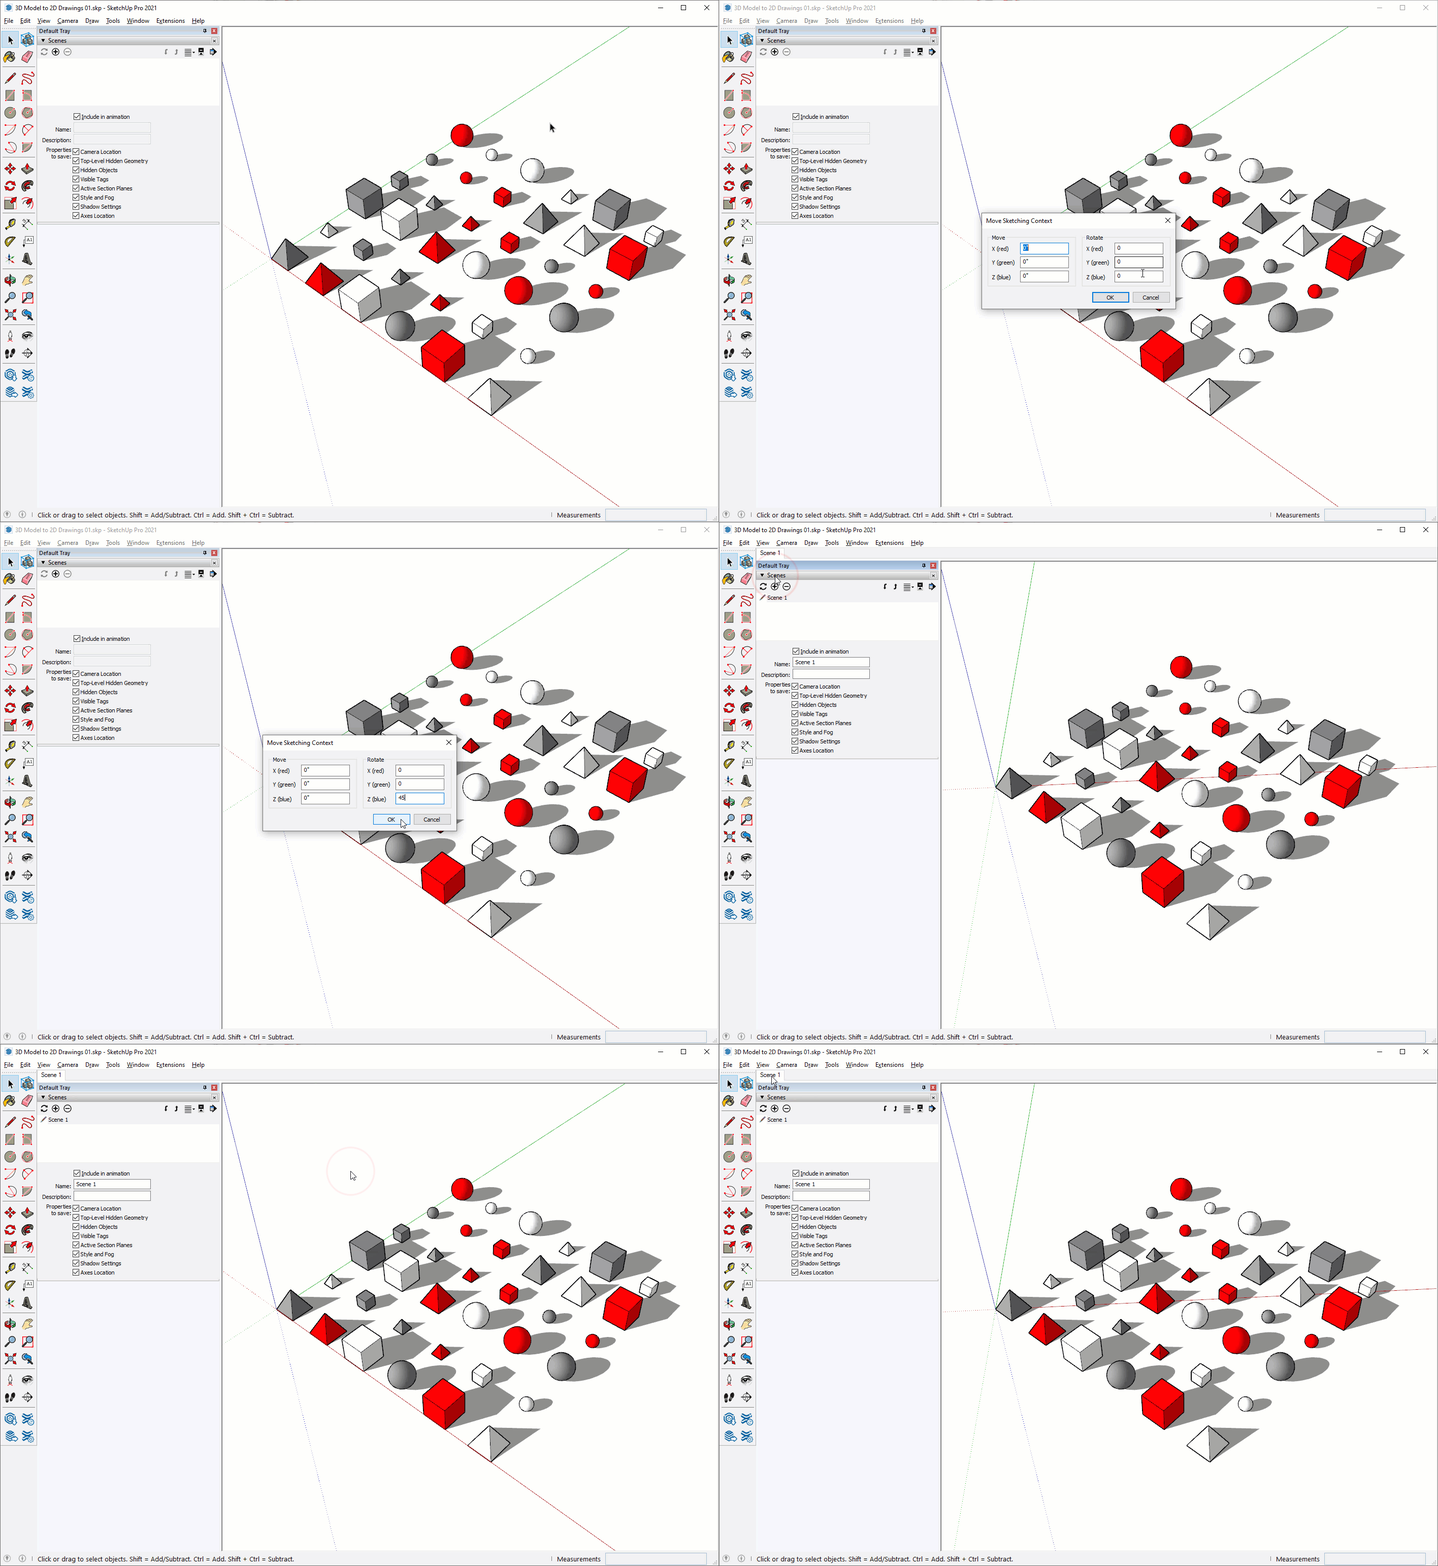
Axes Location
Axes Location remembers the position of the axes, also called Sketching Context. This setting is primarily used for aligning the inference engine with a grid shift in your plan.
DIG DEEPER... Check out page 106 of "The SketchUp Workflow for Architecture" to learn more about scenes.
Updating a Scene
After a scene is created, it can be updated in two ways.
Scene Tab Update
The scene tab update technique is best used by first clicking the scene tab, carefully make changes so that your screen looks exactly as you want it to, then "re-snapshot" your scene by updating all saved properties. Follow these steps...
- Click on the scene tab you wish to edit.
- Make changes to any of the scene's saved properties, but be careful not to change other properties to save that you don't wish to update. For instance, be careful not to orbit because then the new camera position will be updated on the next step. This goes for all properties to save.
- Right-click on the scene tab and choose "Update". This will update all properties to save as shown on your screen.
Scenes Dialog Update
The second way to update is by using the Update Scene(s) button in the Scenes dialog. This method allows you to update only certain scene properties, or update multiple scenes to have the same settings. Follow these steps...
- Adjust any of the properties to save
- Click once on a scene name within the Scenes browser, hold Ctrl (Option on Mac) to select multiple scenes.
- Click the Update Scene(s) button
- Check only the desired "Properties to Update".
- Click Okay
Heads Up! There is a big difference between the "Properties to Save", and the "Properties to Update". You will often uncheck "Properties to Update", but it is unlikely that you will ever need to uncheck "Properties to Save" at the bottom of the Scenes dialog. 99% of the scenes that you create will have all properties to save checked on, and you will never need to uncheck them.
