Select Tool
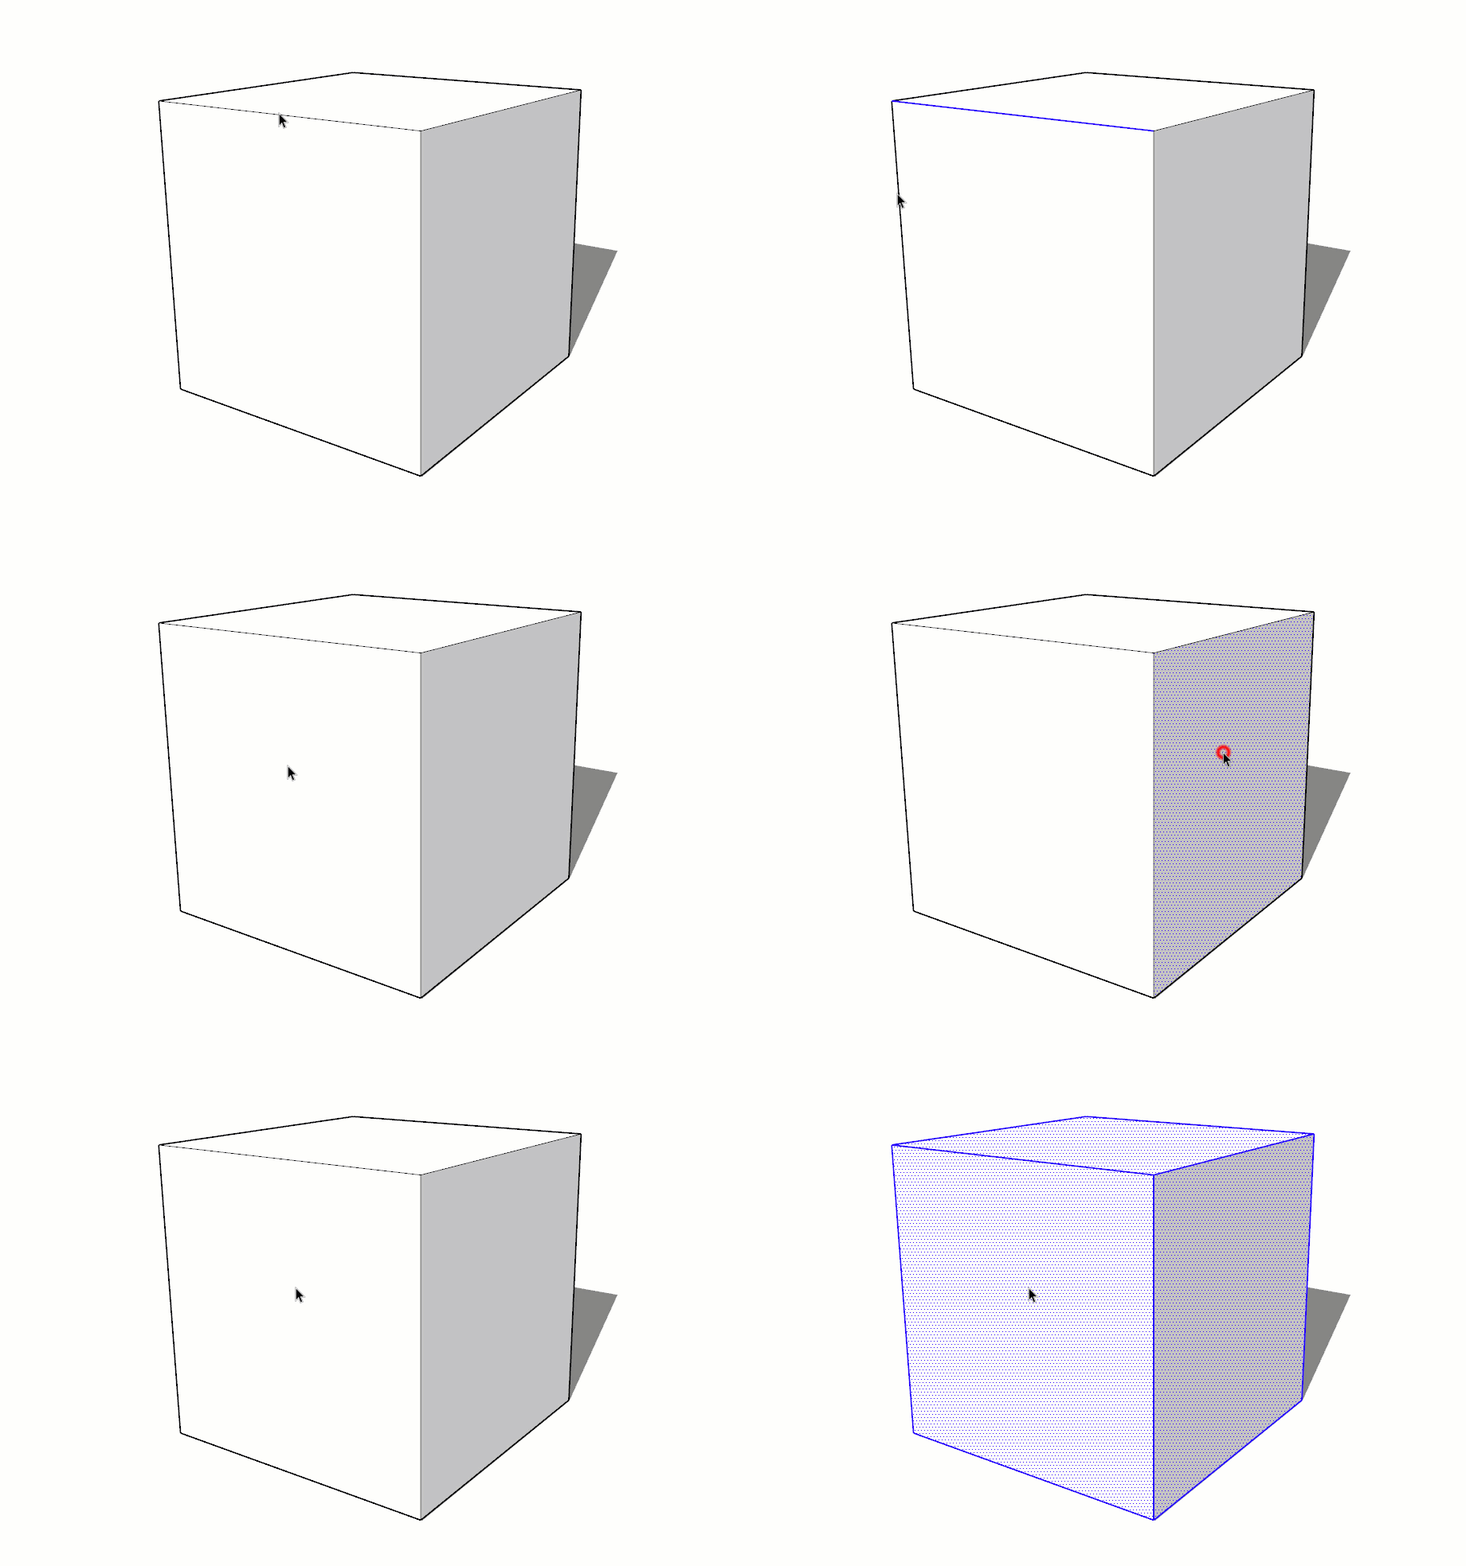
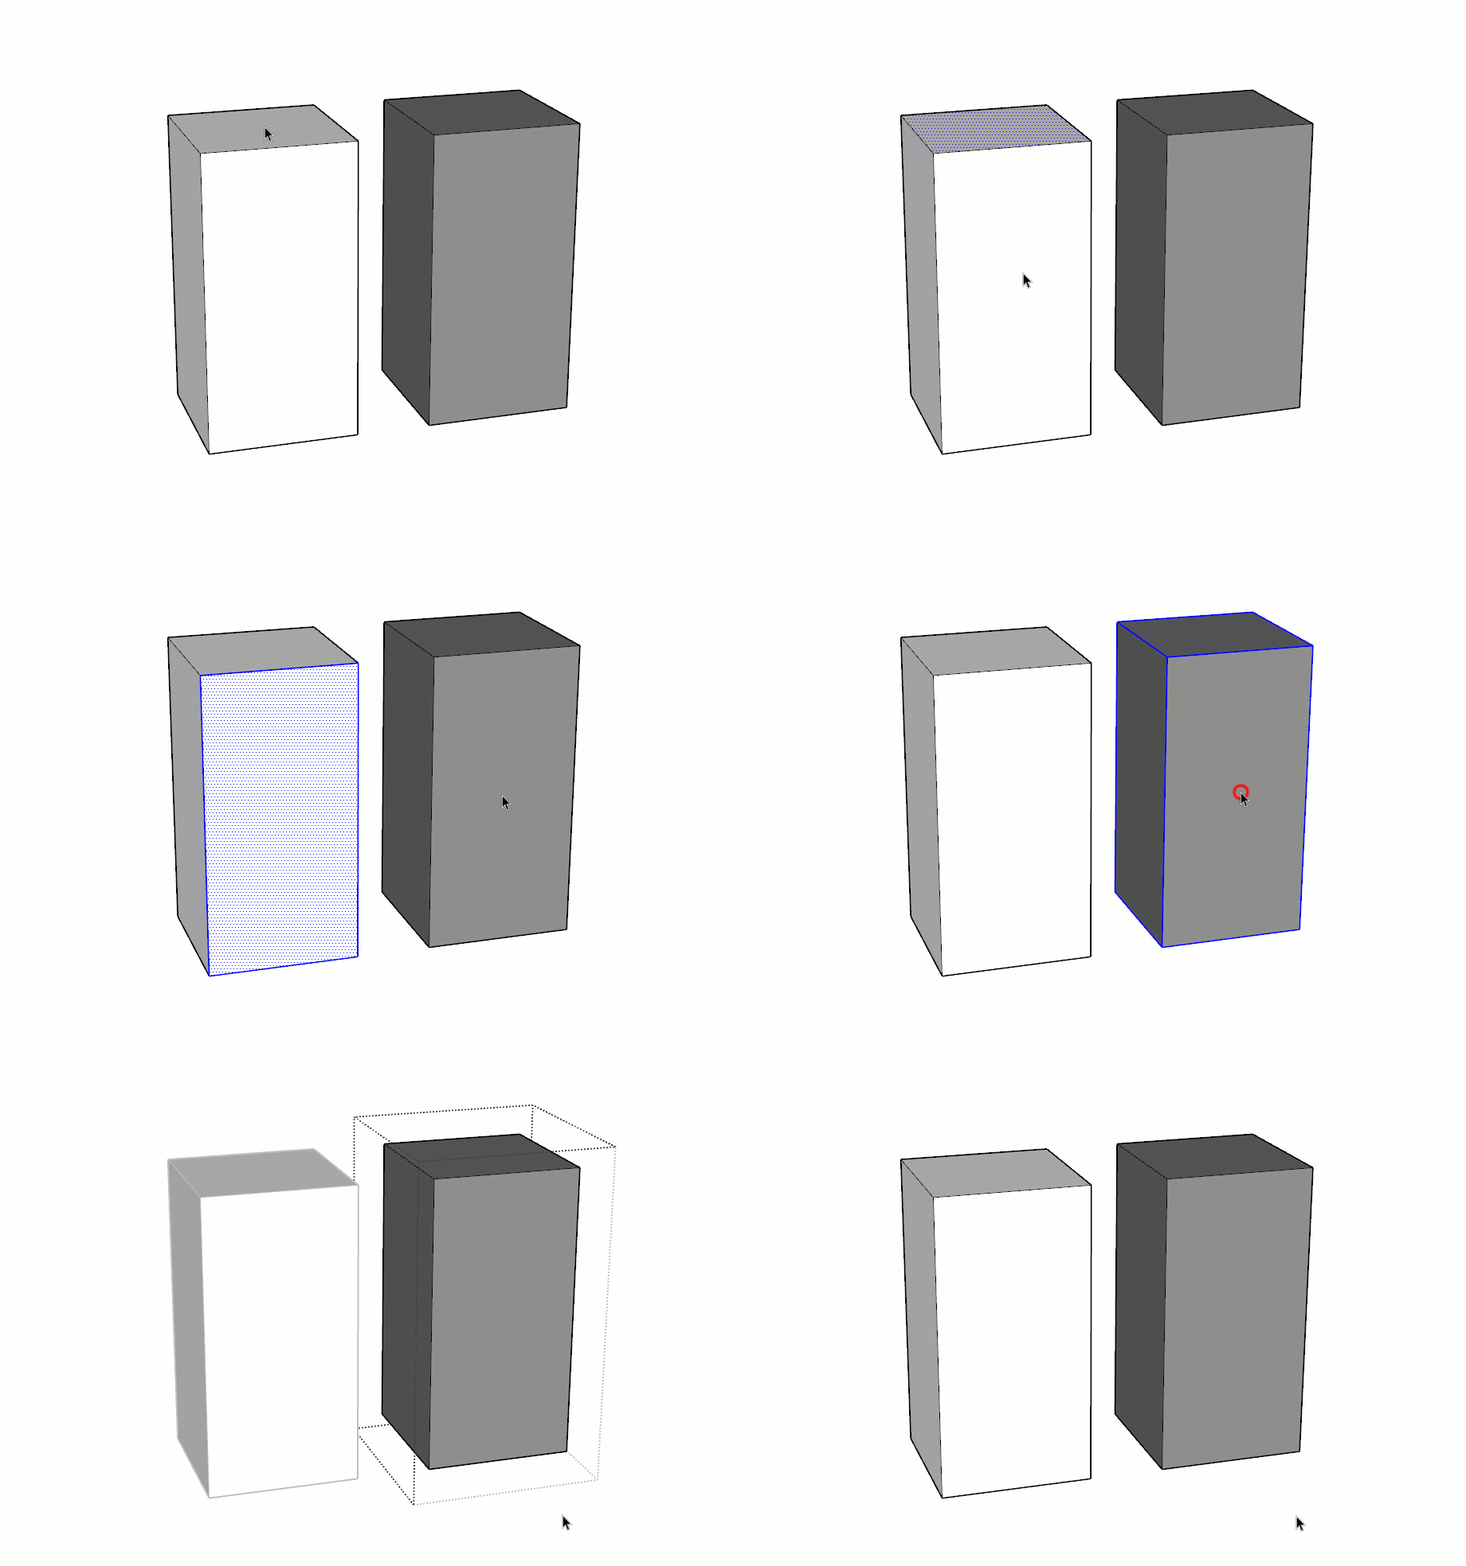
The Select tool is quite possibly the most important tool in SketchUp. It sets up just about every modification command, allows you to quickly navigate through nested groups and components, and view a specific entity's properties. Mastering this tool will make you exponentially faster in SketchUp.
The Select tool is available on the Principal toolbar, or by clicking on the Tools dropdown > Select. You can also find the Select tool at the top of the Large Toolset that we opened in the previous lesson.
There is no tool you will use more than the Select tool. The Default SketchUp keyboard shortcut is the "M" key. Get used to using this, force yourself! If you want to be fast you have to use shortcuts.
DIG DEEPER... Read more about the Select tool on page 80 of "The SketchUp Workflow for Architecture".
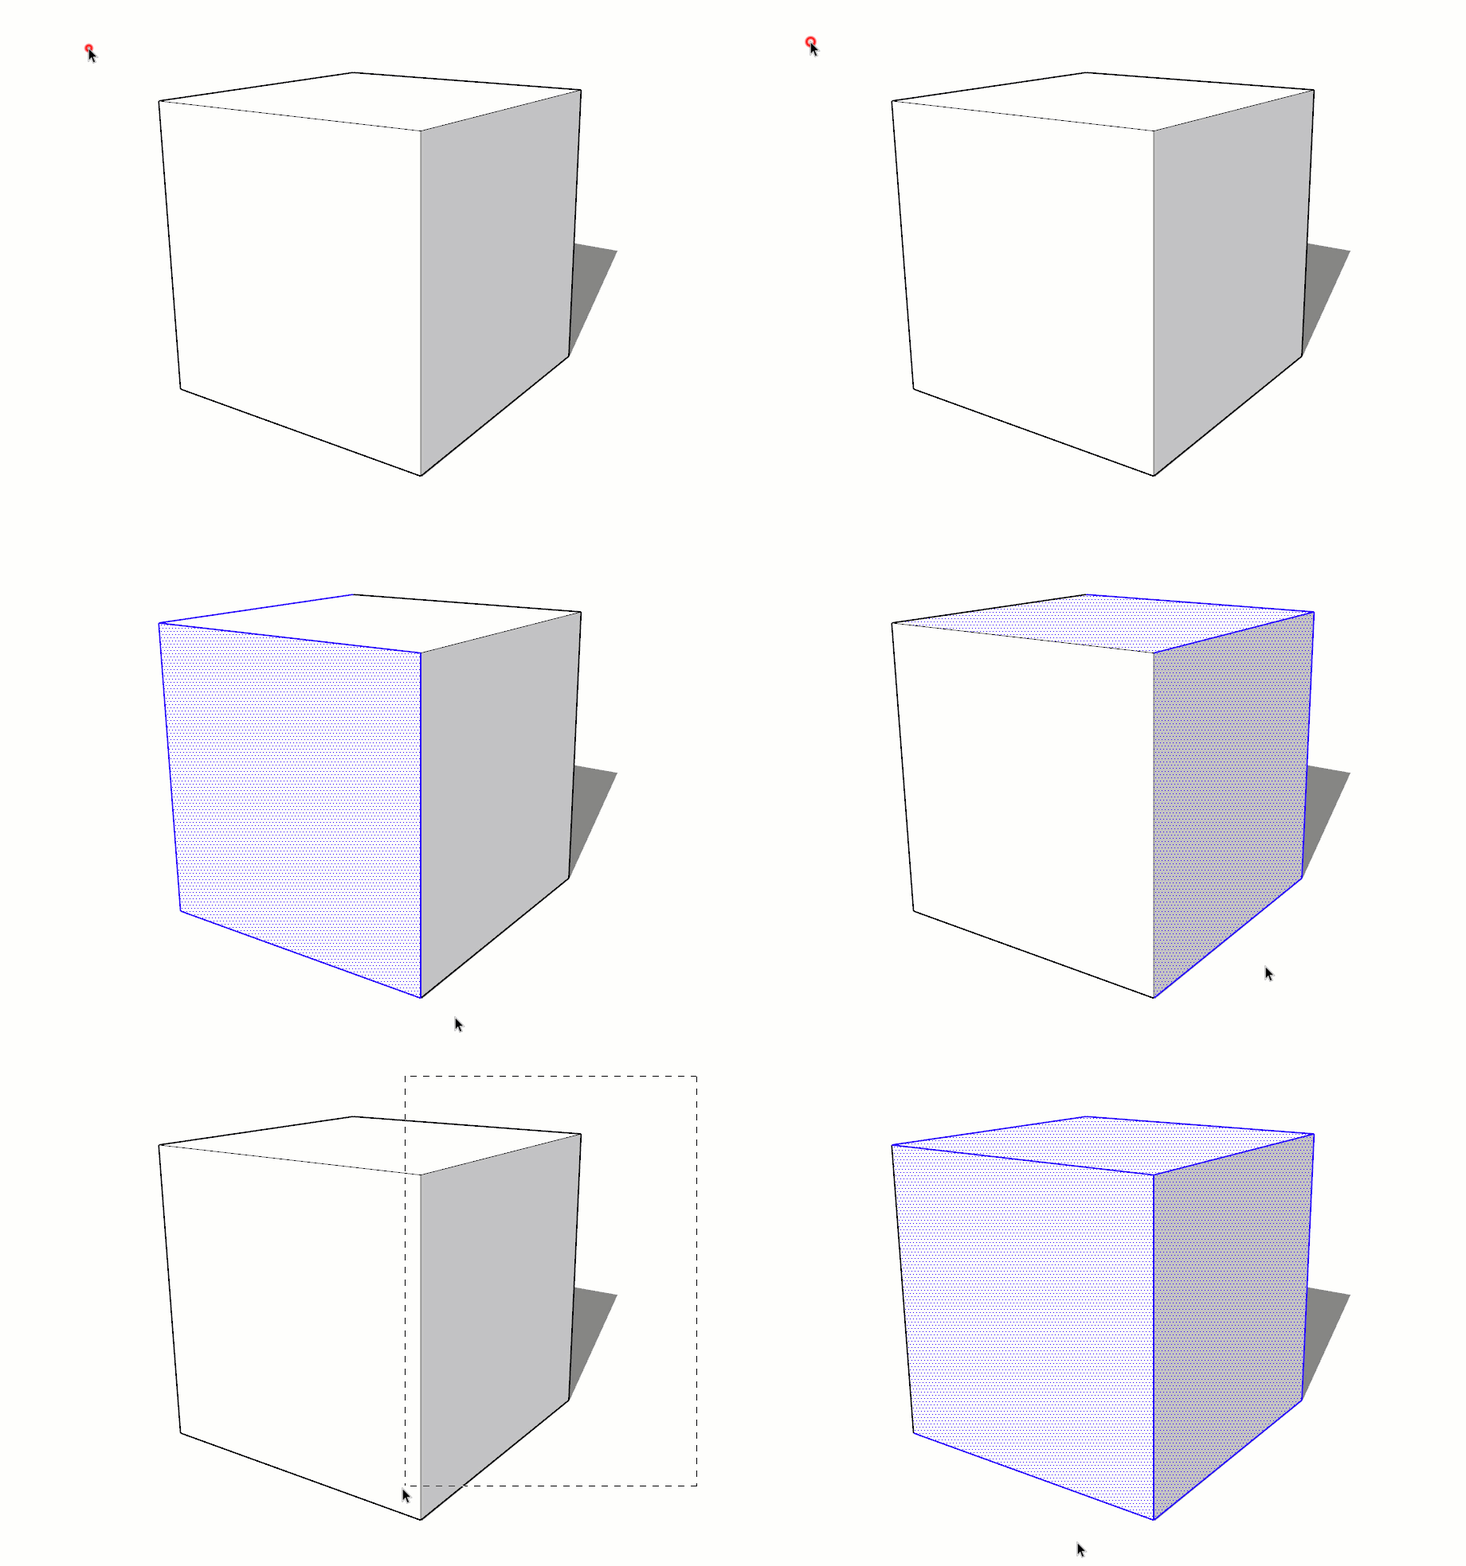
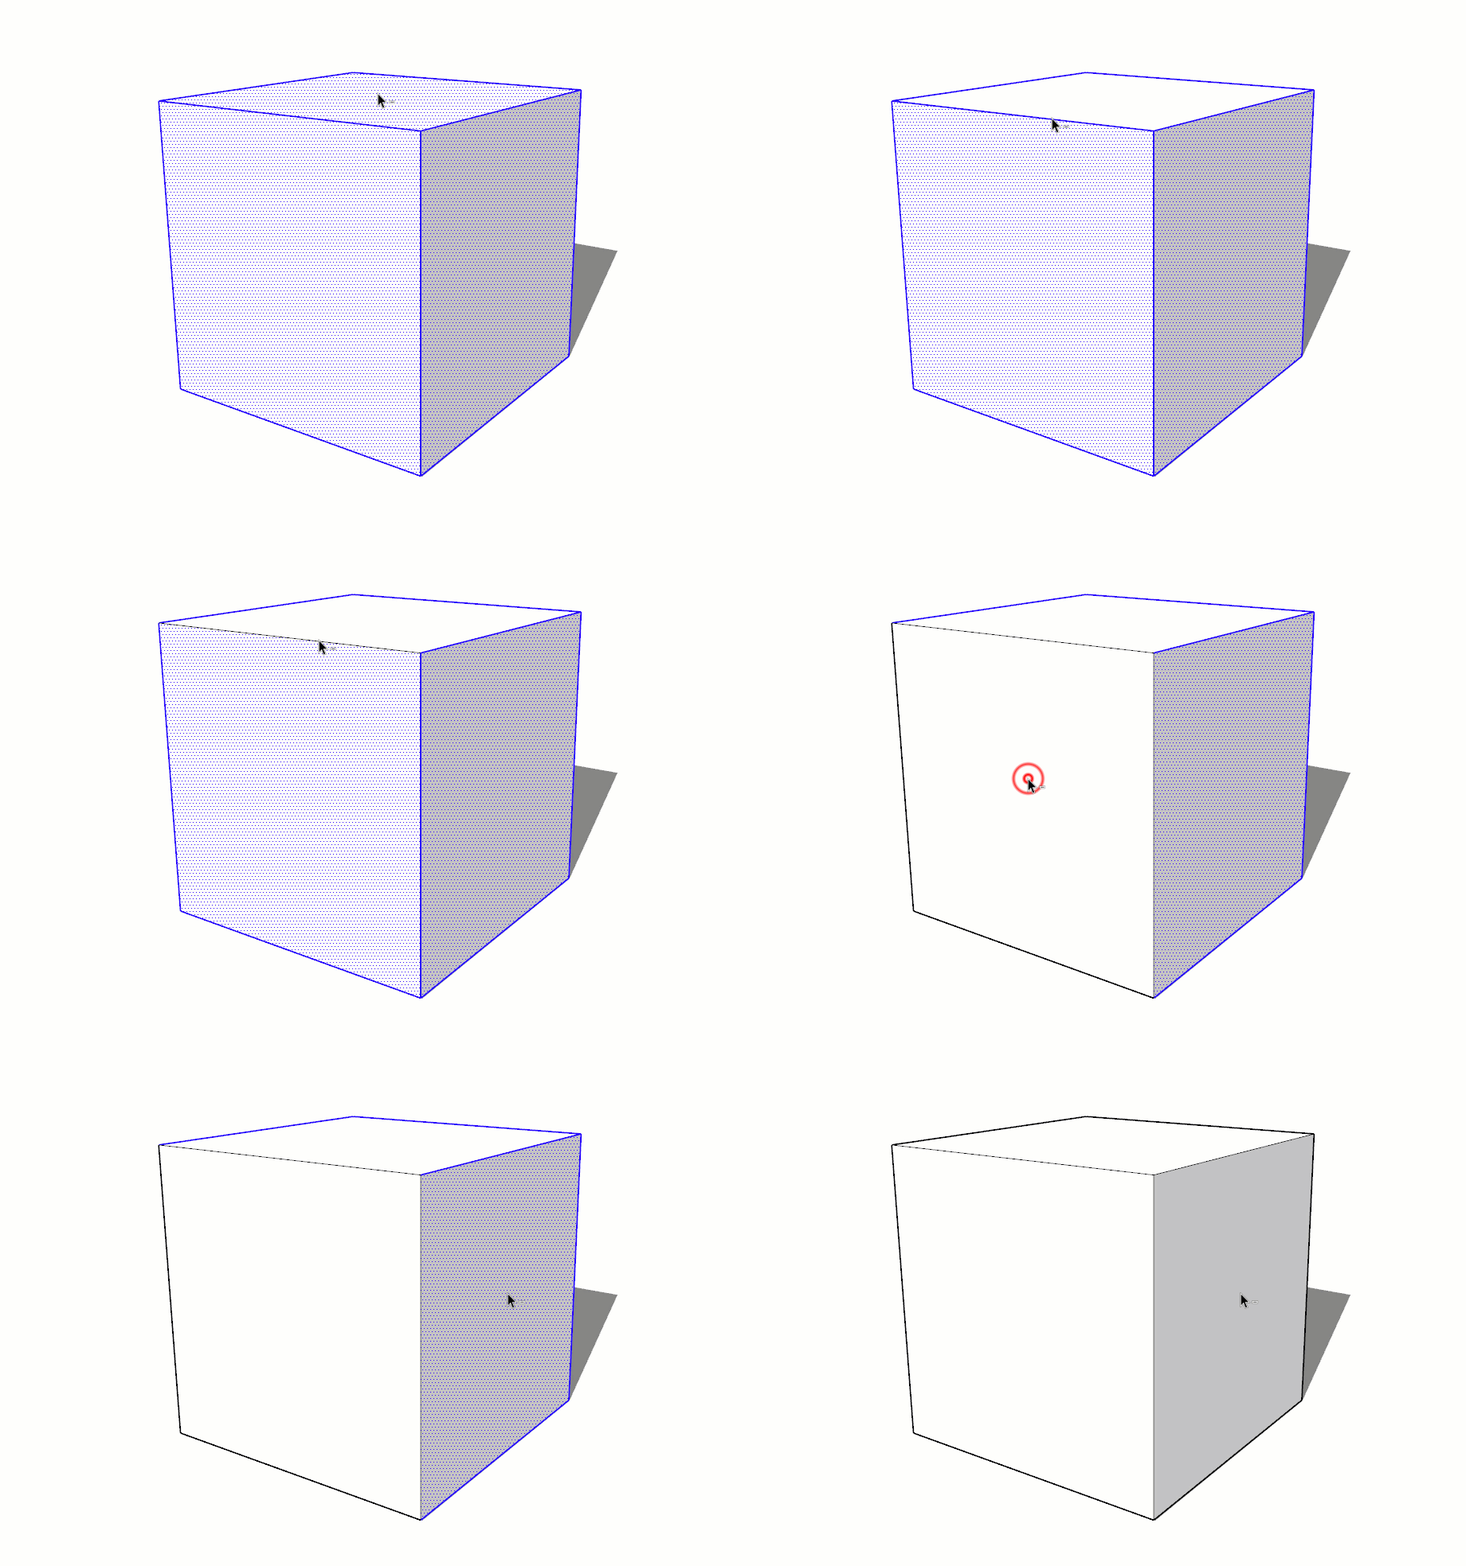
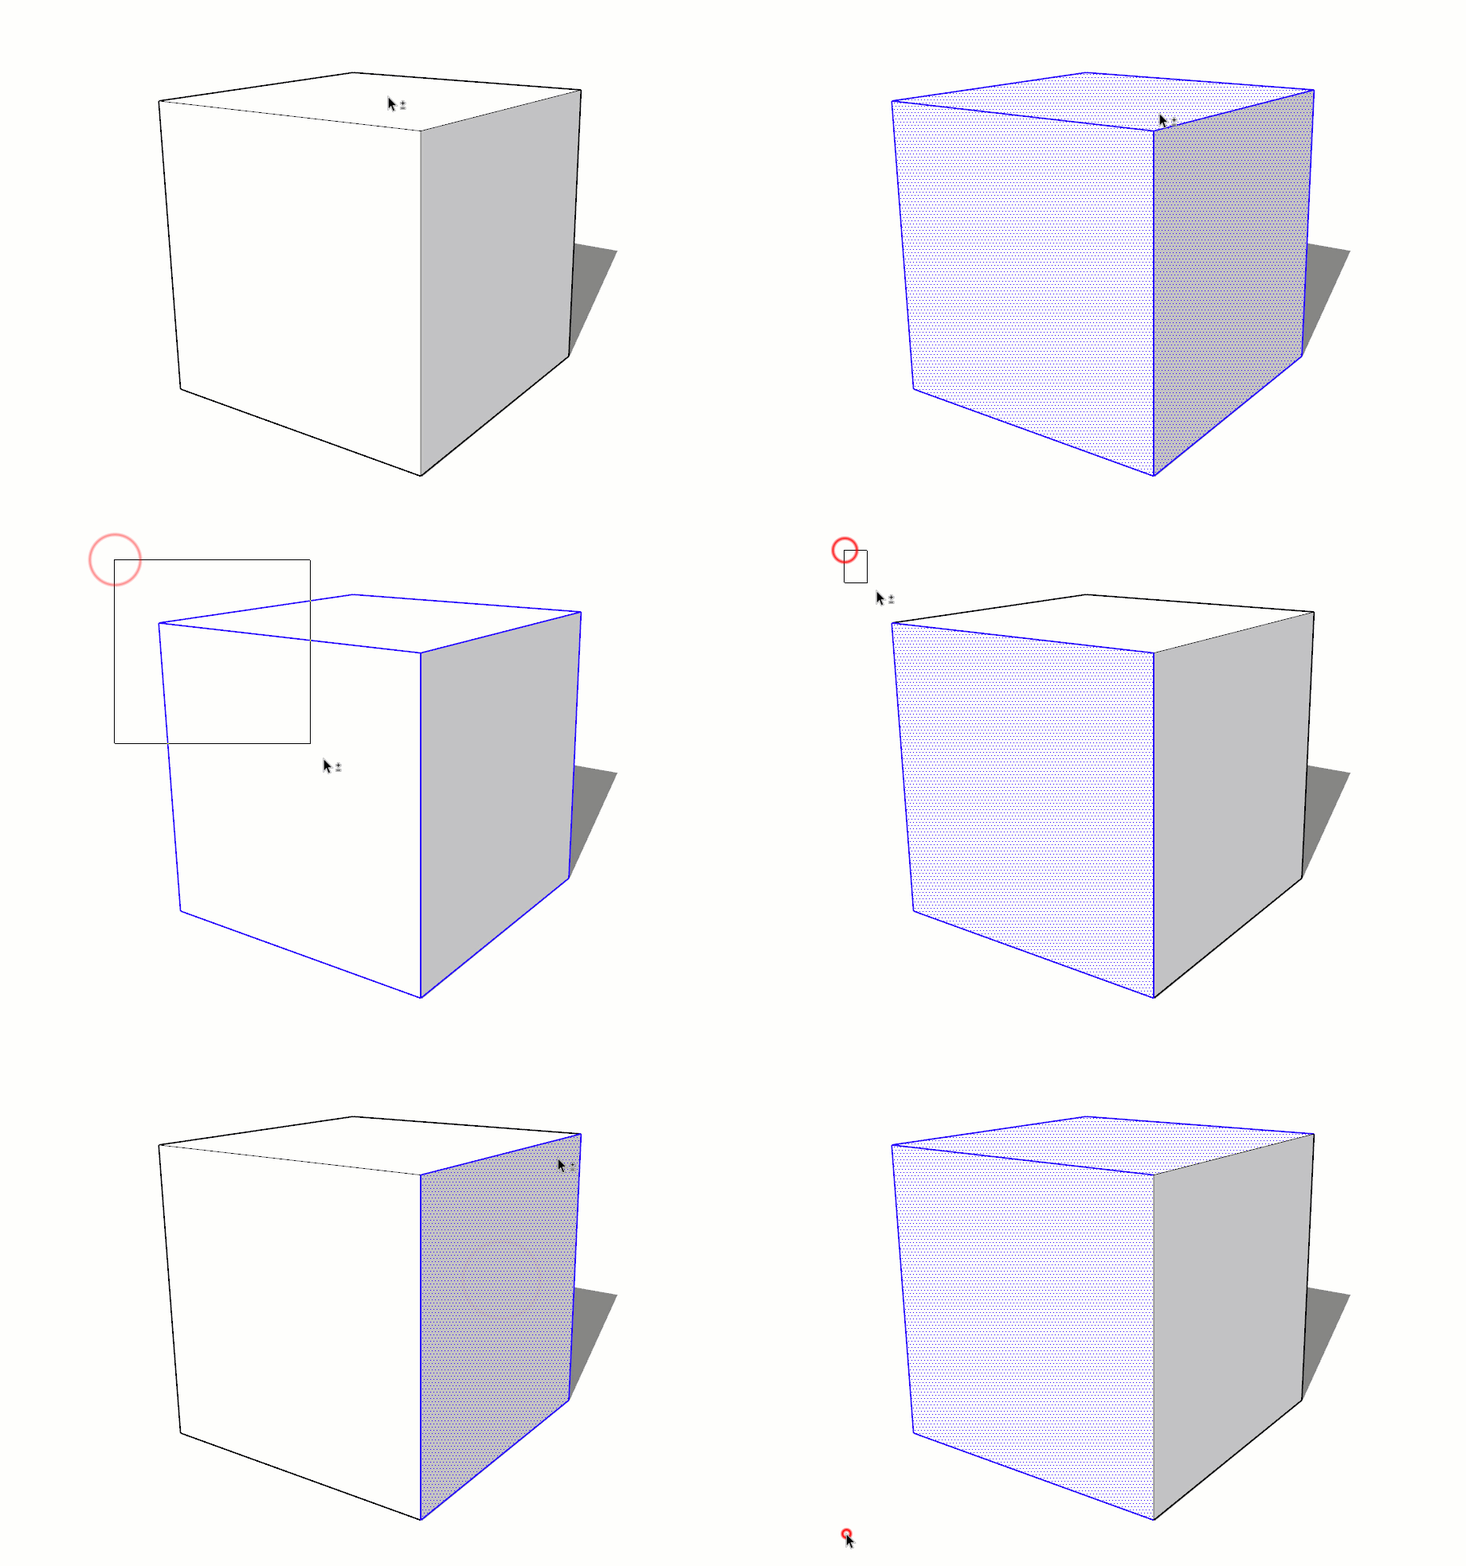
- click and drag from left to right to draw a solid _______ selection window, which only selects the entities that are completely within the selection window.
- click and drag from right to left to draw a dashed _ _ _ _ _ selection window, which selects entities within the window, and any entities the dashed selection window touches.
Heads Up! The color of the selection highlight is controlled by a style, which can vary between templates.
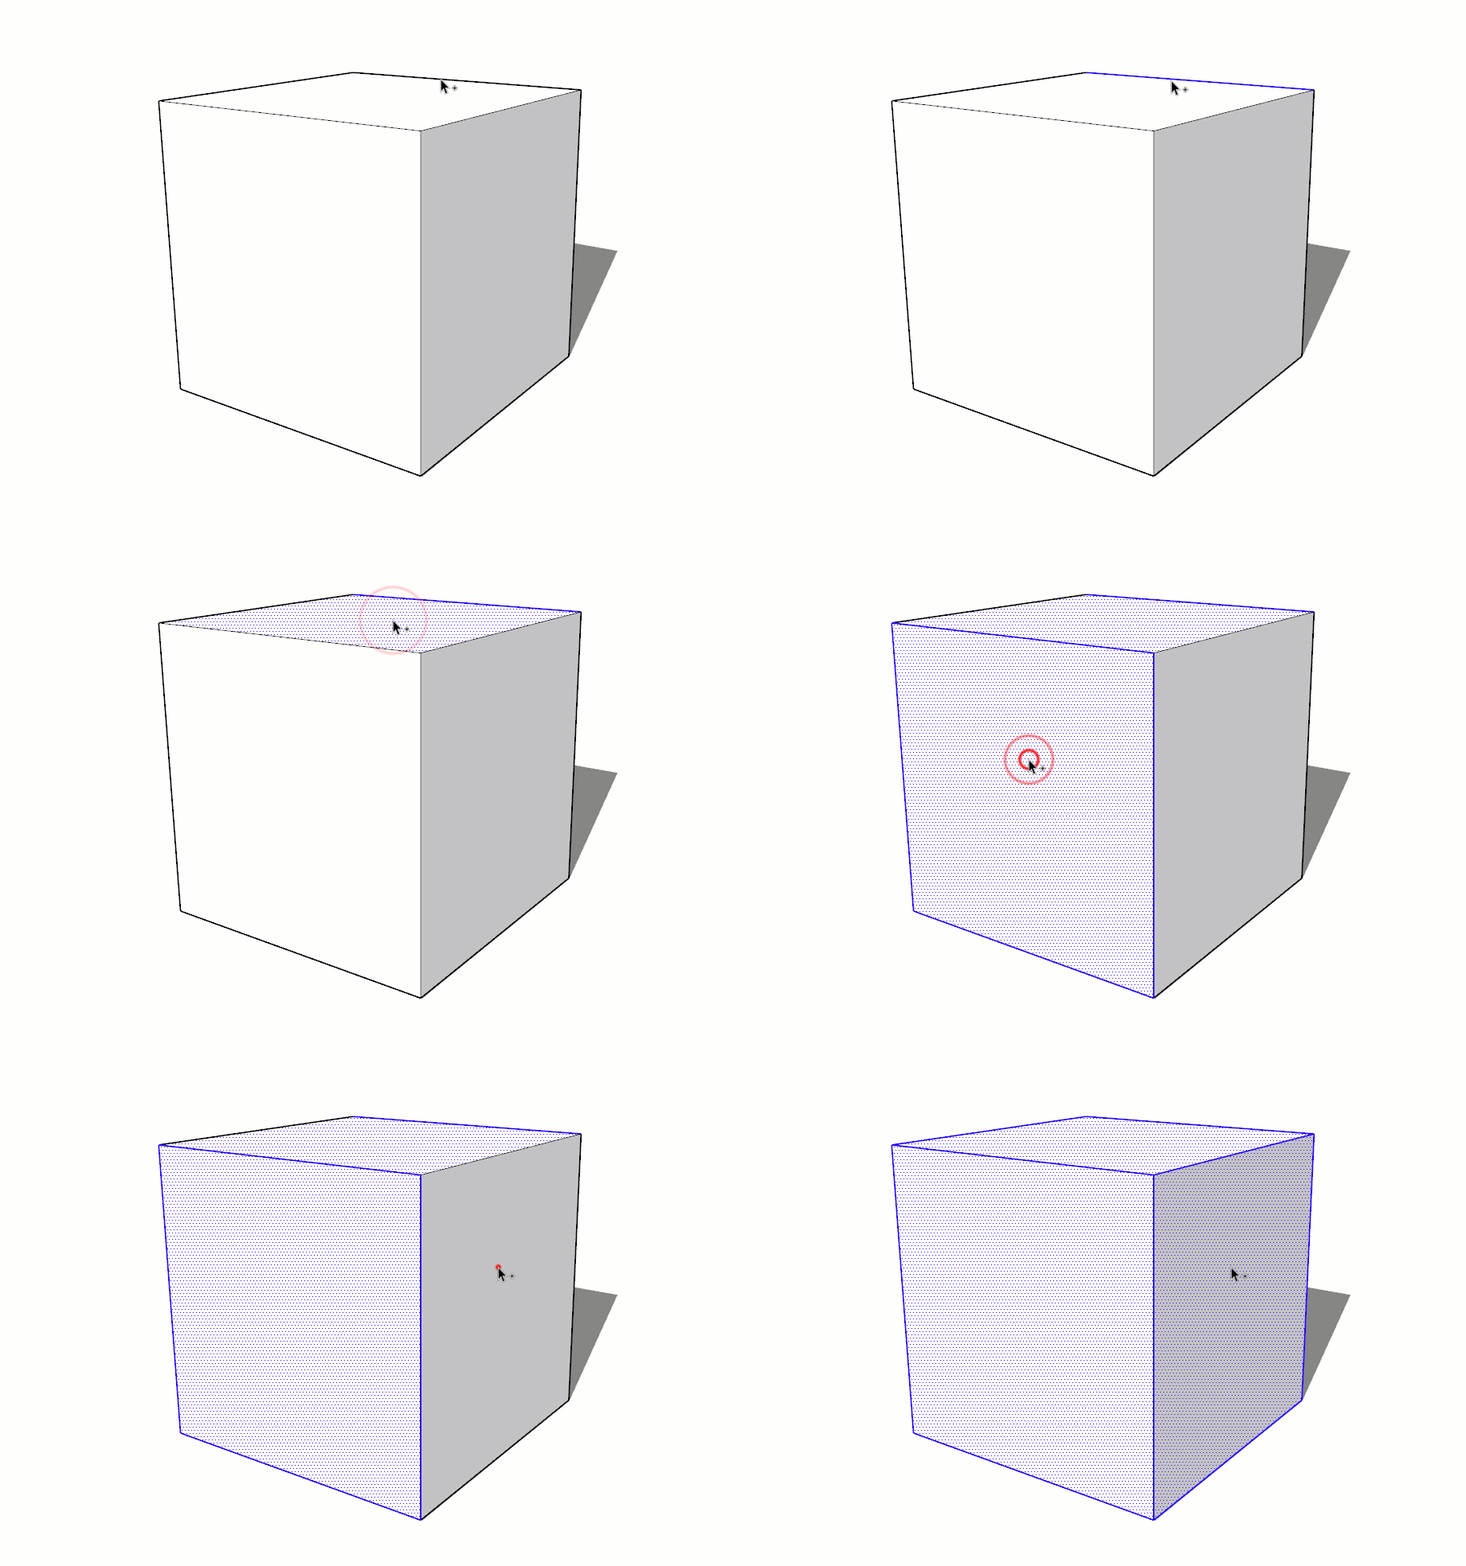
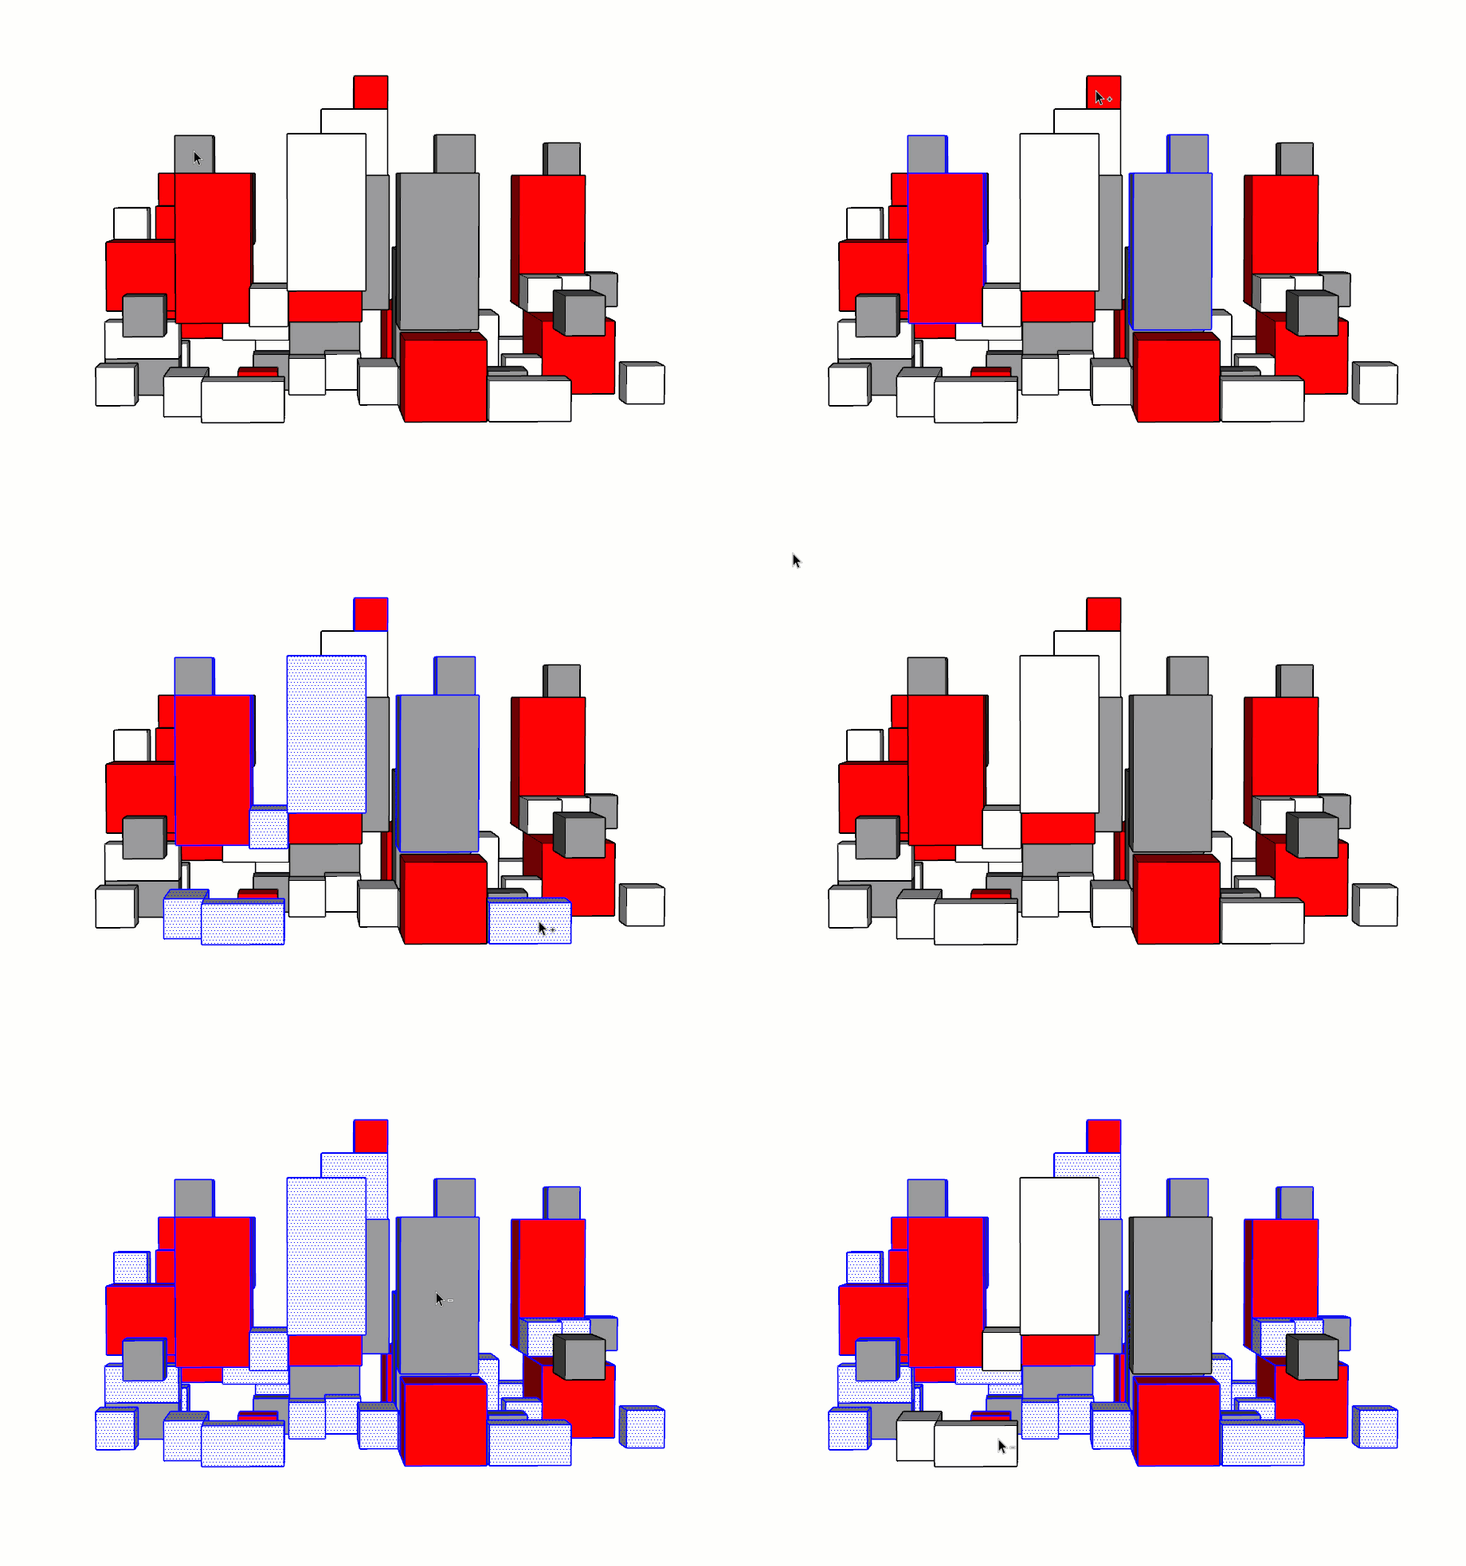
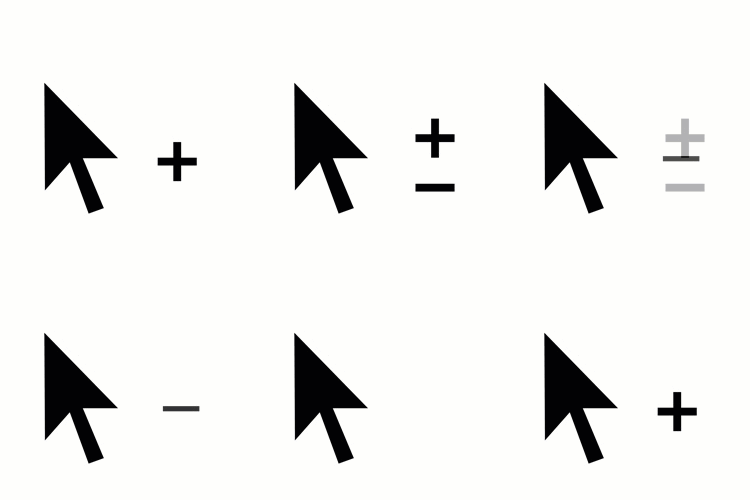
Modifying a Selection
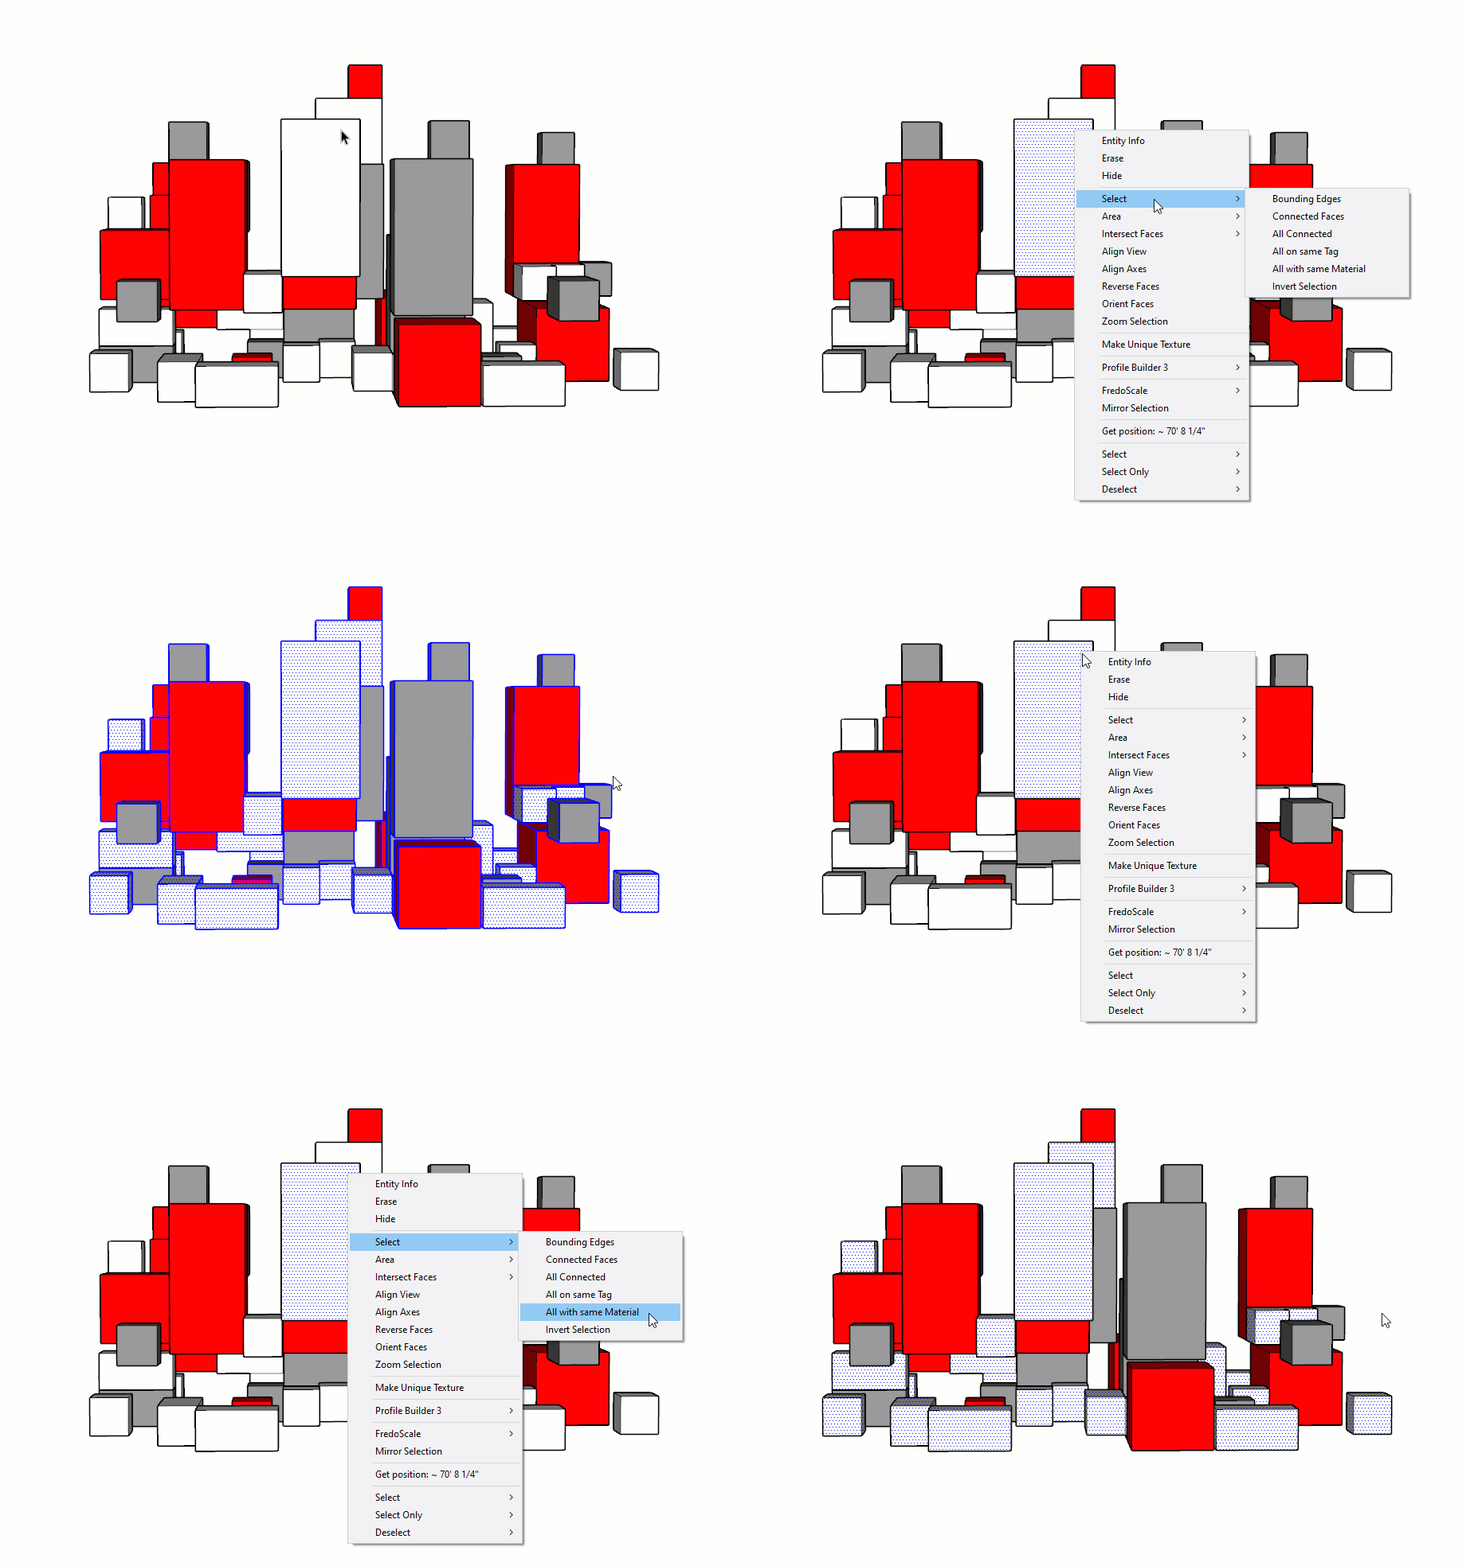
Strategic Selections
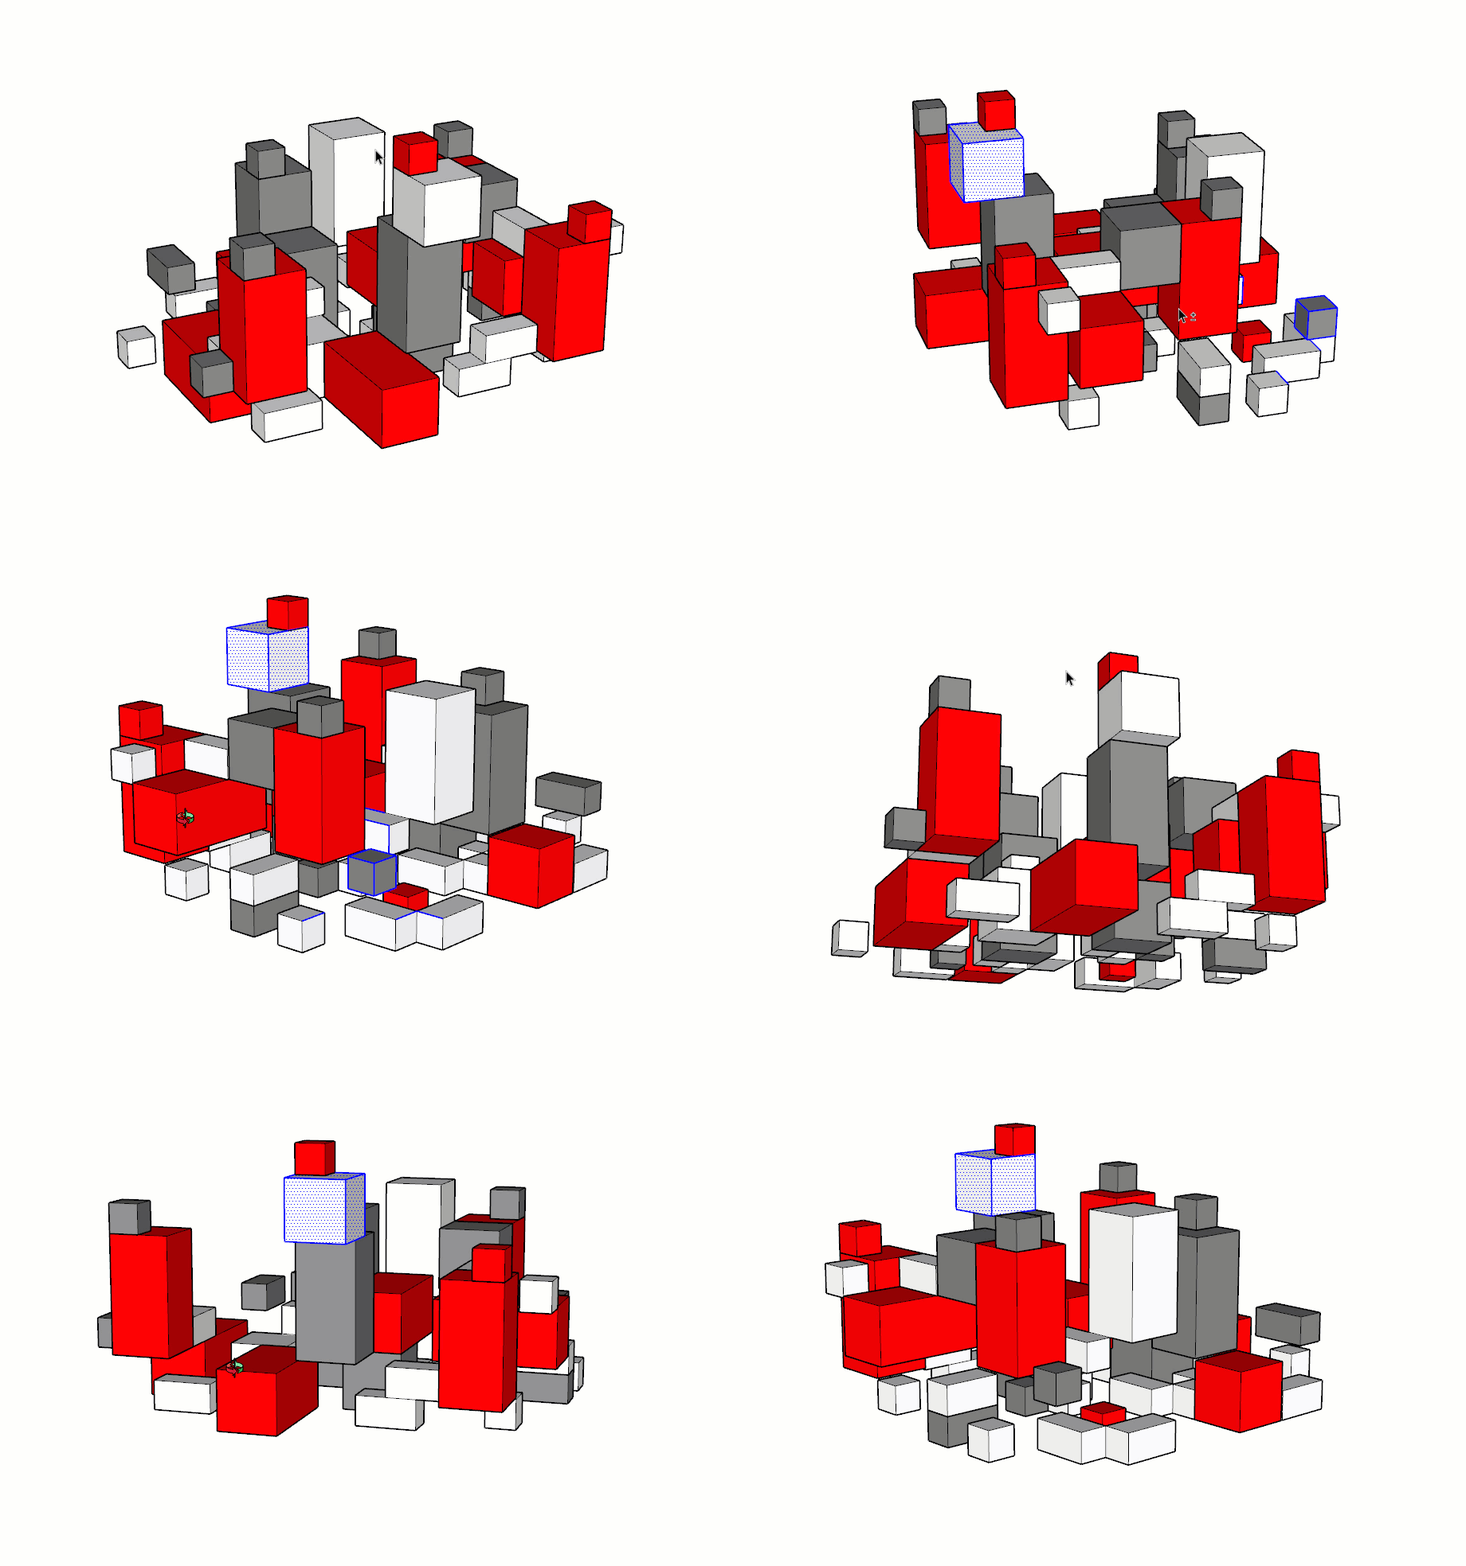
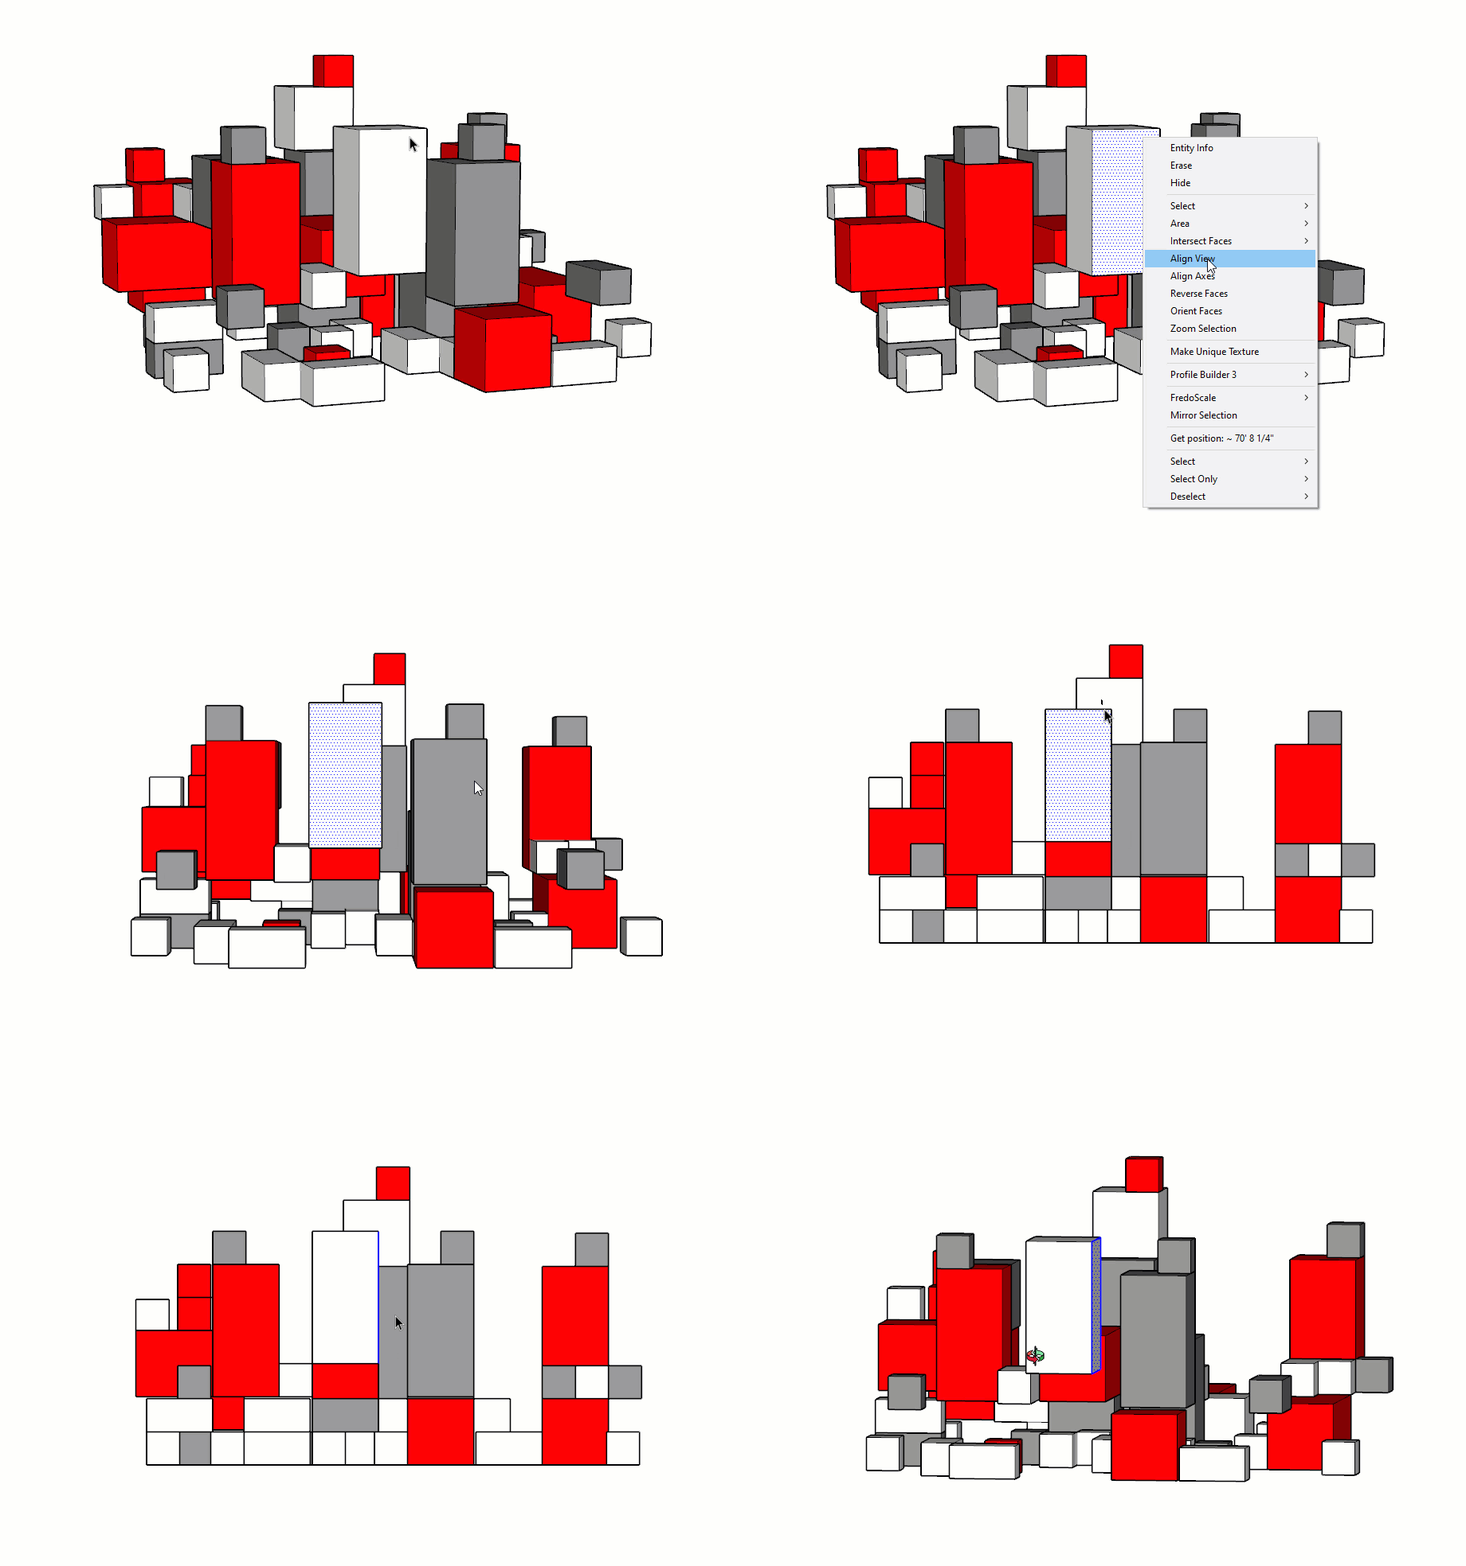
If you find yourself tediously picking through a model, know there is always a way to combine selection techniques and get there much faster. Keep some of these tips in mind.
Entity Info
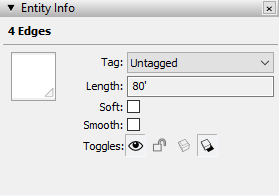
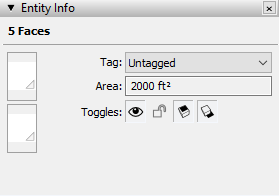
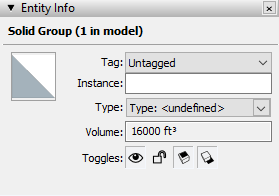
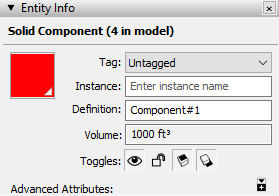
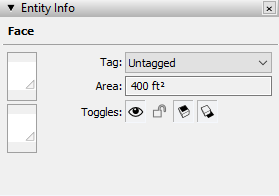
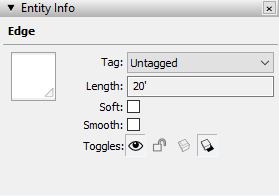
The Entity Info dialog always shows the assigned tag and hide and lock toggles. In addition, The Entity Info dialog shows dynamic information depending on what type of entity is selected.
The Entity Info dialog can be opened by clicking on the Window dropdown > Default Tray > Entity Info. This dialog should be left open since it is used often.
- When an edge is selected, the length of the selected edge(s) is shown
- When a surface is selected, the area of the selected surface is shown
- When a group is selected, the group instance is shown
- When a component is selected, the component instance and definition are shown
- If a group or component is a solid, the volume is shown
