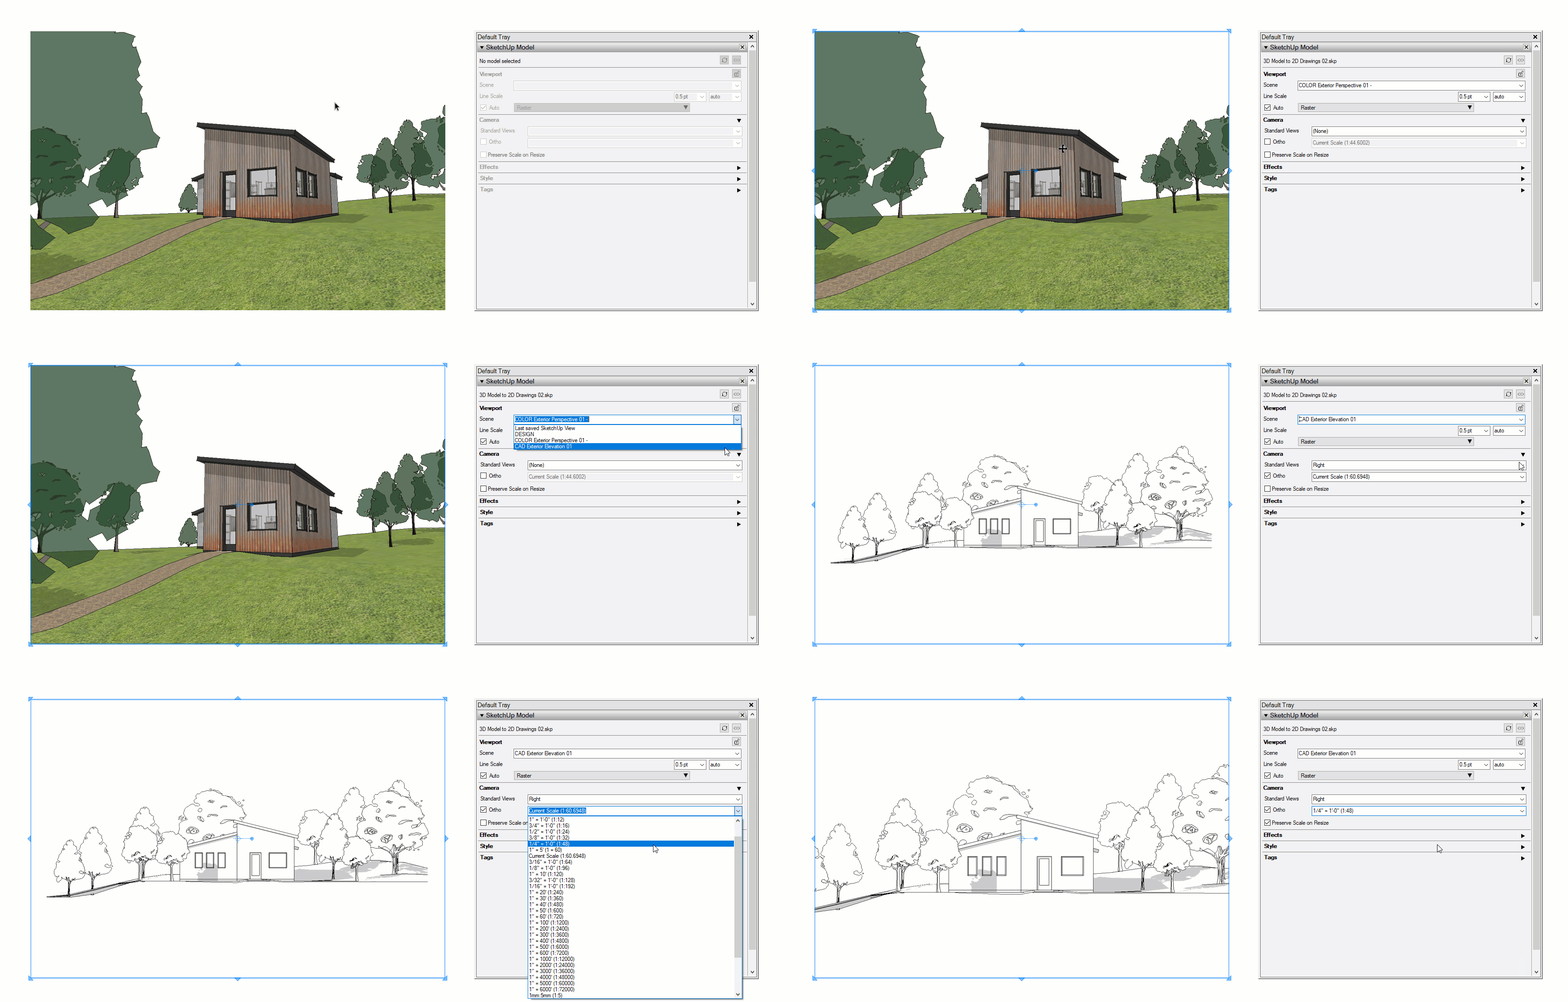
Scenes for Scaled Drawings
Shadow Settings
Shadows add a sense of depth and realism to perspectives and elevations. Use these defaults to get the best results...
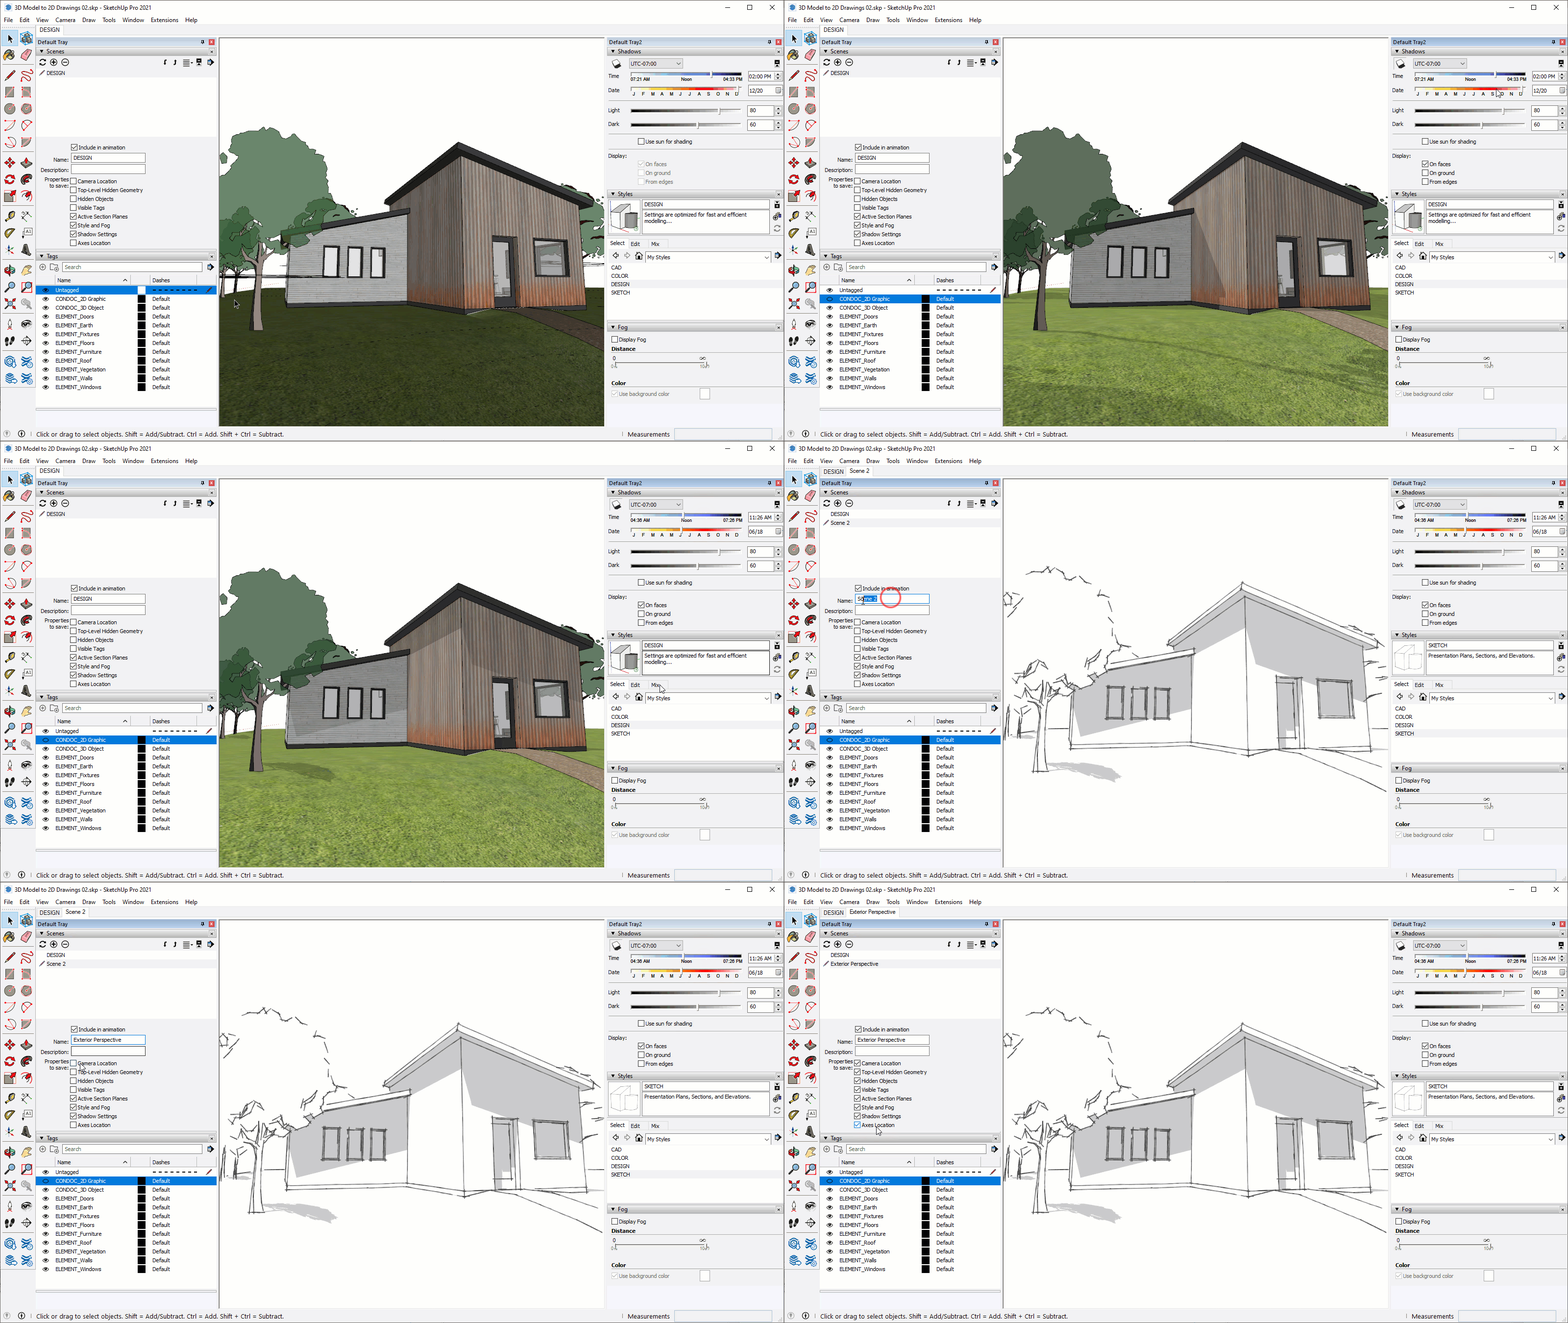
- The ideal shadow settings for exterior perspectives and elevations are 80 light and 60 dark, then just pick a time of day that works. Ideal exterior shadow settings are shown at the right.
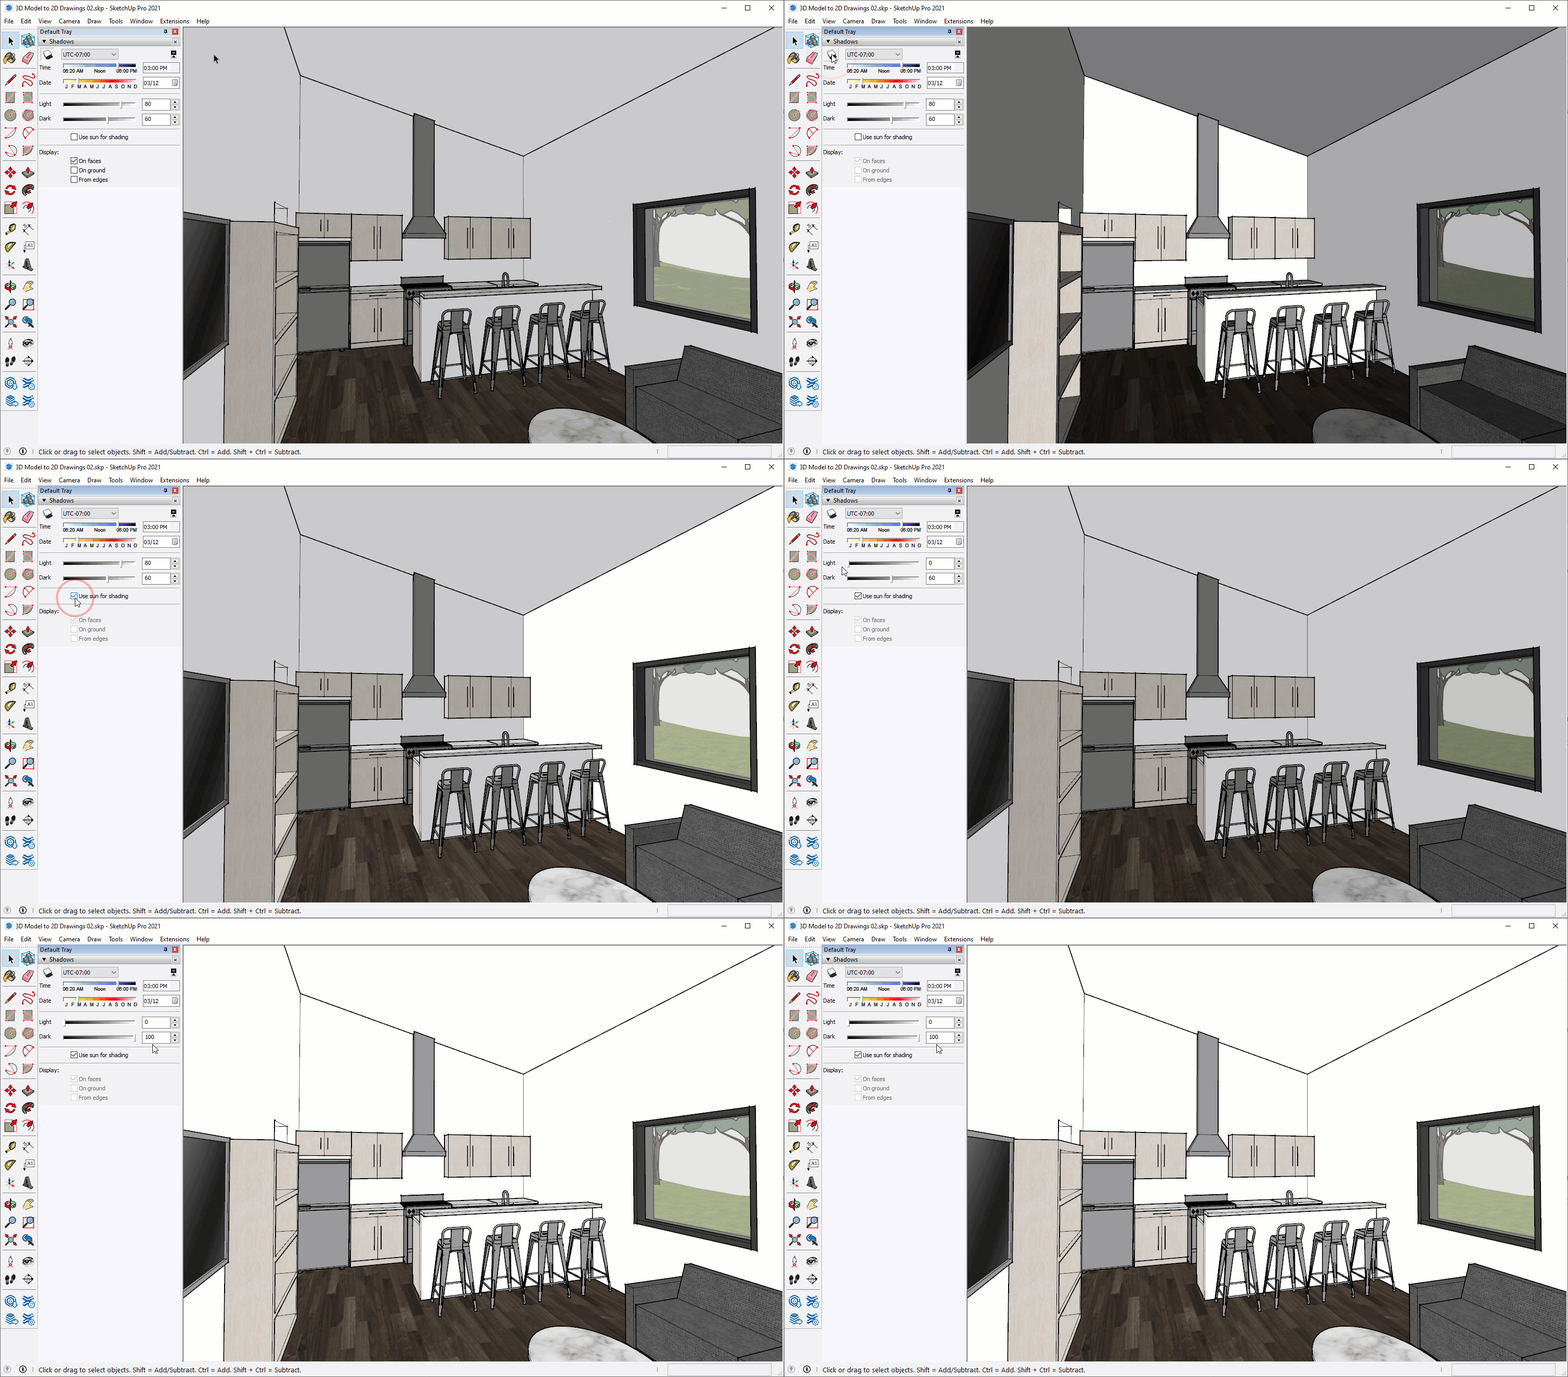
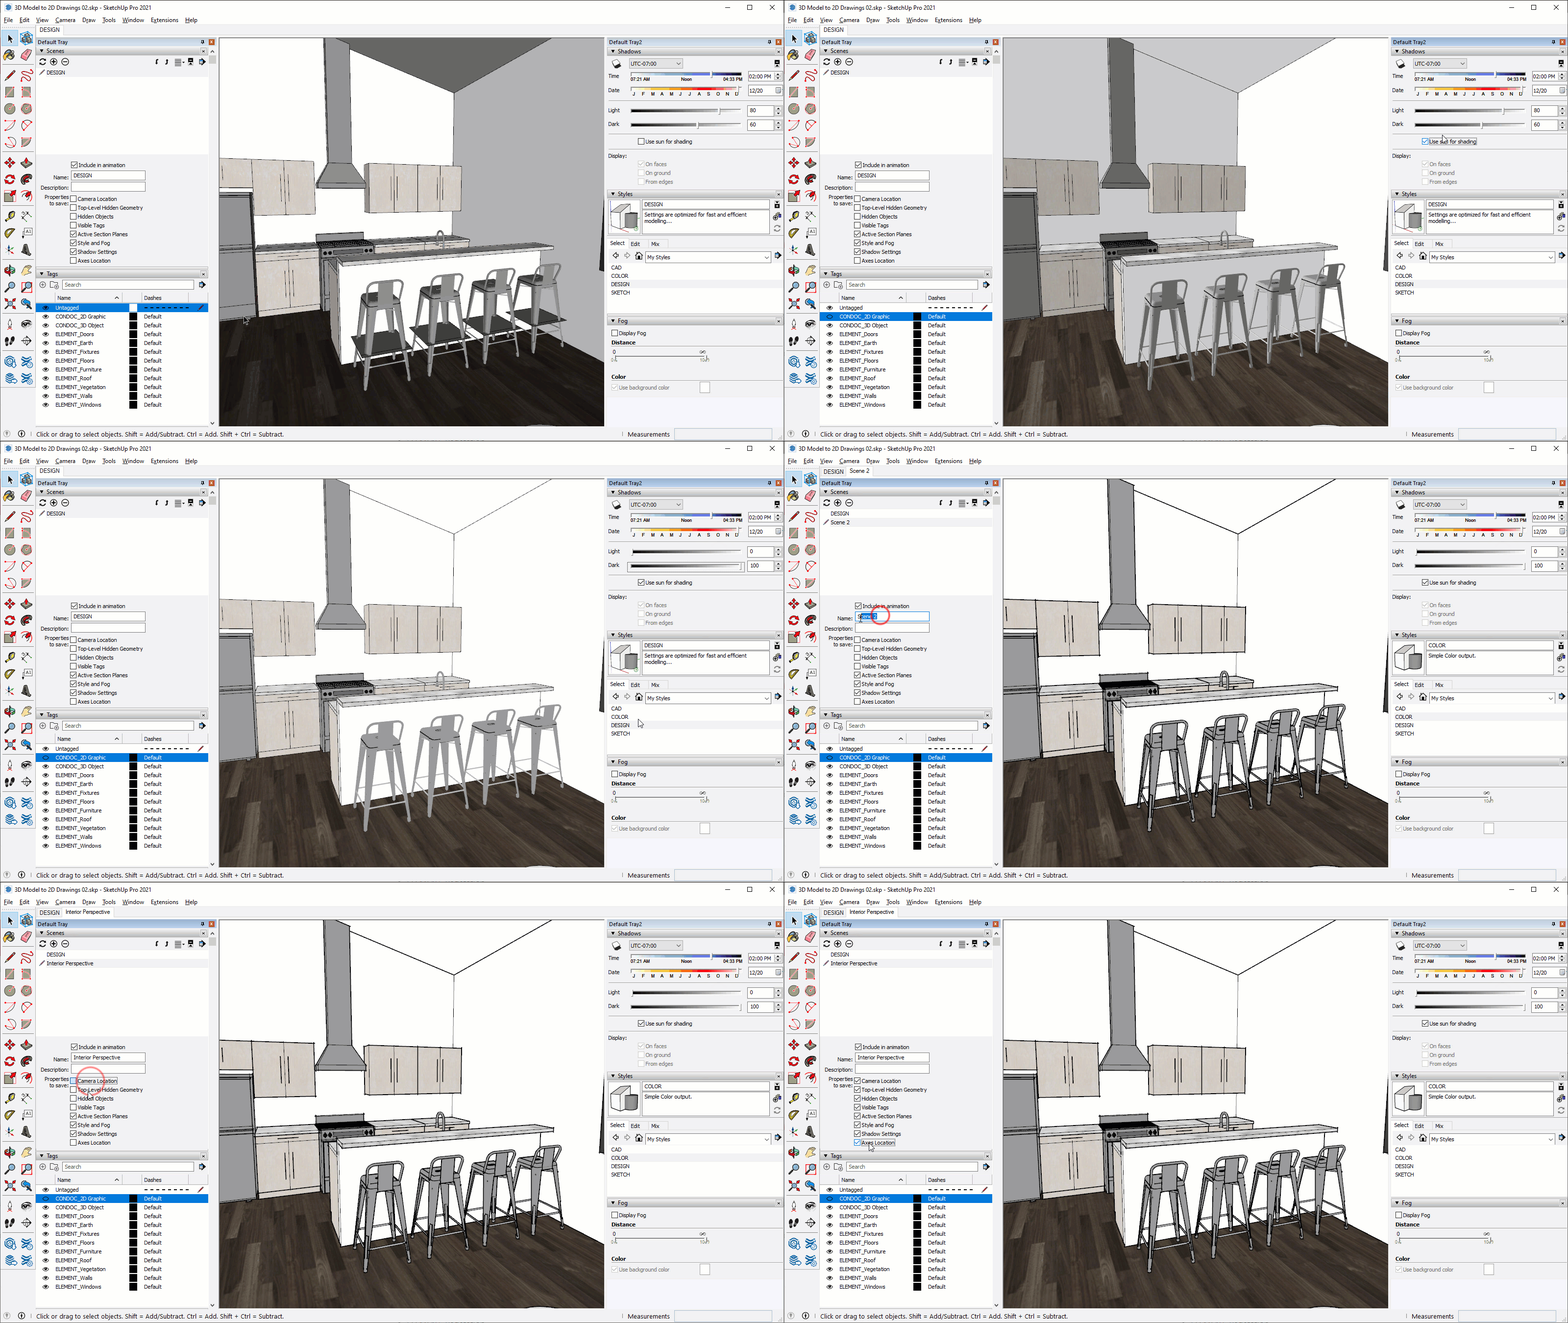
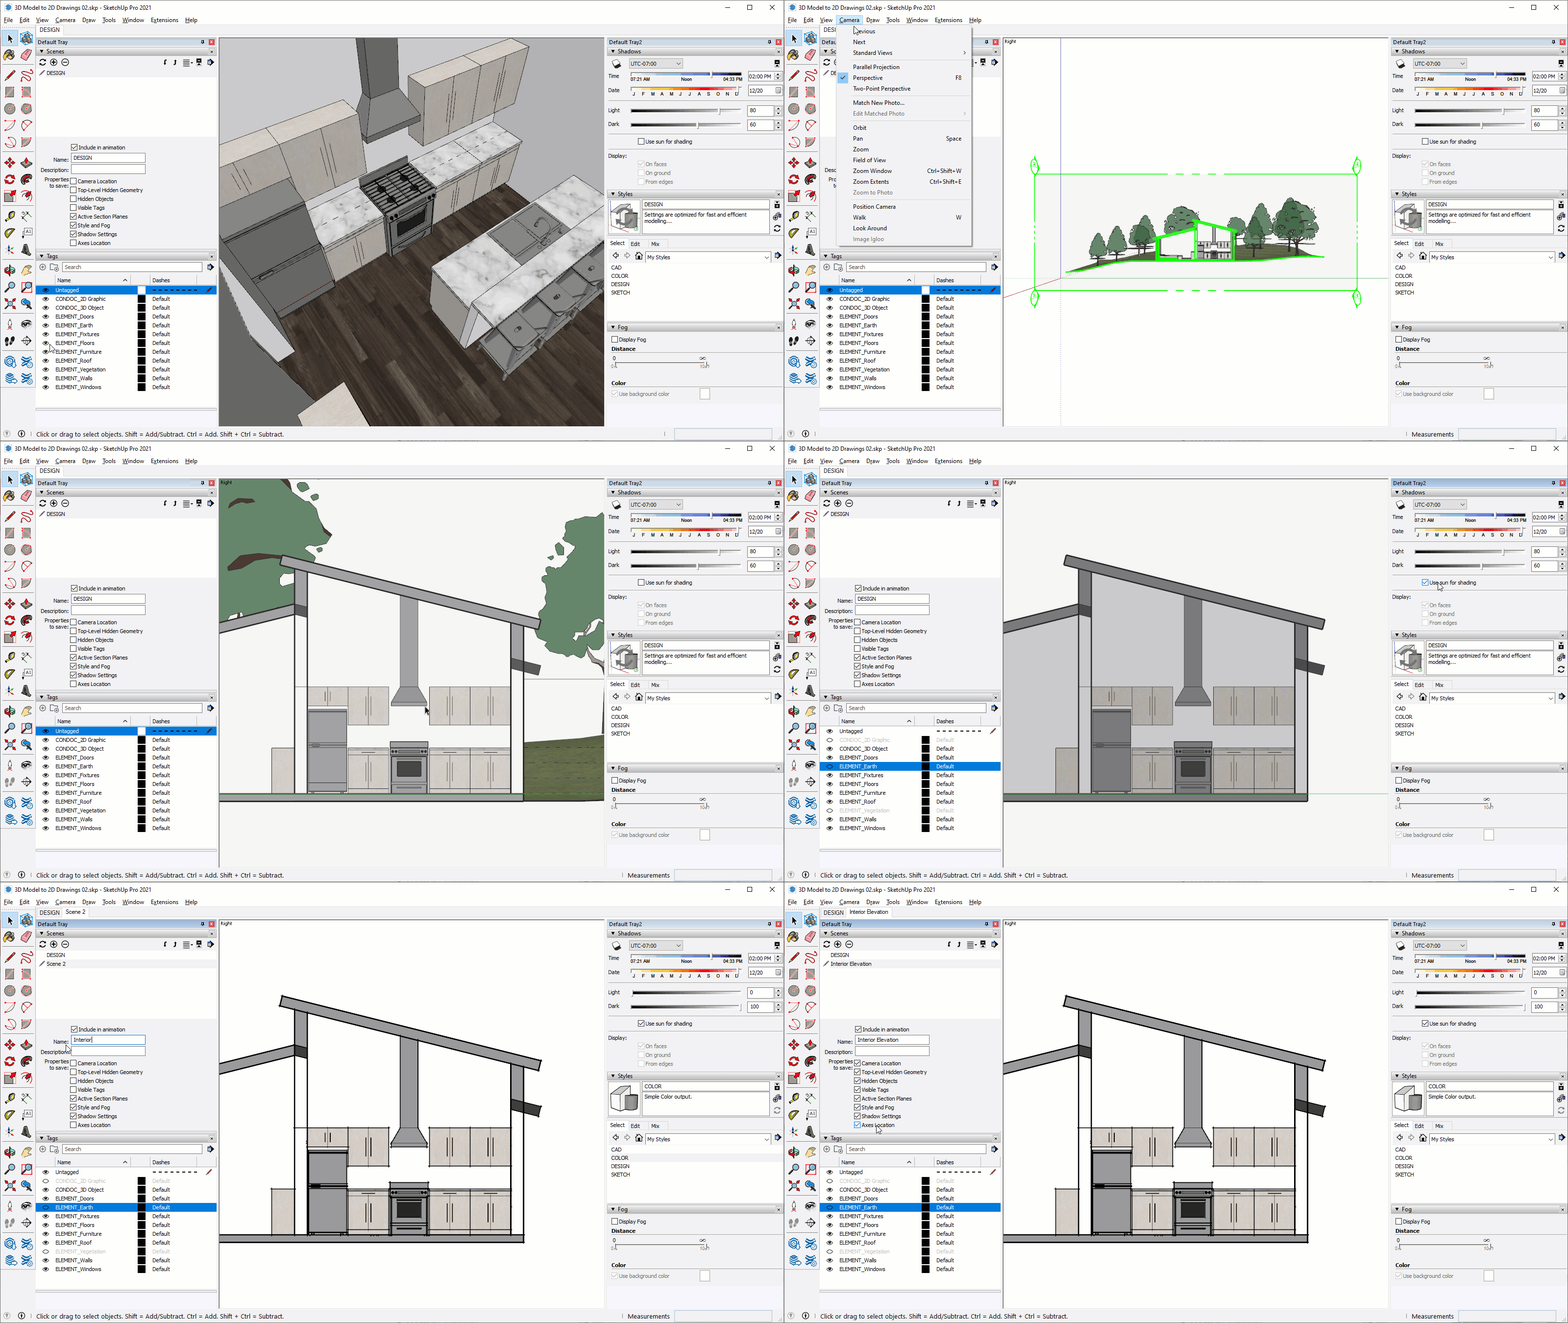
- When creating interior perspective and elevation views, white ceilings and walls often show up gray, and too dark in general. Lighten them up by flipping the light to 0 and dark to 100. Ideal interior shadow settings are shown at the right and in the animation below.
See the optimal shadow settings for interior and exterior scenes...
5 Step Recipe for Any Drawing Scene
Here's a predictable formula and some tips for creating any scene, follow these steps...
Drawings
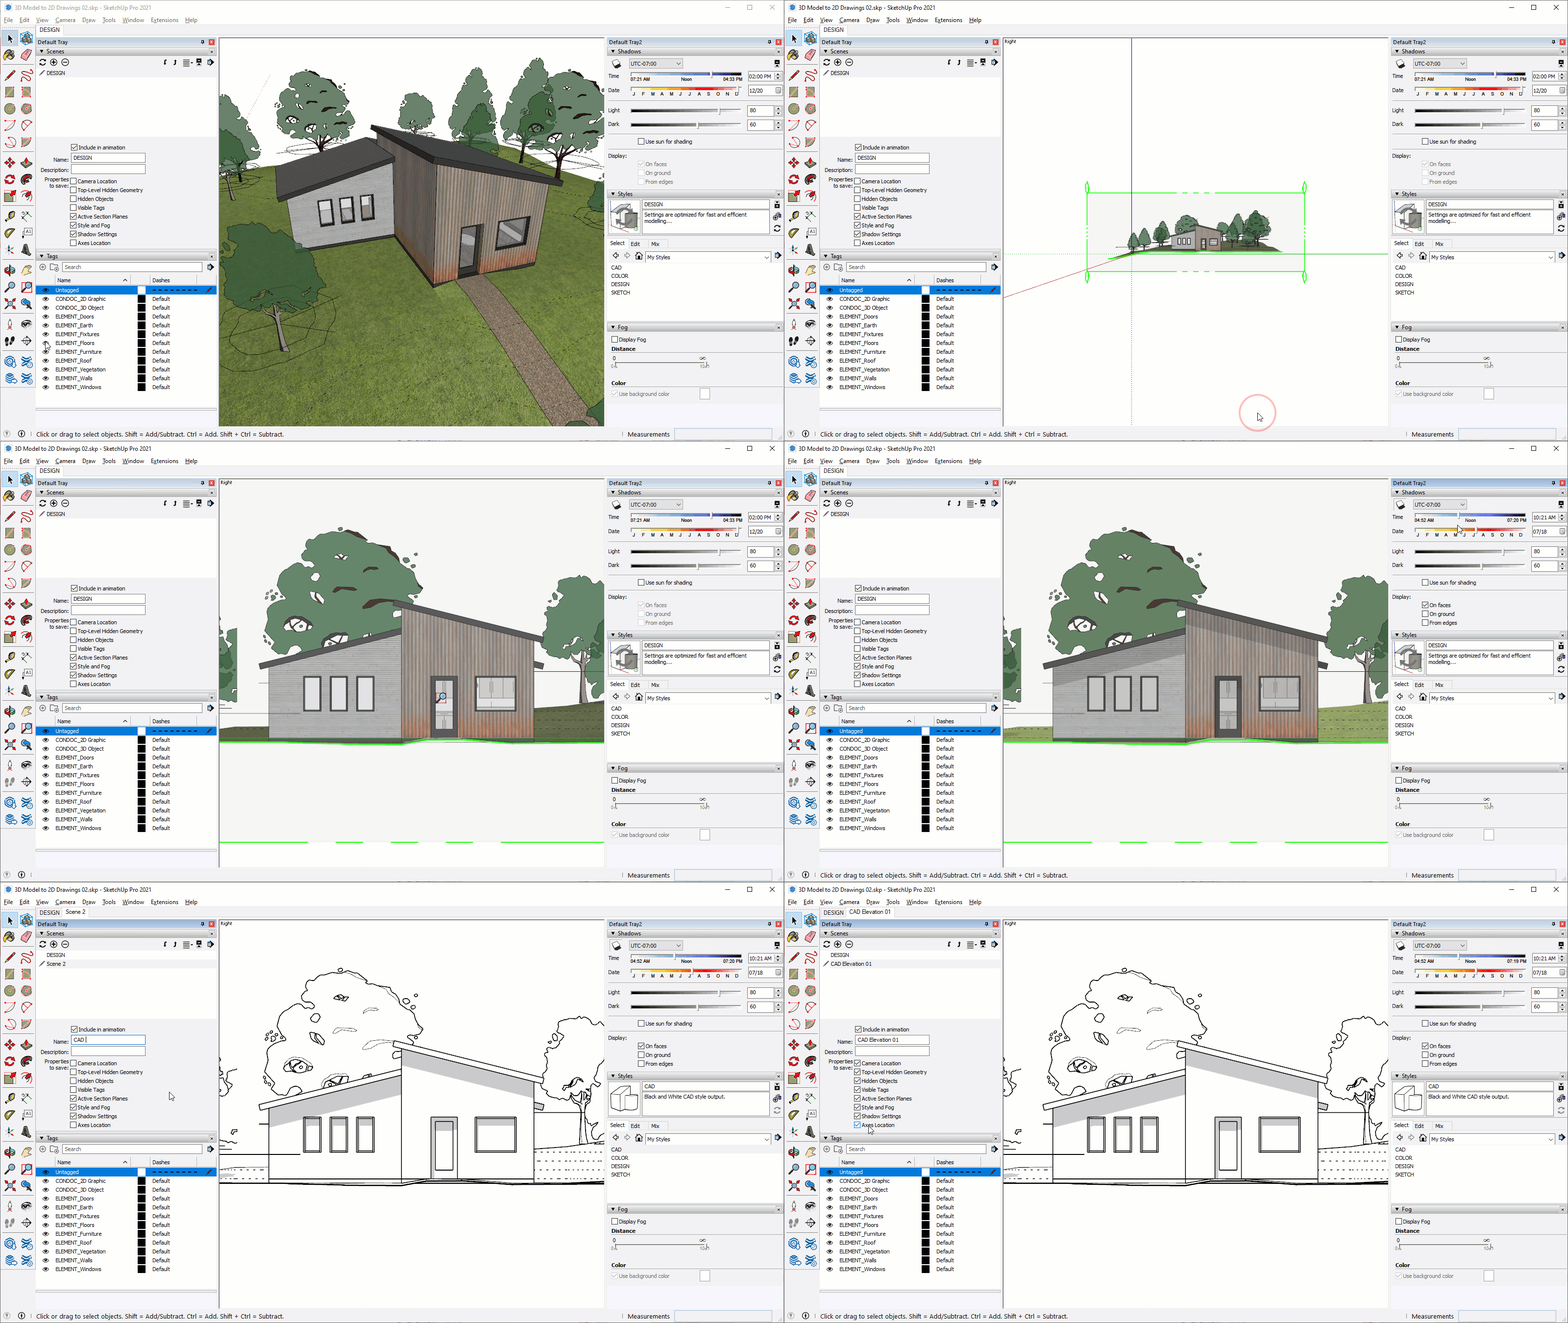
Exterior Perspective Scene
1. Navigate to the desired camera position
2. Visible Tags:
- CONDOC_3D Object
- ELEMENT_Doors
- ELEMENT_Earth
- ELEMENT_Fixtures
- ELEMENT_Floors
- ELEMENT_Furniture
- ELEMENT_Roof
- ELEMENT_Vegetation
- ELEMENT_Walls
- ELEMENT_Windows
3. Turn on shadows (exterior setting)
4. Activate the SKETCH style
5. Add a scene to snapshot the settings
Interior Perspective Scene
1. Navigate to the desired camera position
2. Visible Tags:
- CONDOC_3D Object
- ELEMENT_Doors
- ELEMENT_Earth
- ELEMENT_Fixtures
- ELEMENT_Floors
- ELEMENT_Furniture
- ELEMENT_Roof
- ELEMENT_Vegetation
- ELEMENT_Walls
- ELEMENT_Windows
- Select COLOR style
3. Turn on shadows (interior setting)
4. Activate the COLOR style
5. Add a scene to snapshot the settings
Exterior Elevation Scene
1. Add a section plane
2. Navigate to the desired camera position
3. Visible Tags:
- CONDOC_3D Object
- ELEMENT_Doors
- ELEMENT_Earth
- ELEMENT_Floors
- ELEMENT_Roof
- ELEMENT_Vegetation
- ELEMENT_Walls
- ELEMENT_Windows
3. Turn on shadows (exterior setting)
4. Activate the CAD style
5. Add a scene to snapshot the settings
Interior Elevation Scene
1. Add a section plane
2. Navigate to the desired camera position
3. Visible Tags:
- CONDOC_3D Object
- ELEMENT_Doors
- ELEMENT_Fixtures
- ELEMENT_Floors
- ELEMENT_Furniture
- ELEMENT_Roof
- ELEMENT_Walls
- ELEMENT_Windows
3. Turn on shadows (interior setting)
4. Activate the COLOR style
5. Add a scene to snapshot the settings
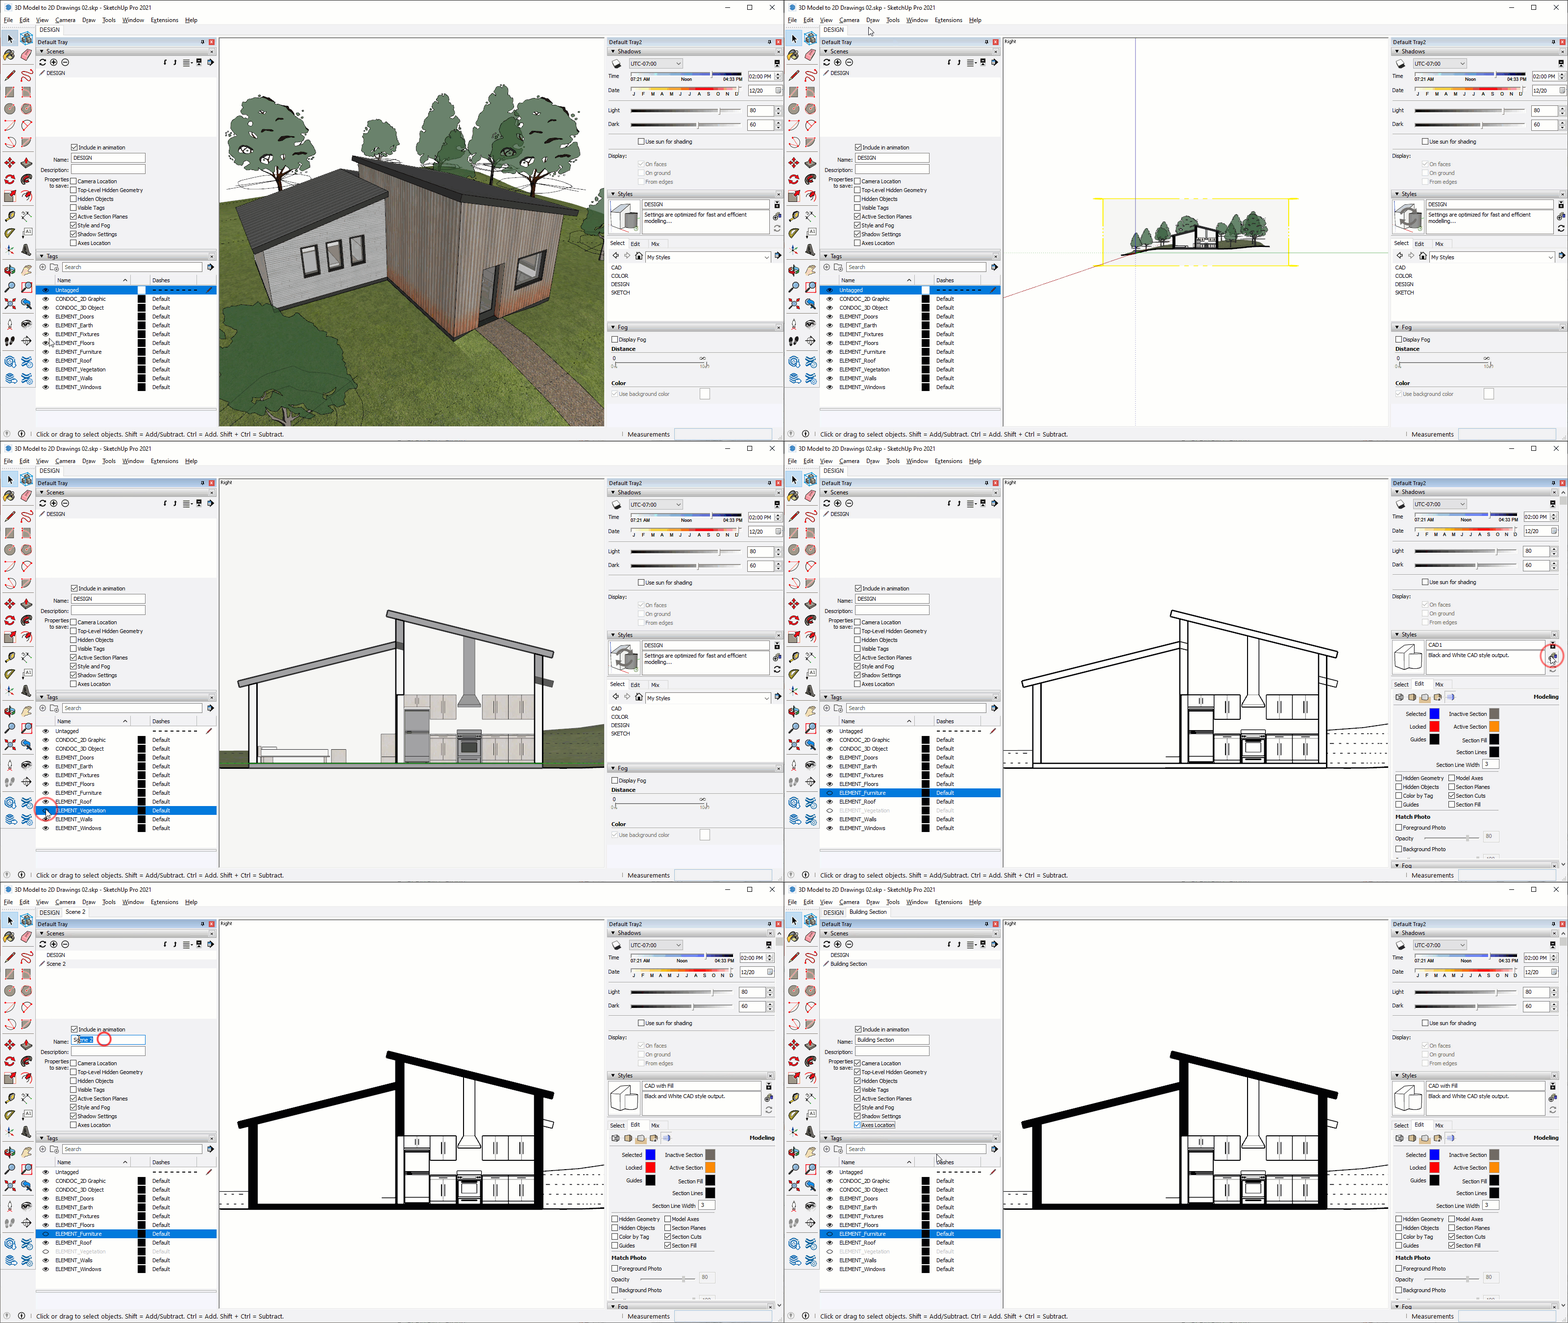
Building Section Scene
1. Add a section plane
2. Navigate to the desired camera position
3. Visible Tags:
- CONDOC_3D Object
- ELEMENT_Doors
- ELEMENT_Earth
- ELEMENT_Fixtures
- ELEMENT_Floors
- ELEMENT_Roof
- ELEMENT_Walls
- ELEMENT_Windows
3. Turn shadows off
4. Create and activate the CAD with Fill style
5. Add a scene to snapshot the settings
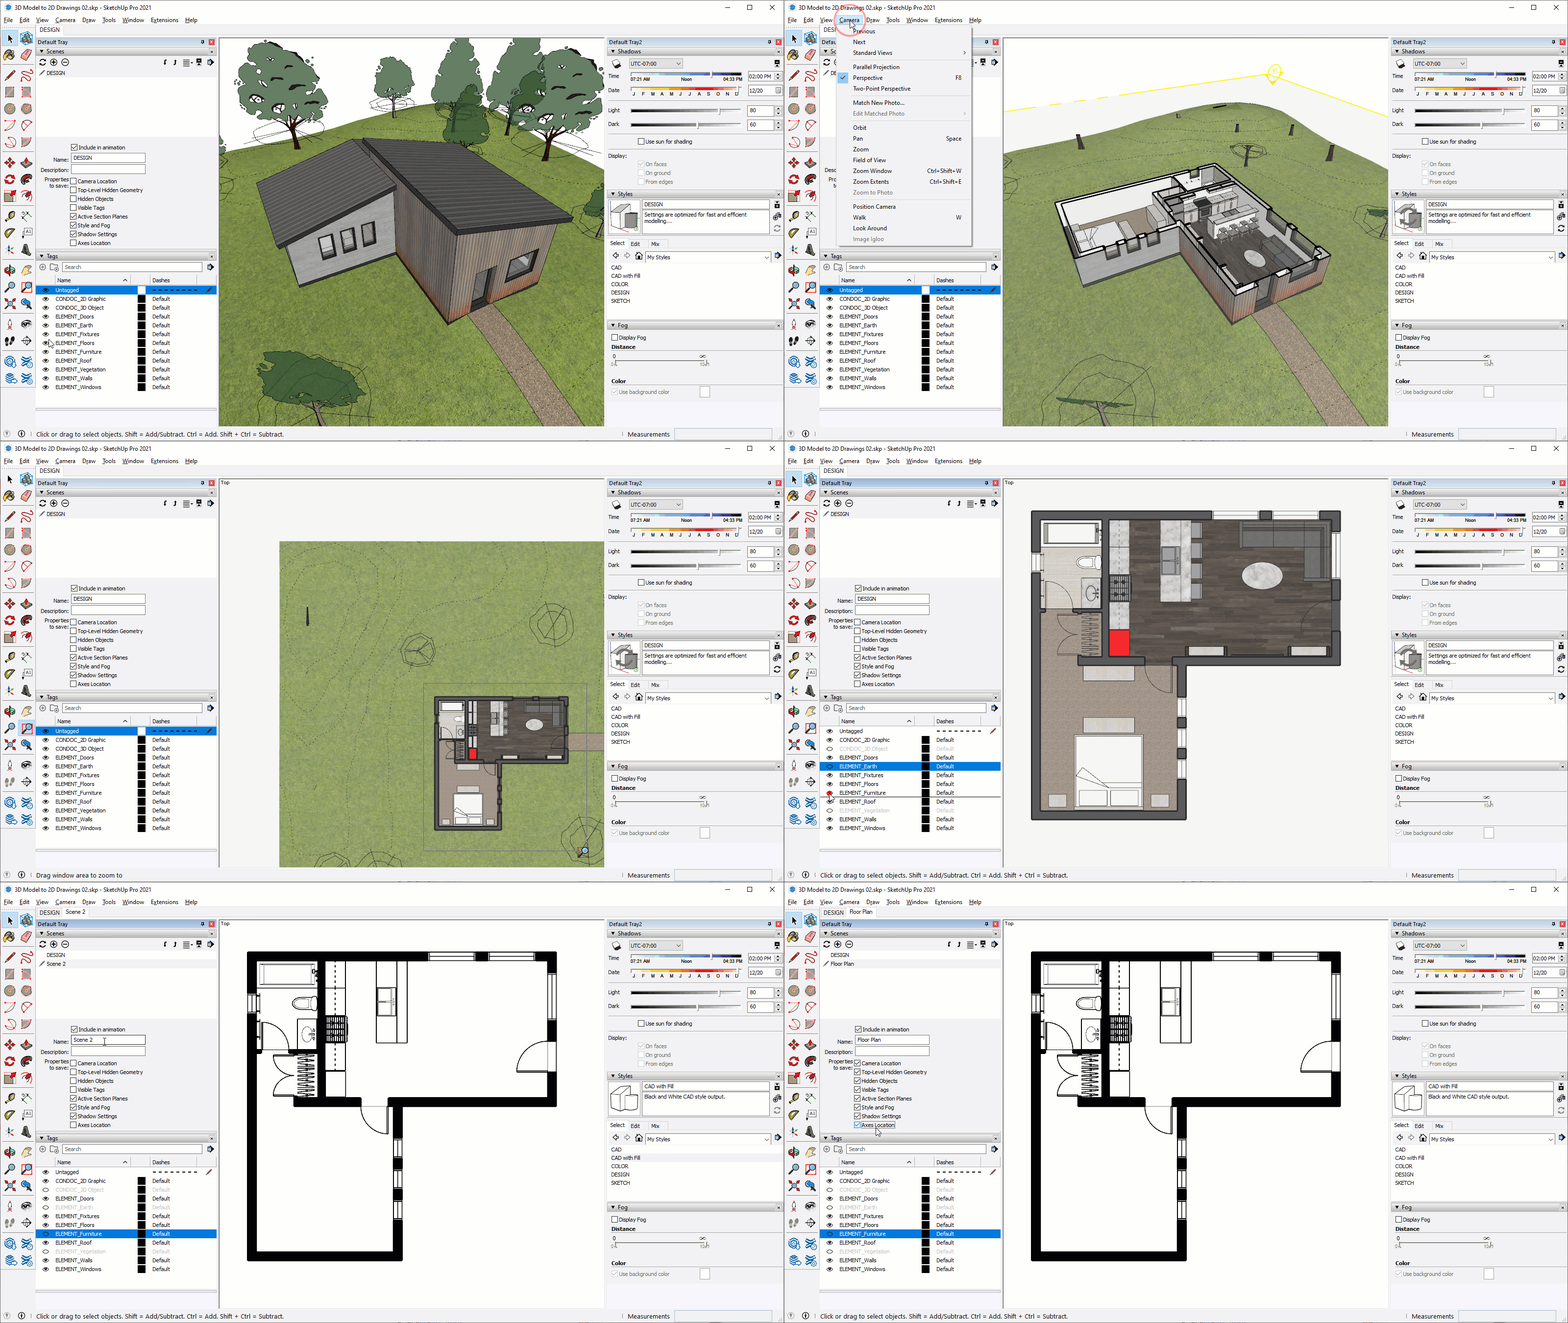
Plan Scene
1. Add a horizontal section plane
2. Navigate to the desired camera position
3. Visible Tags:
- CONDOC_2D Graphic
- ELEMENT_Doors
- ELEMENT_Fixtures
- ELEMENT_Floors
- ELEMENT_Roof
- ELEMENT_Walls
- ELEMENT_Windows
3. Turn shadows off
4. Activate the CAD with Fill style
5. Add a scene to snapshot the settings
